
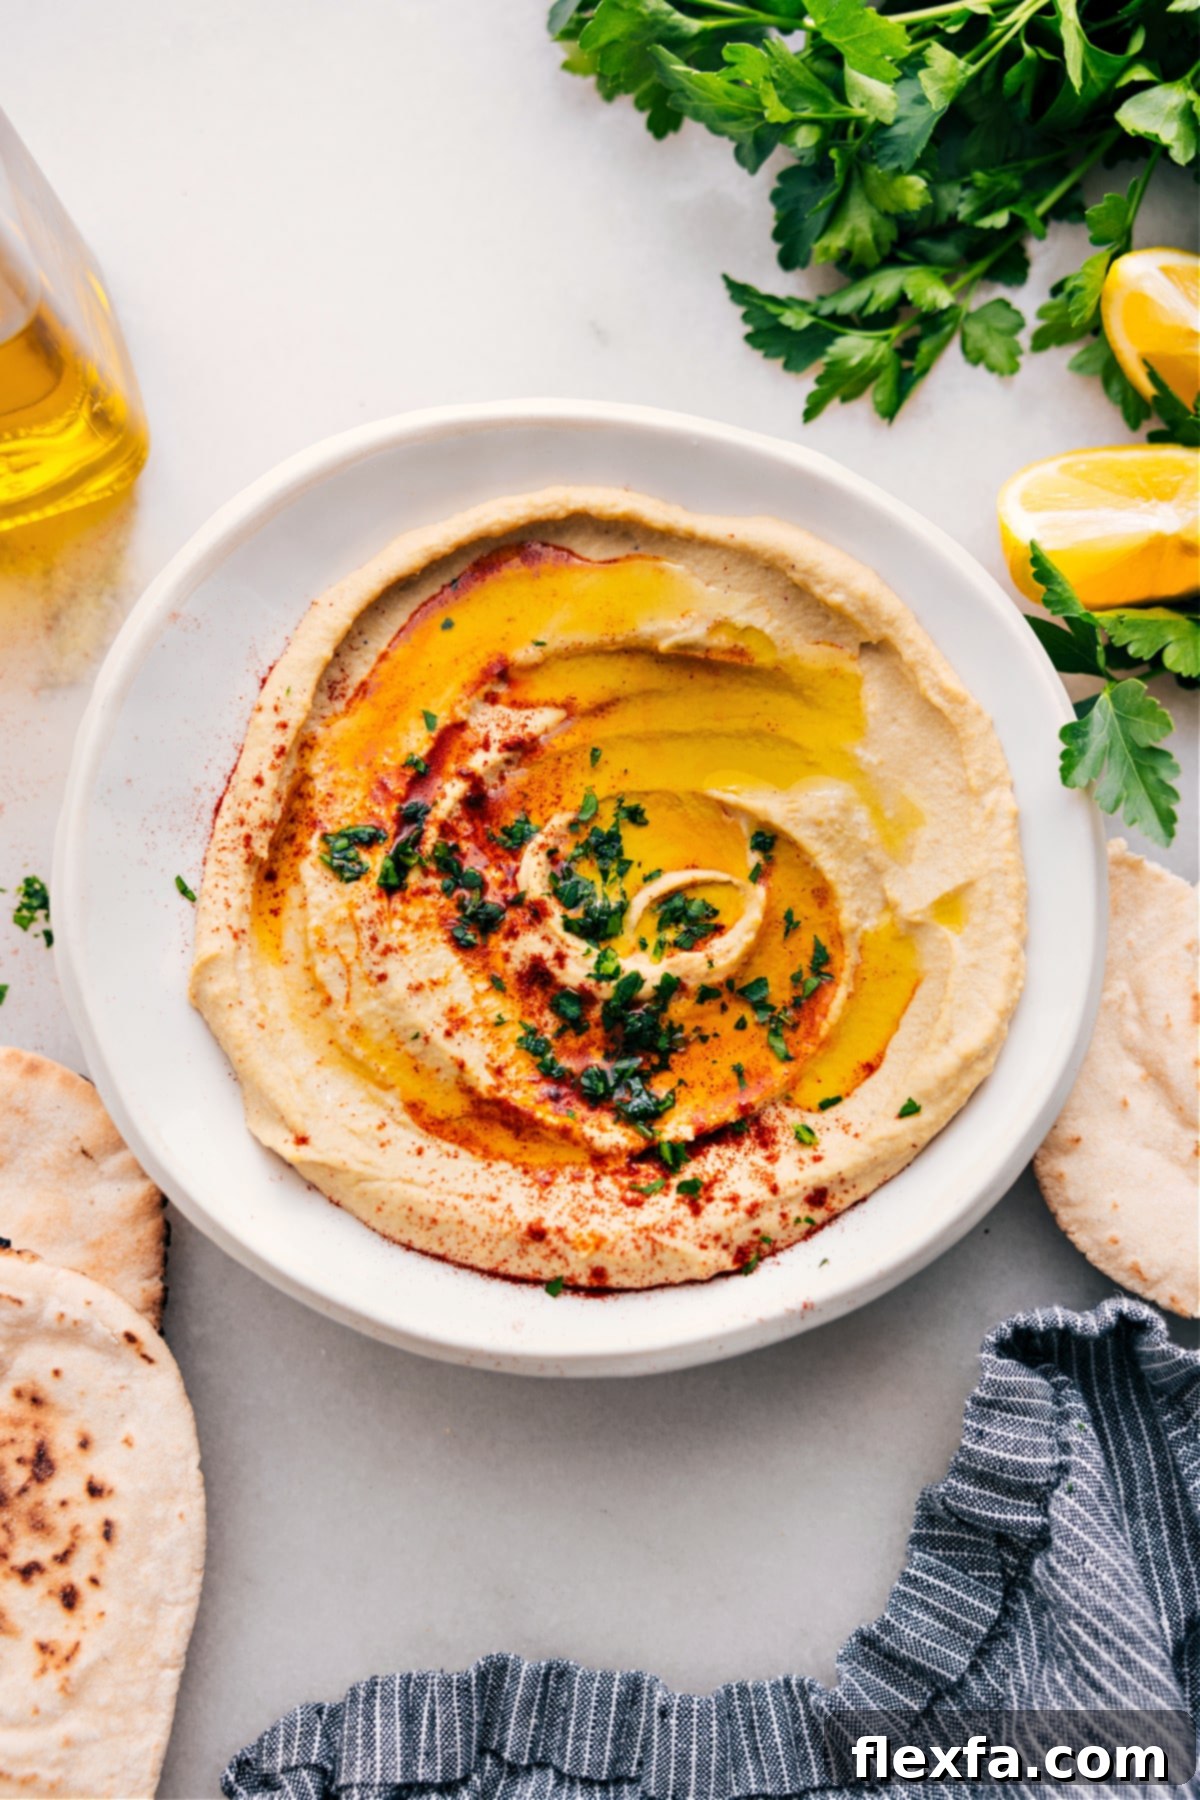
Welcome to the definitive guide for making the most exquisite Hummus Recipe you’ll ever taste. This rendition is exceptionally rich, incredibly creamy, and bursting with the vibrant, authentic flavors of the Middle East. Forget store-bought; once you try this homemade version, you’ll be captivated by its luxurious texture and profound taste. Prepare your crispy pita chips or fresh vegetable sticks – it’s time to dig into a truly remarkable culinary experience!

Author’s Culinary Journey
The Blender Hummus That Completely Changed My Perspective!
Prior to my unforgettable travels through the Middle East, a journey filled with incredible food discoveries, hummus was never a dish that truly piqued my interest. Frankly, I didn’t give it much thought. As a proud salsa aficionado, making hummus from scratch seemed like an unnecessary endeavor.
However, that trip fundamentally altered my culinary world. The moment I tasted authentic Middle Eastern hummus, I was utterly transformed. It wasn’t just a dip; it was a revelation. I became completely obsessed, eagerly ordering hummus at every single opportunity—even for breakfast! Yes, that’s how profound an impact it had on me.
The flavor profile and luxurious texture of the hummus I enjoyed abroad were on an entirely different level from anything I had ever encountered in the States. This ignited a passionate mission: to meticulously recreate that exact magical experience in my own kitchen. After countless attempts, tireless experimentation, and a few frustrating detours, it was Adeena Sussman’s brilliant recipe that finally provided the breakthrough. Her method produced a hummus that tasted precisely like the dreamy versions I had fallen for in the Middle East.
Today, I am absolutely thrilled to share my slightly tweaked version of this extraordinary recipe. I’ve adapted it to maximize convenience by using readily available canned chickpeas, and I’m a fervent advocate for using a powerful blender over a food processor to achieve that unparalleled, ultra-creamy consistency. My heartfelt thanks go to Adeena for paving the way to the hummus of my dreams, and now, yours!
Demystifying Hummus: What You Need To Know
What exactly is Hummus? Hummus is a vibrant, ancient Middle Eastern spread or dip that has captivated palates worldwide. At its core, it’s a creamy, flavorful blend predominantly made from cooked, mashed chickpeas (also known as garbanzo beans), enriched with tahini (a smooth sesame paste), brightened with fresh lemon juice, and seasoned with aromatic garlic. Loved across diverse cultures, hummus stands out as a delicious, highly nutritious, incredibly versatile, and surprisingly affordable dish that is remarkably easy to prepare at home. It’s a staple that offers both comfort and health benefits, making it a beloved addition to any meal or snack.
Unlocking Flavor: Essential Ingredients for the Perfect Hummus
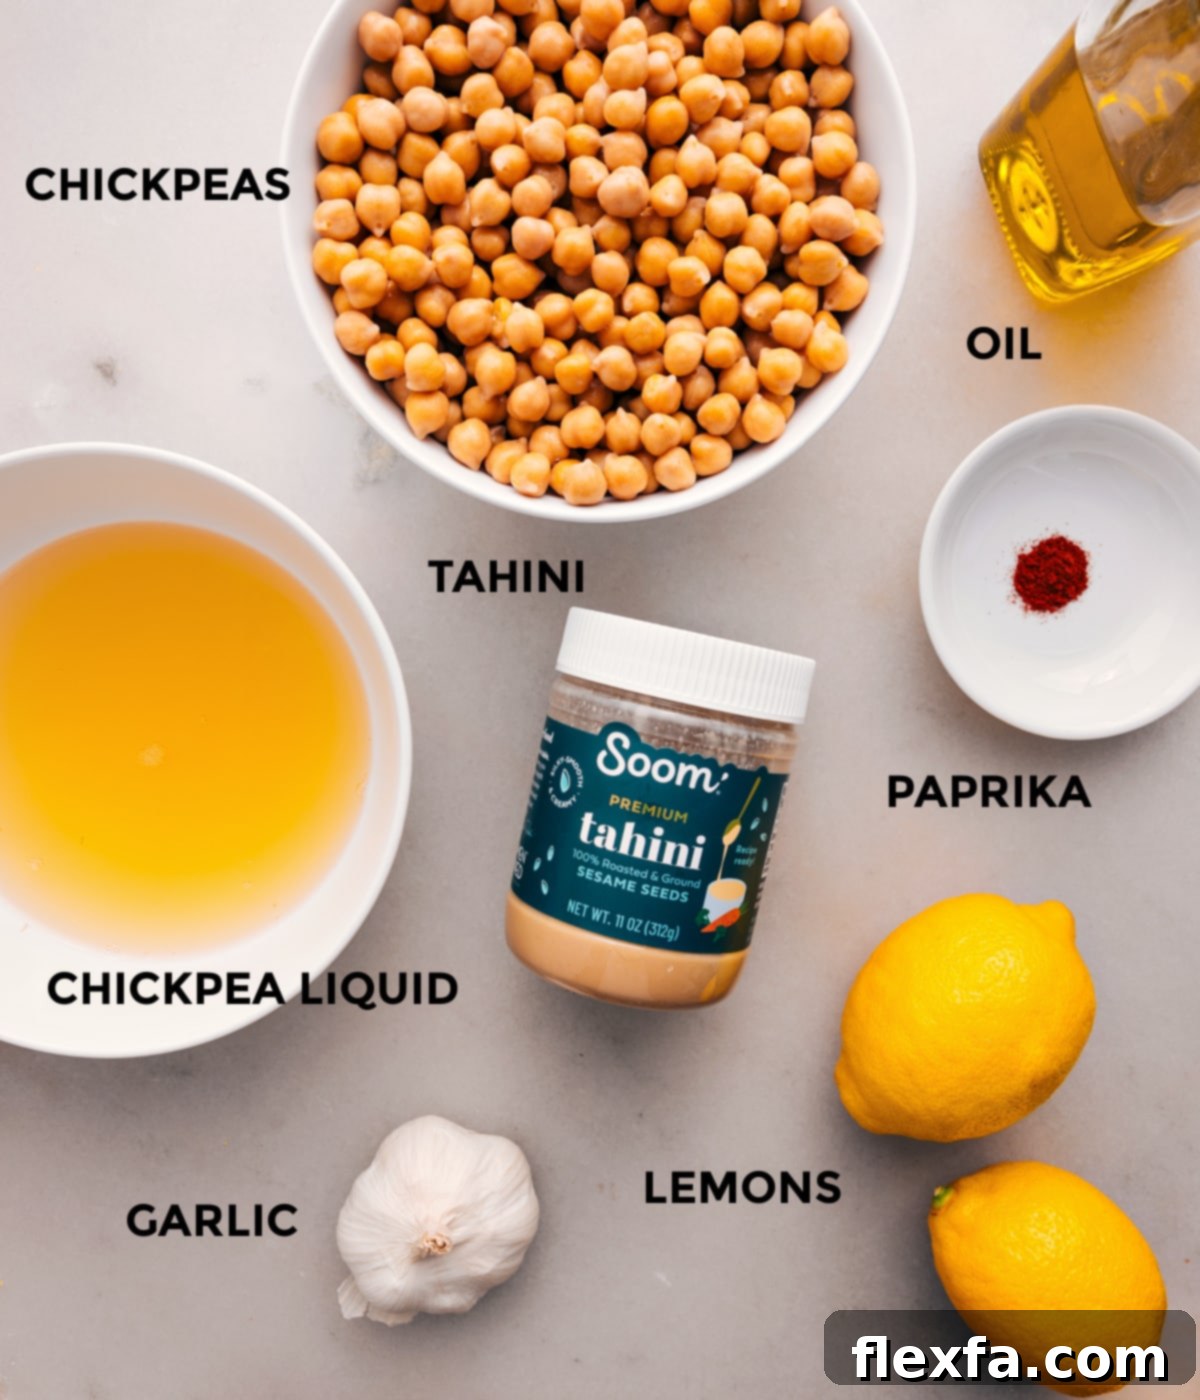
The secret to truly exceptional hummus lies not just in the technique, but fundamentally in the quality and selection of its core ingredients. Each component contributes uniquely to the overall richness, creaminess, and authentic flavor. Here’s a detailed guide to what you’ll need and why:
- Chickpeas (Garbanzo Beans): While dried chickpeas yield superb results (and we’ll cover how to prepare them below), canned chickpeas offer unparalleled convenience without sacrificing much quality, especially when paired with a good blender. For an ultra-smooth consistency, some purists advocate for peeling each chickpea, a meticulous task. However, a high-powered blender can often achieve a similarly silken texture. Remember to save the liquid from the can (aquafaba) as it’s vital for adjusting the hummus to its perfect creamy texture.
- Fresh Garlic: This is where much of the hummus’s aromatic punch comes from. Fresh garlic is indispensable; dried garlic powder simply won’t achieve the same depth of flavor. Slicing the fresh cloves thinly before adding them to the blender ensures they break down completely and integrate seamlessly, preventing any harsh, unblended pieces in your smooth dip.
- Tahini (Sesame Paste): This is arguably the most critical ingredient, defining the characteristic nutty flavor and smooth mouthfeel of authentic hummus. We will explore tahini in much greater detail in a dedicated section below, as its quality and type significantly influence the final outcome of your recipe.
- Fresh Lemon Juice: A squeeze of fresh lemon juice is what elevates hummus from good to extraordinary. Its bright, zesty acidity cuts through the richness of the tahini and chickpeas, providing a refreshing counterpoint and enhancing all the other flavors. Always use freshly squeezed lemon juice – bottled versions lack the same vibrant zest.
- Salt and Freshly Ground Black Pepper: These basic seasonings are fundamental for balancing and amplifying the complex flavors of hummus. It’s always best to start with a conservative amount and then taste and adjust. You can always add more to your preference after the initial blend, but you cannot remove it.
- High-Quality Extra Virgin Olive Oil: Beyond its role as a beautiful garnish, a good quality olive oil can be drizzled into the hummus during blending for added richness and smoothness, and a generous final drizzle on top adds an authentic sheen, a subtle peppery note, and contributes to the overall luxurious texture.
- Paprika (Sweet or Smoked): Primarily a vibrant topping, paprika serves a dual purpose: it adds a beautiful splash of color, making your hummus visually appealing, and subtly enhances the flavor. Sweet paprika offers a classic, mild spice, while smoked paprika introduces a deeper, more earthy and complex smoky undertone that can truly elevate the dish.
- Optional Fresh Parsley: For an extra layer of freshness and a beautiful green garnish, a sprinkle of finely chopped fresh parsley before serving adds a lovely herbaceous aroma and a visual pop that signals homemade goodness.
- Serving Companions: Hummus is best enjoyed with sturdy dippers. Think warm, soft pita bread, crispy homemade pita chips, sturdy vegetable sticks like carrots, cucumbers, celery, bell peppers, or even artisan crackers.
Elevate Your Hummus: Creative and Classic Topping Ideas
A beautifully garnished bowl of hummus isn’t just a treat for the palate; it’s a feast for the eyes. Presentation can significantly enhance the enjoyment of your homemade creation. Here’s how to perfectly top off your hummus:
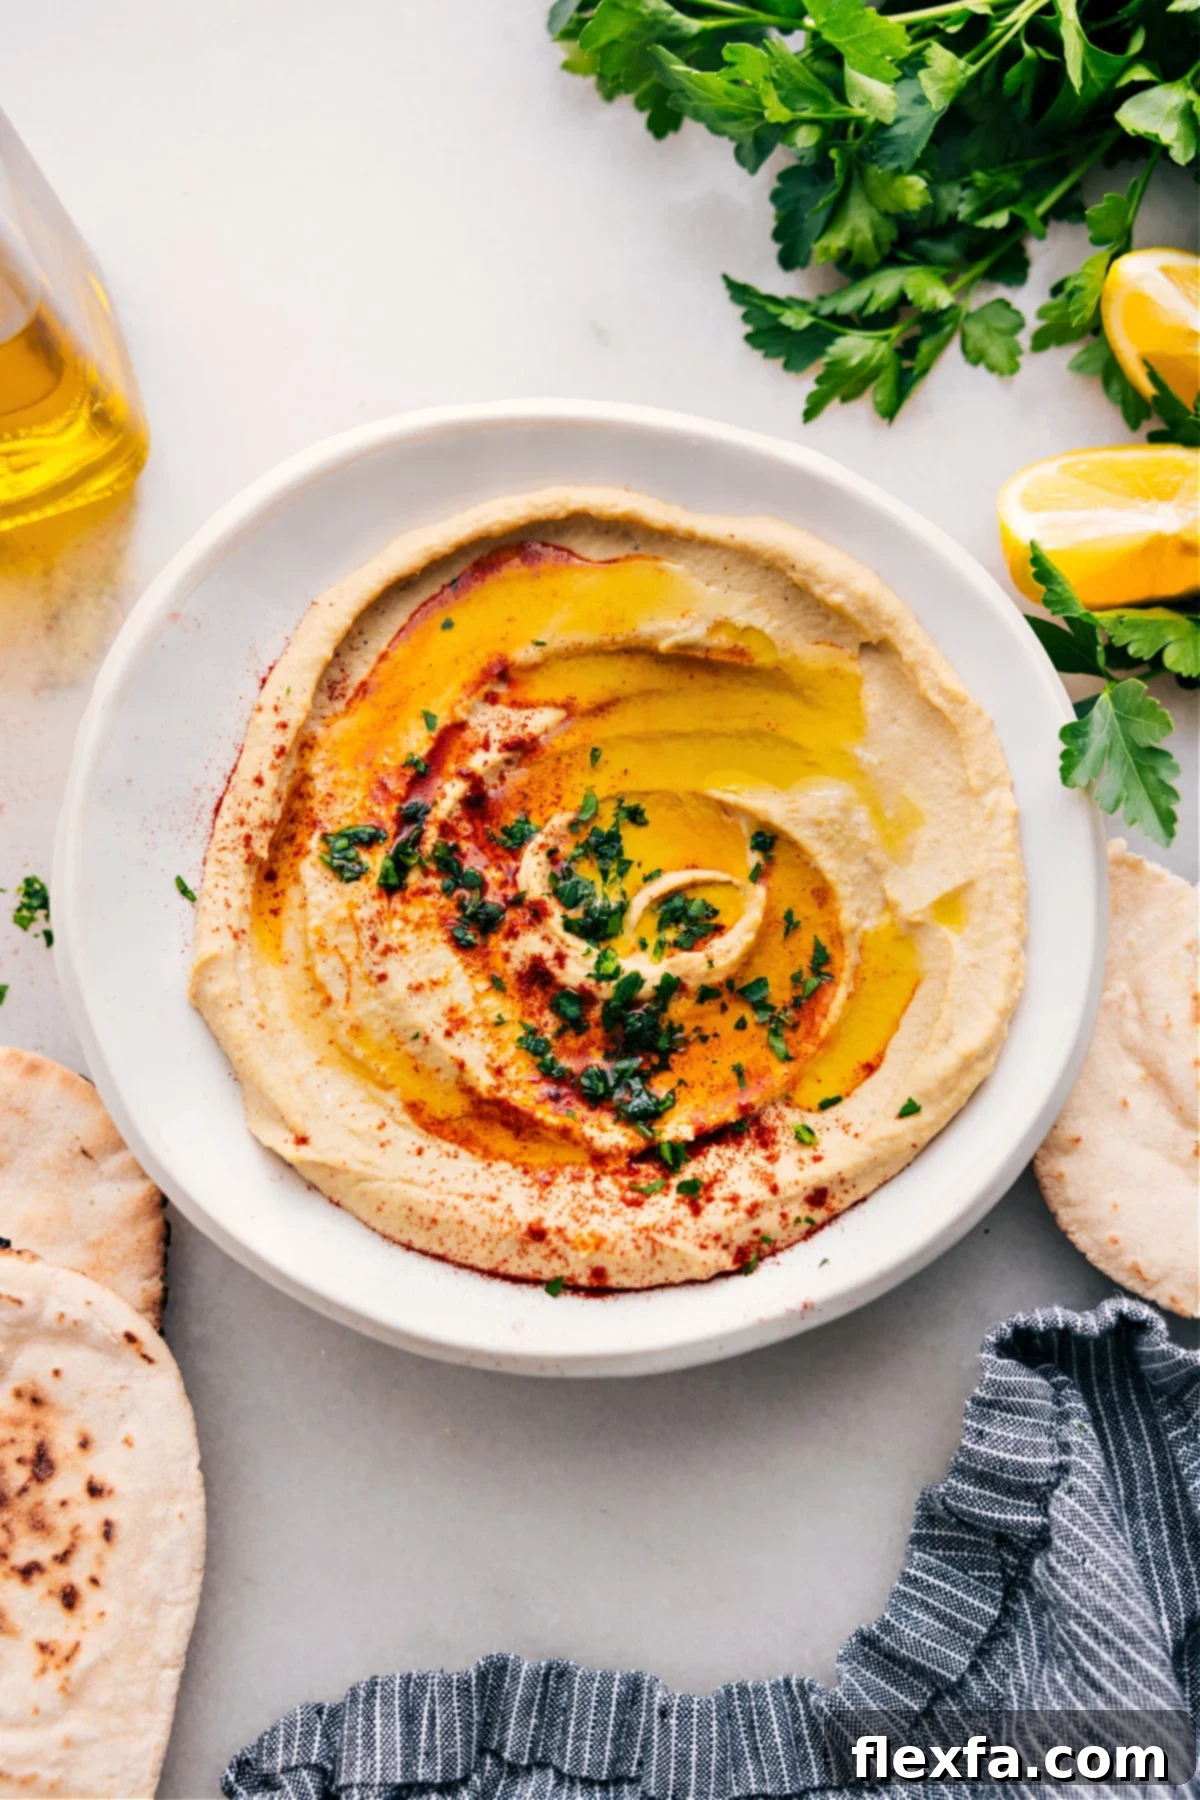
Once you’ve transferred your silky smooth hummus into a shallow serving bowl, use the back of a spoon to create elegant, shallow swirls or a central well. These depressions are not merely decorative; they are designed to perfectly cradle a generous drizzle of your finest extra virgin olive oil. The oil will pool beautifully, adding a rich, glossy finish and an extra layer of flavor that is characteristic of authentic Middle Eastern hummus.
Next, for that classic touch, lightly dust the surface with paprika. You can opt for sweet paprika for a mild, vibrant note, or choose smoked paprika if you desire a deeper, more earthy and robust flavor profile. To complete the presentation and add a burst of fresh herbaceousness, scatter a handful of finely chopped fresh parsley over the top. For additional gourmet flair, consider adding toasted pine nuts for crunch, a pinch of za’atar for complex spice, thinly sliced pickled red onions, or even a few whole cooked chickpeas for textural contrast.
The Star Ingredient: Crafting the Perfect Hummus with Tahini
While chickpeas form the foundation of hummus, tahini is undeniably its heart and soul. This incredibly rich, creamy paste, made from finely ground sesame seeds, is absolutely essential for achieving the distinctive nutty flavor and the luxurious, velvety texture that defines truly authentic and exceptional hummus. Without high-quality tahini, your homemade hummus will simply not reach its full, delicious potential.
What Exactly is Tahini? A Closer Look
Tahini is a fundamental ingredient in cuisines across the Middle East, Mediterranean, and North Africa. It is traditionally made by grinding hulled (or sometimes unhulled) sesame seeds into a smooth, thick paste. The flavor profile is complex: deeply nutty, with subtle earthy notes and often a pleasant, mild bitterness that balances the other ingredients in hummus. You can typically find tahini in most well-stocked grocery stores, usually located in the international foods aisle, near other Middle Eastern products, or alongside nut butters.
Choosing the Right Tahini: Hulled vs. Unhulled is Crucial
This is a critical distinction that can significantly impact the taste and texture of your hummus. For the silkiest, mildest, and most delicious hummus, you must always choose hulled tahini. Hulled sesame seeds have their outer shell removed before grinding, which results in a lighter colored paste and a much smoother, less bitter flavor. Unhulled or whole-seed tahini, while offering more fiber and nutrients, retains the outer husk, making it significantly more bitter and sometimes gritty. This can easily overpower the delicate balance of flavors in your hummus, so always double-check the label!
The Importance of Quality and Proper Mixing
Similar to olive oil, the quality of tahini available on the market can vary dramatically. Some brands produce an incredibly nuanced, smooth, and delicious tahini, while others can taste disappointingly harsh, bitter, or stale. The right tahini can genuinely make or break this recipe, elevating your hummus to gourmet status.
Tahini also has a natural tendency to separate; the denser sesame paste settles at the bottom of the jar, while the oils rise to the top. Before you even think about measuring, it is absolutely imperative to stir or shake the tahini vigorously until it is thoroughly combined and uniform in consistency. This ensures you incorporate both the thick paste and the oils, giving your hummus the perfect balance of richness and moisture, and preventing it from being too dry or too oily.
For consistently outstanding results, I highly recommend two brands that have become my go-to staples for their superior flavor and texture: Mighty Sesame Co.® (often conveniently packaged in a squeeze bottle) or Soom Foods® Sesame Tahini Paste. Investing in a good quality tahini will truly transform your homemade hummus.
Mastering the Art of Homemade Hummus: A Step-by-Step Guide
Recreating the exquisite, authentic hummus found in the bustling markets and cozy eateries of the Middle East is surprisingly achievable in your own kitchen. The key lies in understanding a few fundamental techniques and utilizing the right tools to bring out its best qualities. While traditional hummus often boasts a slight texture, stemming from the chickpea skins, our goal here is to achieve a remarkable creaminess with minimal effort.
For those who adore a perfectly smooth, almost silken hummus, a high-powered blender is your ultimate ally. It excels at pulverizing the chickpea skins, delivering a velvety texture that often rivals the meticulous process of peeling each individual chickpea. If you prefer a hummus with a bit more rustic character and a slight bite, a food processor remains an excellent choice, breaking down the chickpeas sufficiently while retaining some natural texture.
You might notice that this homemade hummus recipe yields a consistency that is slightly thinner and more spreadable than many of the thick, dense store-bought varieties. This is not an error; it is, in fact, a hallmark of authentic Middle Eastern hummus, which is traditionally served with a more fluid, elegant texture. This delightful consistency makes it absolutely perfect for generously spreading onto warm pita bread, flatbreads, or as a rich and flavorful accompaniment to grilled meats and vibrant, fresh salads such as Israeli Salad.
The Blender Advantage: Why It’s My Go-To for Silky Hummus
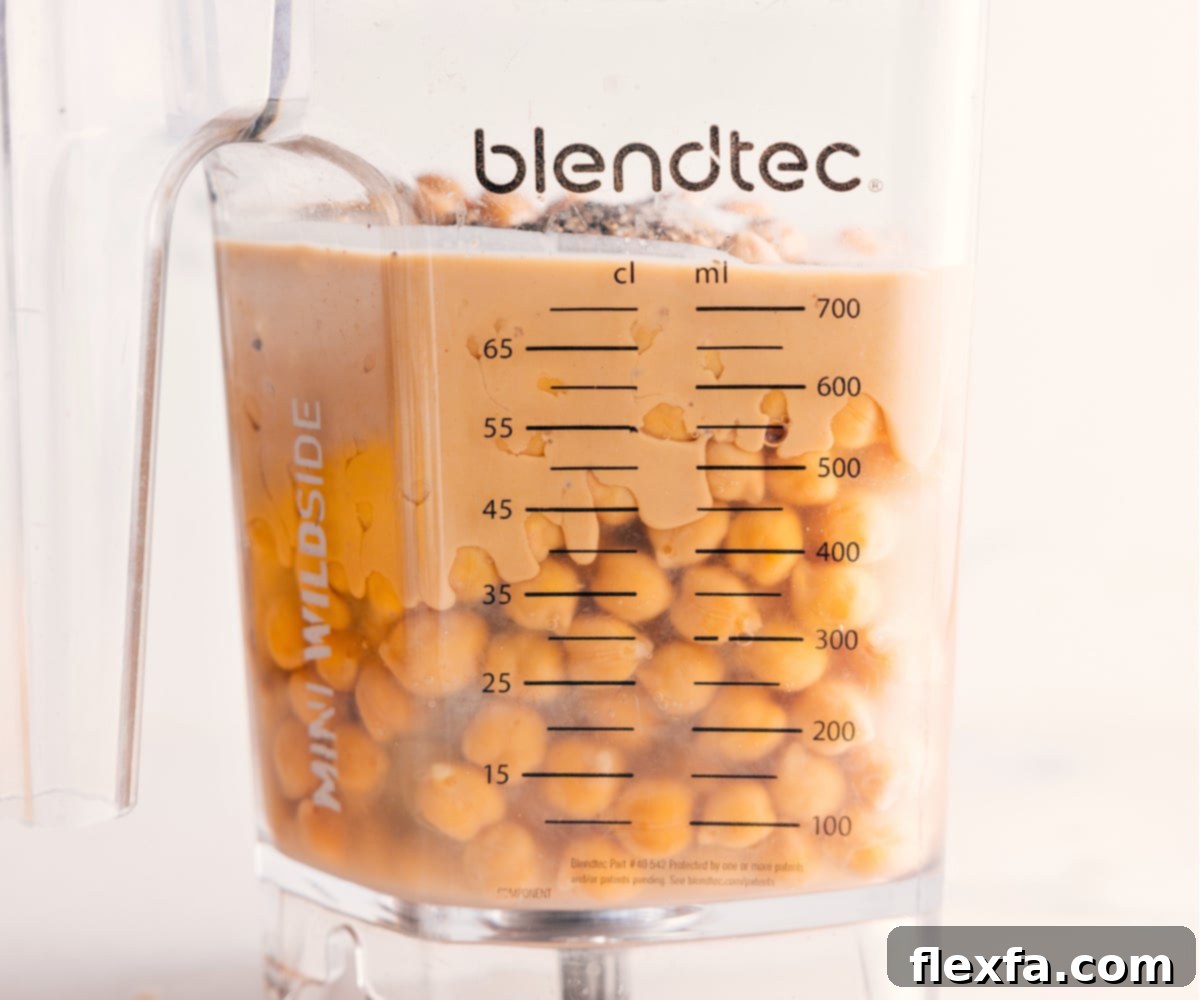
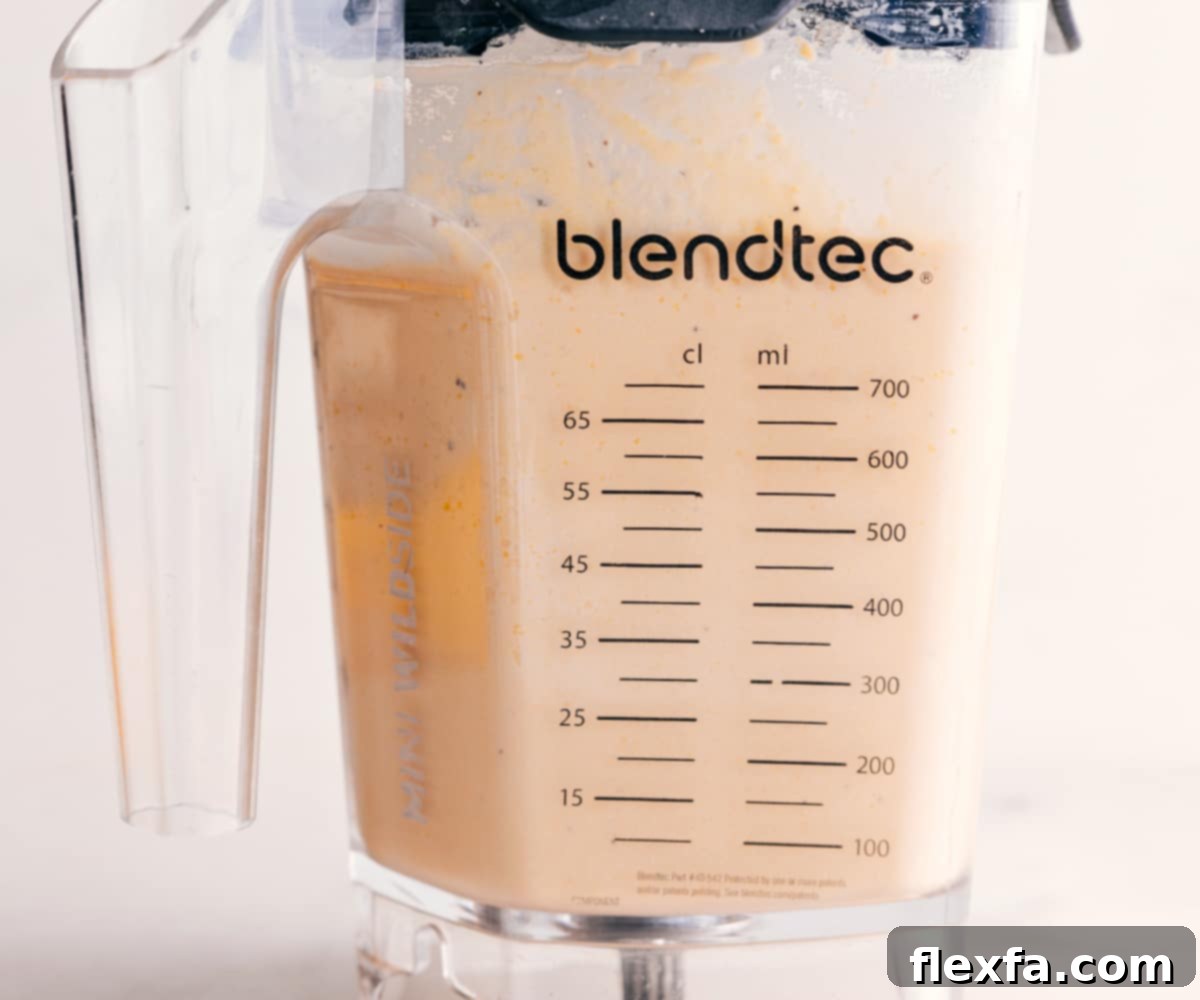
When it comes to achieving that coveted, incredibly smooth, and airy texture that distinguishes exceptional hummus, a high-speed blender (such as a Blendtec® or Vitamix®) is, in my experience, superior to a food processor. Blenders generate more friction and a finer cutting action, allowing them to thoroughly pulverize chickpea skins and create a uniformly creamy consistency that is hard to beat. This intense blending action results in a truly luxurious, almost whipped hummus that feels divine on the palate. If your priority is achieving an effortlessly silken and smooth hummus, the blender is unequivocally the champion.
Serving Temperature Matters: Should Hummus Be Served Warm or Cold?
For the absolute best flavor and texture, homemade hummus is ideally served at room temperature. When hummus is chilled directly from the refrigerator, its consistency can become quite stiff and dense, and its complex flavors, particularly the aromatic garlic and bright lemon, tend to be muted. Allowing your hummus to sit out for about 20-30 minutes before serving will bring it to a perfectly creamy, more spreadable consistency and allow all those wonderful, nuanced flavors to truly bloom and shine. If you’ve just made it and all your ingredients were at room temperature, it’s perfect to serve immediately!
Maximizing Freshness: How To Store Your Homemade Hummus
Proper storage is essential to preserving the deliciousness and creamy texture of your homemade hummus, allowing you to enjoy its fresh flavors for days. Here’s a comprehensive guide to keeping your hummus fresh:
- Refrigeration for Short-Term Storage: Once prepared, transfer any leftover hummus to an airtight container. It will keep beautifully in the refrigerator for up to one week. It’s natural for homemade hummus to separate slightly over time; if this occurs, simply give it a good, vigorous stir before serving to restore its creamy consistency. You can also drizzle a thin layer of olive oil on top before sealing the container to act as a barrier and prevent drying.
- Freezing for Extended Preservation: Yes, hummus freezes remarkably well! For longer storage, spoon your hummus into a freezer-safe, airtight container. Ensure you leave a little headspace at the top (about half an inch) as the hummus may expand slightly when frozen. It can be stored in the freezer for up to 3 months without significant loss of quality. When you’re ready to enjoy it, transfer the frozen hummus to the refrigerator and allow it to thaw overnight. After thawing, stir it vigorously to restore its smooth texture. You might find it beneficial to add another drizzle of fresh olive oil or a squeeze of fresh lemon juice to revitalize its flavor and creaminess.
- Toppings: Add Just Before Serving: For the freshest taste and most appealing presentation, always add your delicate garnishes – such as a final drizzle of extra virgin olive oil, a sprinkle of paprika, or chopped fresh herbs – just before you serve the hummus, rather than before storing it. This ensures that the toppings remain vibrant, fresh, and visually appealing, preventing them from wilting or becoming soggy during storage.
Complete Your Feast: Delicious Dishes to Serve with Hummus
Hummus is an incredibly versatile and delightful centerpiece, but its true potential shines when it’s part of a larger, vibrant array of Middle Eastern and Mediterranean-inspired dishes. Create an unforgettable culinary spread with these perfectly complementary recipes:
Salads & Dressings
Tabouli (Tabbouleh)
This classic, herb-packed bulgur salad offers a refreshing, zesty counterpoint that complements the richness of hummus beautifully, adding textural and flavor diversity to your table.
Main Course
Baked Falafel
Crispy on the outside, incredibly tender on the inside, these baked falafel offer a healthier alternative to fried versions and serve as a perfect protein-rich companion to your creamy hummus.
Dinner
Curry Lentil Soup
A flavorful and wholesome lentil soup, rich with warm curry spices, provides a delightful and comforting contrast to the cool and creamy texture of hummus.
Dinner
Vegetable Masala
A comforting and aromatic vegetable curry that can be served alongside hummus for a wonderfully diverse and richly flavored meal, perfect for a family dinner.

Print Recipe
Creamy Blender Hummus: An Authentic Recipe
Chelsea Lords
15 minutes
15 minutes
10 as a side/app (yields 3-1/3 cups)
Equipment
-
High-Speed Blender (recommended for the smoothest texture, or use a food processor for a slightly coarser result; see notes for details)
Ingredients
- 2 (15-ounce) cans chickpeas (undrained; reserve 1 cup of liquid; see note 1 if using dried chickpeas)
- 3 garlic cloves (approximately 1 tablespoon when sliced)
- 1/2 cup hulled tahini (ensure it’s well-stirred; see note 2 for brand recommendations)
- 2 lemons (to yield about 1/3 cup fresh juice)
- Salt and pepper (to taste, start with 1/2 tsp salt and 1/4 tsp pepper)
- Extra virgin olive oil (for generous drizzling on top)
- 1/8 teaspoon paprika (sweet or smoked, for topping)
- 1 tablespoon finely chopped fresh parsley (optional, for topping)
- Pita chips or fresh veggies (for serving and dipping)
Instructions
-
Begin by carefully draining the two (15-ounce) cans of chickpeas. It is crucial to reserve at least 1 cup of the chickpea liquid (often called aquafaba), as this will be used to achieve the desired creamy consistency. Do not rinse the chickpeas. Next, juice your fresh lemons until you have approximately 1/3 cup of vibrant lemon juice.
-
Into the container of a high-powered blender (which I highly recommend for the smoothest results) or a food processor, add the drained chickpeas, 1/2 cup of the reserved chickpea liquid, the thinly sliced fresh garlic cloves, the well-stirred hulled tahini, the freshly squeezed lemon juice, and your initial seasonings of salt and pepper. Start with 1/2 teaspoon of salt and 1/4 teaspoon of freshly ground black pepper. The saltiness of canned chickpeas can vary, so these are starting points that you will adjust later.
-
Secure the lid and blend the mixture for 2 to 4 minutes. Your objective is to achieve a perfectly smooth, luscious, and creamy consistency. During the blending process, you will likely need to pause occasionally to scrape down the sides of the blender jar with a spatula, ensuring all ingredients are thoroughly incorporated. If the hummus appears too thick or isn’t blending smoothly, gradually add up to an additional 1/4 cup of the reserved chickpea liquid, one tablespoon at a time, until it reaches your desired silky texture. Once blended, taste the hummus and adjust the salt, pepper, or lemon juice as needed to reach your perfect flavor balance.
-
Once your hummus has reached its peak creaminess and flavor, spoon it generously into a shallow serving bowl. Use the back of a spoon to create attractive swirls on the surface, or a small well in the center. Generously drizzle with high-quality extra virgin olive oil, allowing it to pool beautifully in the swirls. Finally, sprinkle with paprika (using sweet or smoked, according to your preference) and a scattering of finely chopped fresh parsley, if you are using it, for a stunning presentation and added aroma. Serve immediately with crispy pita chips, an assortment of fresh vegetable sticks, or warm pita bread, and prepare to enjoy the best homemade hummus!
Chef’s Notes & Expert Tips
For this recipe, I unequivocally prefer a high-powered blender. Brands like Blendtec® or Vitamix® are exceptional at creating a remarkably smoother, silkier hummus in less time compared to a food processor. The intense blending action effortlessly breaks down the chickpea skins, delivering that coveted velvety texture. A food processor will also work, but it typically results in a slightly coarser, more rustic hummus, which some individuals may prefer.
Note 2: Preparing Dried Chickpeas for Ultimate Freshness
While canned chickpeas offer convenience, using dried chickpeas provides a deeper flavor and can sometimes result in an even creamier hummus. If you choose to use dried chickpeas, plan ahead as they require cooking before blending. Start with 1 cup of dried chickpeas.
Stovetop Method for Dried Chickpeas:
- First, soak the dried chickpeas generously overnight (for at least 8-12 hours) in plenty of cold water. They will significantly increase in size, often tripling their volume.
- Drain the soaked chickpeas, then transfer them to a large pot. Cover them with fresh water, ensuring there’s about 2 inches of water above the chickpeas. Add 1 teaspoon of baking soda to the pot (this helps soften the chickpea skins, contributing to a creamier texture).
- Bring the water to a rolling boil, then reduce the heat to a gentle simmer. Cook with the lid slightly ajar for approximately 45-55 minutes, or until the chickpeas are exceptionally tender and soft, almost falling apart. Check for tenderness every 15 minutes.
- Allow the cooked chickpeas to cool completely in their cooking liquid. Before draining, make sure to reserve some of this flavorful liquid, as it will serve the same purpose as the aquafaba from canned chickpeas.
Instant Pot Method for Dried Chickpeas:
- A fantastic time-saving option, the Instant Pot eliminates the need for pre-soaking. Simply place the dried chickpeas directly into your Instant Pot.
- Cover them generously with water. Cook on high pressure for 50 minutes.
- Allow the pressure to release naturally for 10 minutes, then perform a manual release for any remaining pressure.
- Just like the stovetop method, remember to save some of the cooking liquid before fully draining the chickpeas.
Note 3: The Indispensable Role of Hulled Tahini
As highlighted earlier, the type and quality of tahini are paramount to this recipe’s success. Always, without exception, use hulled tahini, which is made from sesame seeds with their outer layers removed. This type yields a smooth, less bitter, and authentically flavored hummus. Avoid unhulled or whole-seed tahini, as its inherent bitterness will overpower the delicate balance of your dip. Before measuring, vigorously stir or shake the tahini jar to ensure the oil and paste are fully combined and homogenous. For superior results, I recommend Mighty Sesame Co. or Soom Foods Sesame Tahini Paste.
Storage Tips for Longevity: Store any leftover homemade hummus in an airtight container in the refrigerator for up to one week. To ensure maximum crispiness for your dippers, store pita chips in a separate sealed bag or container at room temperature. For even longer preservation, hummus can be frozen (refer to the detailed Storage section above for comprehensive instructions).
Nutrition Facts
Serving: 1 serving | Calories: 267kcal | Carbohydrates: 33g | Protein: 12g | Fat: 11g | Saturated Fat: 1g | Polyunsaturated Fat: 5g | Monounsaturated Fat: 4g | Sodium: 13mg | Potassium: 393mg | Fiber: 9g | Sugar: 5g | Vitamin A: 39IU | Vitamin C: 6mg | Calcium: 76mg | Iron: 4mg
Disclaimer: Nutrition information is an estimate calculated automatically and should be used as an approximation only. Individual results may vary.
Loved this recipe? Share your thoughts below!
Your valuable feedback helps us continue to create and share more delicious content for you.
Beyond the Dip: Creative Ways to Enjoy Your Homemade Hummus
Hummus is far more versatile than just a simple dip. Its rich, creamy texture and profound flavor make it a fantastic and nutritious addition to a myriad of meals, transforming ordinary dishes into extraordinary culinary experiences. Get creative with these delicious serving suggestions, and discover new ways to incorporate your homemade hummus into your daily menu:
- The Classic Dip Experience: The most beloved and straightforward way to enjoy hummus! Scoop it up generously with warm, fluffy pita bread, crispy homemade pita chips, soft naan, rustic flatbread, a variety of crackers, or even crunchy pretzels. It’s an instant crowd-pleaser for any gathering.
- Vibrant Veggie Platter Perfection: Pair your hummus with a colorful array of fresh, crisp vegetables for a healthy, refreshing, and satisfying snack or appetizer. Think perfectly cut carrot sticks, crisp celery stalks, cool cucumber slices, vibrant bell pepper strips (in any color for visual appeal!), juicy cherry tomatoes, crisp snap peas, or even lightly blanched broccoli florets.
- The Ultimate Sandwich and Wrap Enhancer: Ditch the mundane mayonnaise and elevate your sandwiches! Slather a generous layer of creamy hummus onto your favorite sandwiches, wraps, or gyros for an instant boost of rich flavor, added creaminess, and significant nutritional value. It pairs wonderfully with sliced turkey, grilled chicken, roasted vegetables, or baked falafel for a wholesome meal.
- Wholesome Grain Bowl Base: Transform your grain bowls into a culinary masterpiece by using hummus as a flavorful and protein-rich base. Layer it with a bed of fluffy quinoa, hearty brown rice, or couscous. Top with your favorite roasted vegetables (such as sweet potatoes, zucchini, or asparagus), grilled chicken or chickpeas, and a sprinkle of crumbled feta cheese for a complete and incredibly satisfying meal.
- Savory Topping or Side Dish: Elevate your main courses by adding a dollop of this luxurious hummus. It’s an excellent accompaniment to roasted or grilled meats (chicken, lamb, or beef), pairs perfectly with freshly baked falafel, complements grilled halloumi cheese, or adds depth to any medley of roasted or grilled vegetables.
- Unexpected Breakfast Delight: For a truly authentic and surprisingly delicious Middle Eastern breakfast experience, spread hummus generously on toasted sourdough bread, a warm bagel, or a fresh piece of flatbread. Finish with a delicate drizzle of extra virgin olive oil, a sprinkle of za’atar spice blend, a dash of red pepper flakes, or even a perfectly poached egg for a remarkably filling and flavorful start to your day.