
The Ultimate No-Bake Oreo Icebox Cake: An Easy Cookies & Cream Dream Dessert
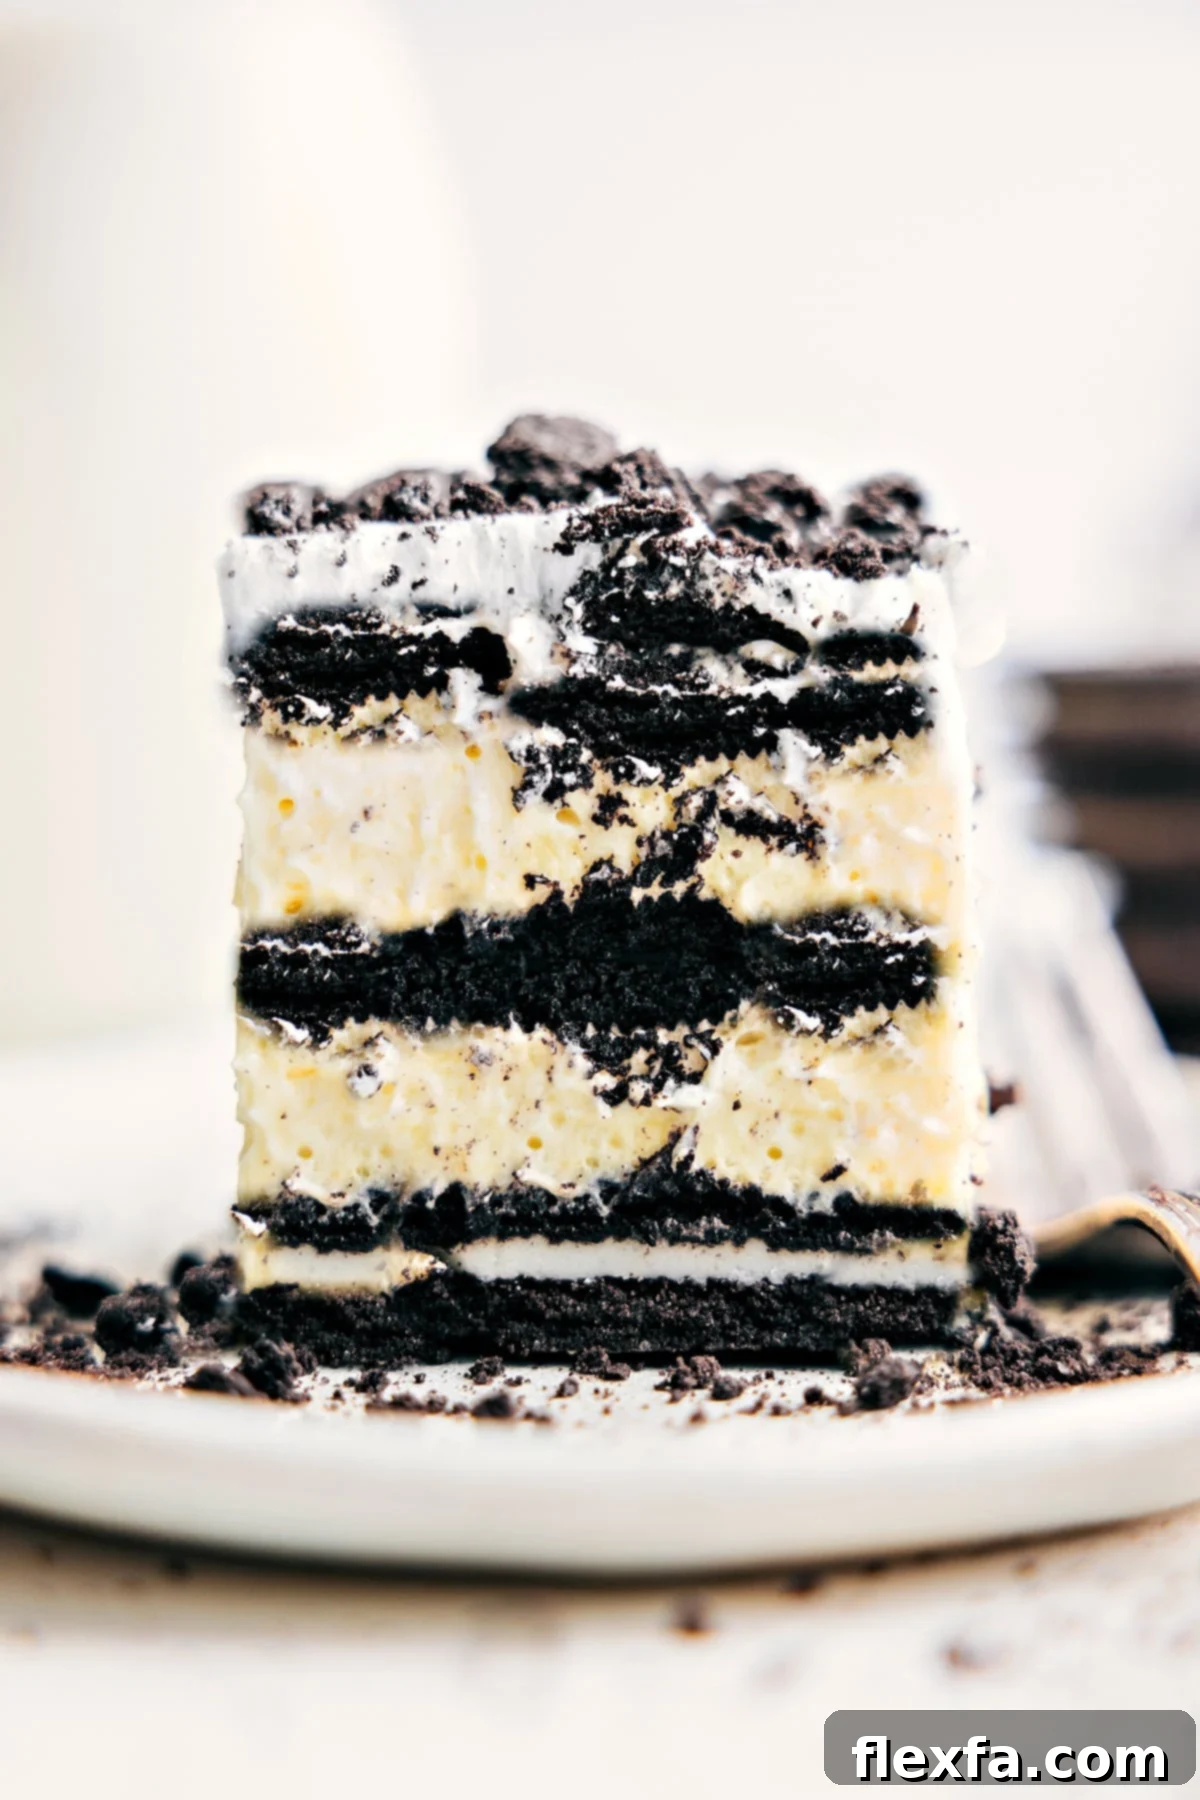
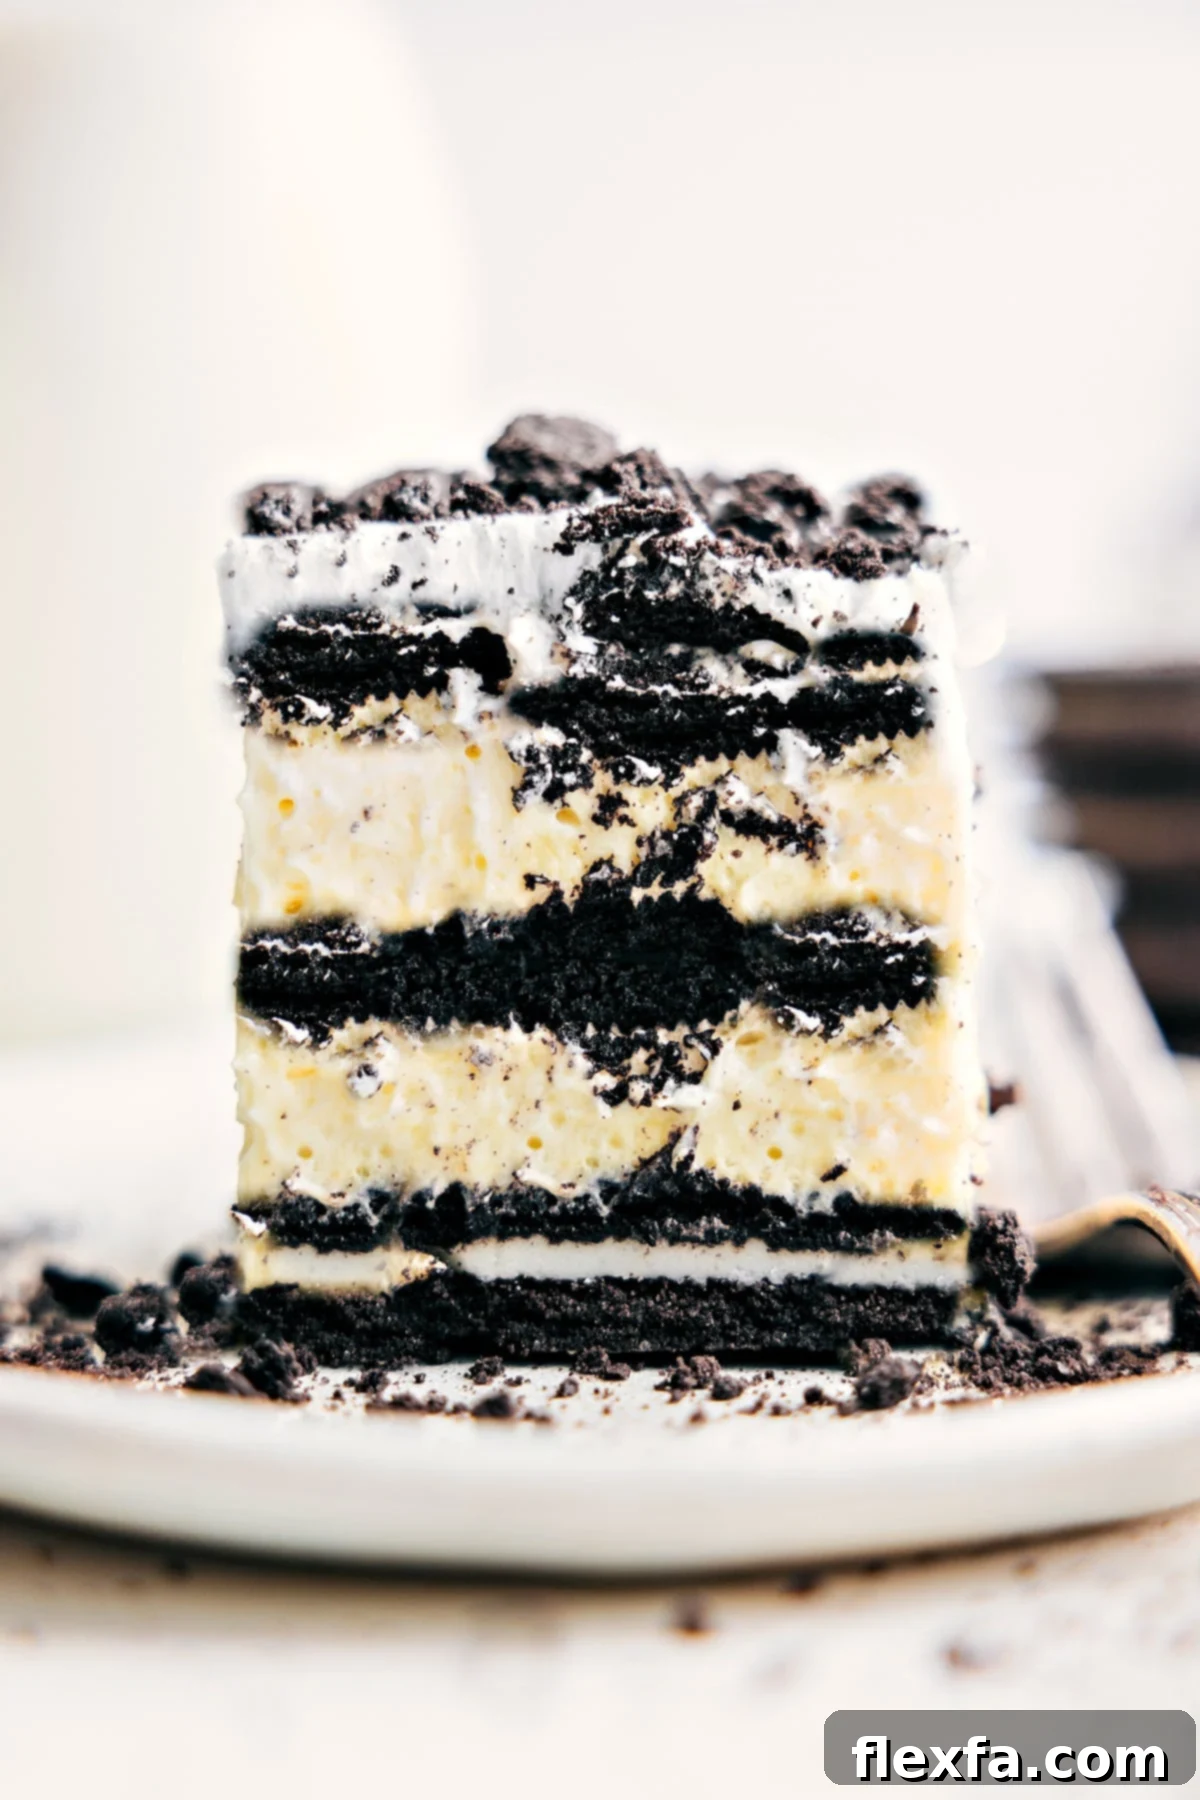
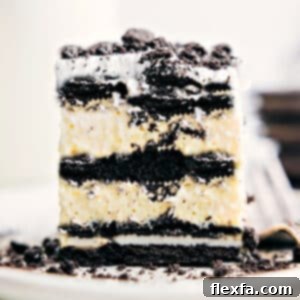
Indulge in the delightful simplicity of our **Oreo Icebox Cake**, an incredibly easy, no-bake dessert that promises pure bliss with minimal effort. Imagine layers of classic Oreo cookies, lovingly softened by milk, nestled between generous dollops of luscious vanilla pudding and fluffy whipped cream. After a relaxing chill in the refrigerator, this magnificent creation magically transforms, cutting just like a perfectly baked cake – but with all the irresistible crunch and creaminess of your favorite cookies and cream treat!

Family Favorite
My Kitchen’s Basically a Dessert Drive-Thru…& I Love It!
This past summer, my kitchen transformed into a bustling hub of sweet treats, a revolving door of deliciousness as kids from all around came and went. Everyone knows how much I adore baking, and they’re never shy about requesting their favorite goodies. Whether they’ve spotted a tempting photo on my Instagram or fondly recalled a past delight, their specific asks keep my baking adventures exciting and my oven (or fridge, in this case!) constantly busy.
The neighborhood crew has even bestowed legendary titles upon some of my creations! My buckeye brownies are now officially known as “legendary brownies,” and my refreshing frozen lemonade has been declared “the best drink to ever exist.” It’s these moments of pure joy and satisfaction from happy faces that truly fuel my passion for creating desserts.
A couple of weeks ago, after whipping up a batch of my popular chocolate chip cookie icebox cake, the kids immediately put in a repeat order. I didn’t have any chocolate chip cookies on hand at the time, but creativity struck! I decided to use Oreos instead, and what an excellent decision that turned out to be! It was an instant, resounding hit – everyone absolutely loved it.
After a few rounds of perfecting the recipe, I discovered a crucial step that elevates this dessert to a whole new level: gently soaking the Oreos in milk beforehand. This simple technique yields the absolute best results. The cookies soften beautifully, integrating seamlessly into the creamy layers and transforming into the perfect cake-like texture once thoroughly chilled. It’s this little secret that makes each bite incredibly satisfying and truly melt-in-your-mouth delicious.
Why You’ll Love This No-Bake Oreo Icebox Cake
- **Effortlessly Easy:** With no baking required, this dessert is perfect for beginners or anyone looking for a quick and simple treat.
- **Crowd-Pleasing Perfection:** The classic cookies and cream flavor is universally loved, making this cake a guaranteed hit at any gathering, party, or family dinner.
- **Cool & Refreshing:** Ideal for warm weather, this chilled dessert is light, creamy, and wonderfully refreshing.
- **Customizable Fun:** Easily adapt the flavors with different Oreo varieties or pudding mixes to create your own unique masterpiece.
- **Make-Ahead Magic:** This cake requires chilling, making it the perfect make-ahead dessert. Prepare it the day before, and simply slice and serve when ready!
Featured Comment
I made this and it was excellent. Looked and tasted great. All were impressed!! This is definitely going into my regular rotation of desserts.
– Susan
Essential Oreo Icebox Cake Ingredients
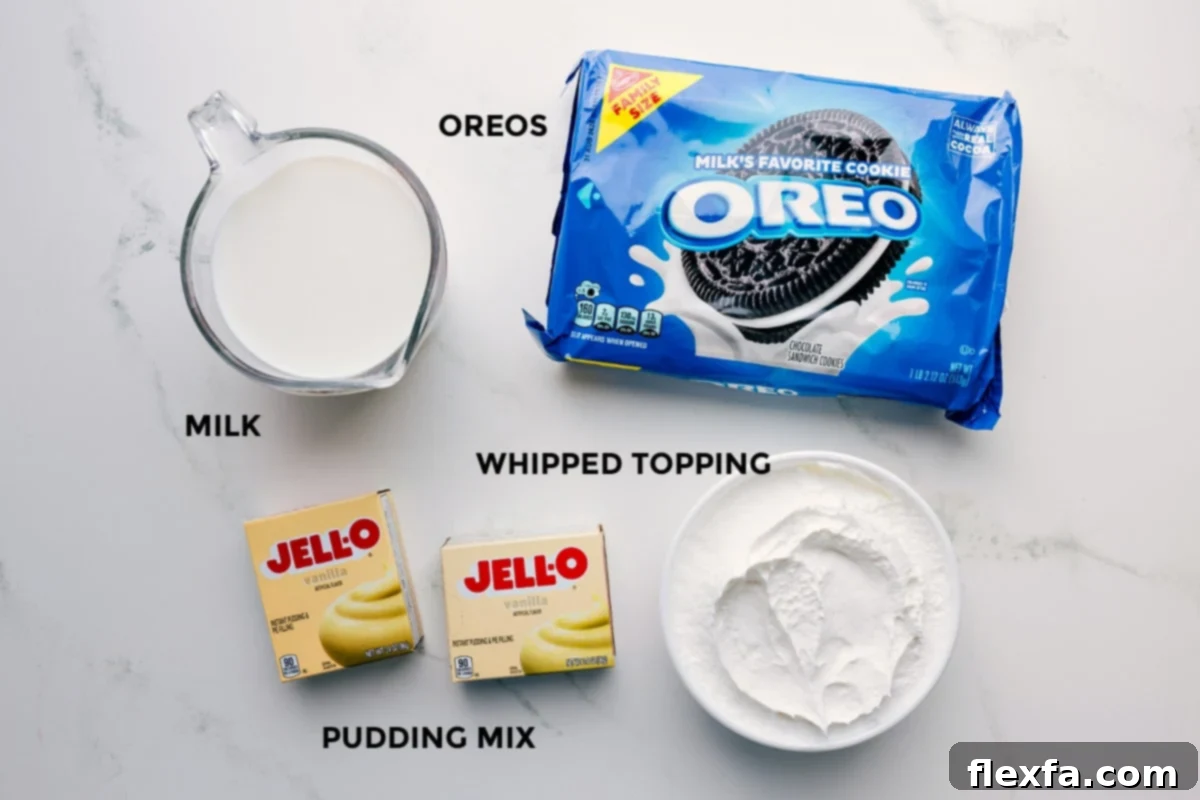
Crafting this delightful no-bake treat requires just a few simple, readily available ingredients. Here’s what you’ll need to create your cookies and cream masterpiece:
| Ingredient | Amount | Notes |
|---|---|---|
| Oreo cookies | 2 party-size packages | Classic Oreos work best for that authentic flavor, but feel free to experiment with other flavors like Mint or Golden Oreos for a twist! Ensure you have enough to make layers and some for garnish. |
| Instant vanilla pudding mix | 2 small boxes (3.4 oz each) | Crucially, use *regular instant pudding mix*. Avoid sugar-free, low-fat, or “cook-and-serve” varieties, as they will affect the setting and texture. |
| Whole milk | 3-1/4 cups | Divided for the pudding and for soaking the cookies. Whole milk provides the richest, creamiest texture and helps the pudding set perfectly. |
| Whipped topping | 1 tub (8 oz), thawed | A thawed tub of regular Cool Whip, Truwhip, or Cocowhip (for a dairy-free option) works wonderfully. You can also use homemade whipped cream for an extra touch of decadence. |
Oreo Icebox Cake: Expert Tips for Success
Achieving the perfect Oreo Icebox Cake is simple with these helpful tips:
- The Quick Dip is Key: When dipping your Oreos in milk, aim for a very quick 1-2 second dip on both sides. This softens them just enough to become cake-like without turning them soggy or crumbly. A brief dip ensures they absorb enough moisture to transform during chilling.
- Opt for Regular Whipped Topping: While light or sugar-free whipped toppings might seem like a healthier alternative, they tend to become watery as the cake chills. Regular whipped topping maintains its fluffy texture and stability, contributing to the overall creamy consistency of the dessert.
- Chill Overnight for Best Texture: Patience is a virtue, especially with icebox cakes! Allowing the cake to chill for a minimum of 8 hours, and ideally overnight, is crucial. The extended chilling time allows the Oreos to fully soften and meld with the pudding and whipped cream, creating that wonderful, cohesive cake-like texture.
- Warm Your Knife for Clean Slices: To achieve beautifully clean and smooth slices, run a sharp knife under hot water, wipe it dry, and then make each cut. Repeat this process for every slice to prevent the creamy layers from sticking and smearing.
- Fill Every Layer: Don’t leave any gaps! Break extra cookies into smaller pieces to fill any empty spots in your cookie layers. This ensures that every single bite of your icebox cake has a perfect balance of cookie and cream.
Storage
- **Store in the Fridge:** Keep your Oreo Icebox Cake well-covered with plastic wrap or in an airtight container in the refrigerator. This will maintain its freshness and prevent it from absorbing other odors. It stays wonderfully delicious for up to 1 week.
- **Skip the Freezer:** Freezing this icebox cake is generally not recommended. The texture of the softened Oreos and creamy pudding can become grainy or watery upon thawing, compromising the overall quality and flavor. Stick to refrigeration for the best results.
More Irresistible Oreo Desserts:
If you’re an Oreo aficionado like us, you’ll love exploring these other fantastic recipes that celebrate the iconic cookie!
Desserts
No-Bake Oreo Truffles
These decadent, bite-sized truffles are incredibly easy to make and perfect for parties.
Desserts
Brownie Oreo Ice Cream Bars
Combine brownies, Oreos, and ice cream for an ultimate frozen dessert bar.
Cookies
Homemade Oreos
Recreate the classic cookie at home with this fun and rewarding recipe.
Frozen Treats
Oreo Milkshake
Blend up your favorite cookies into a thick, creamy, and refreshing milkshake.
Print Recipe
Oreo Icebox Cake
Chelsea Lords
30
9
9
30
24
pieces
Video
A video demonstration for this Oreo Icebox Cake recipe would typically be embedded here, showing each step visually. For now, please follow the detailed written instructions below for a successful dessert!
Equipment
-
8 x 8-inch baking pan
-
Mixing bowls
-
Whisk
Ingredients
-
2
(24-ounce) packages
Oreo cookies
(party-size package) see Note 1 -
2
(3.4-ounce) packages
instant vanilla pudding mix
see Note 2 -
3-1/4
cups
whole milk
divided -
1
8-ounce container
frozen whipped topping
thawed, divided, see Note 3
Instructions
-
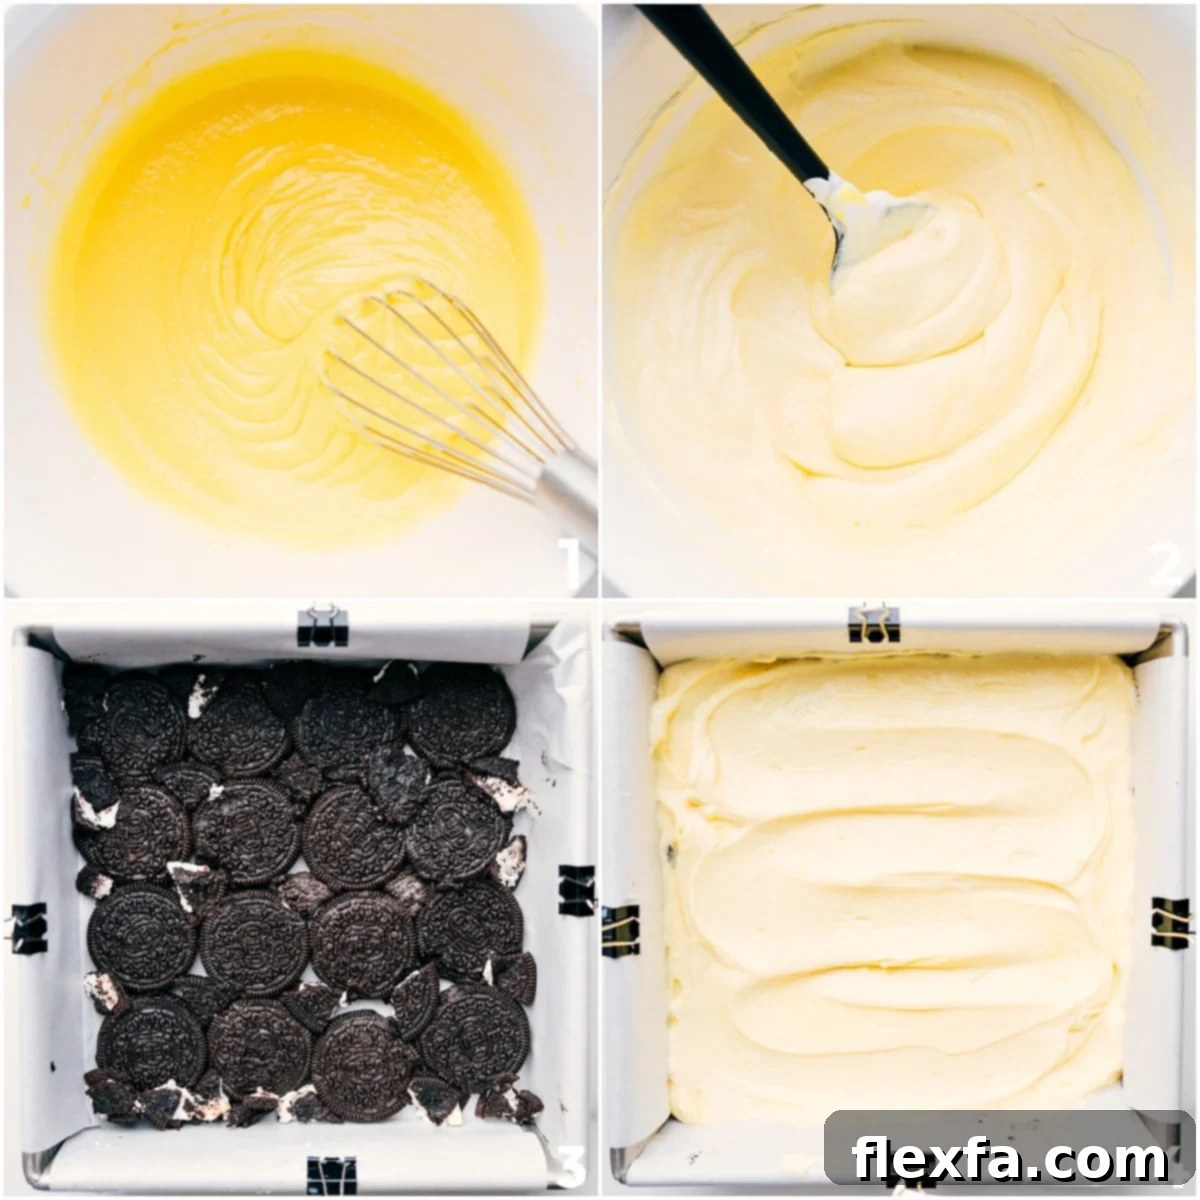
Prepare Your Pan: First, line an 8×8-inch baking pan with parchment paper, ensuring there’s a generous overhang on the sides. This thoughtful step will make it incredibly easy to lift the entire cake out of the pan once it’s chilled and set. Next, scoop out approximately 1 heaping cup of the thawed whipped topping and set it aside; this will be used for the final top layer.
-
Make the Creamy Pudding Mixture: In a large mixing bowl, add both packages of instant vanilla pudding mix. While continuously whisking, gradually pour in 2-1/4 cups of whole milk. Continue to whisk vigorously for 1-2 minutes, or until the mixture becomes completely smooth and begins to thicken. Once the pudding is thickened, gently fold in the remaining whipped topping (the portion that was not set aside) until it’s fully combined and the mixture is light and airy.
-
Dip the Oreos: Pour the remaining 1 cup of whole milk into a shallow bowl. Take each Oreo cookie and quickly dip both sides into the milk, ensuring it’s just a 1-2 second dip to prevent them from becoming soggy. Arrange a single layer of these milk-soaked cookies evenly at the bottom of your prepared pan. Break cookies as needed to fill in any empty spaces and create a solid, continuous base layer.
-
Layer It Up: Carefully spread half of the prepared pudding mixture evenly over the first layer of Oreo cookies. Next, create another layer of milk-soaked Oreos, again breaking cookies to ensure full coverage. Then, spread the remaining half of the pudding mixture over this second cookie layer. Finish the layering with a final, third layer of milk-soaked Oreo cookies on top.
-
Chill and Set: Take the reserved heaping cup of whipped topping and spread it smoothly over the final layer of Oreo cookies. Once completely covered, carefully cover the pan tightly with plastic wrap. Transfer the pan to the refrigerator and allow it to chill for at least 8 hours. For the absolute best texture and for the cookies to fully soften into a cake-like consistency, chilling overnight is highly recommended.
-
Serve and Enjoy: Once thoroughly chilled, use the parchment paper overhang to gently lift the entire cake out of the pan and onto a cutting board. Using a sharp knife that has been warmed under hot water and wiped dry (repeat for each cut), slice the cake into neat squares. For an optional decorative touch and extra crunch, garnish each piece with a sprinkle of leftover crumbled Oreo cookies before serving. Enjoy your irresistible no-bake treat!
Recipe Notes
Note 1: Oreo Quantity: You will need approximately two full party-size packages of Oreo cookies for this recipe. It’s always a good idea to have a little extra on hand, as it’s better to have too many than not enough to ensure full layers and a bit for garnish.
Note 2: Pudding Type Matters: For optimal thickness and texture, it is essential to use two small 3.4-ounce boxes of *regular instant vanilla pudding mix*. Avoid sugar-free, low-fat, or cook-and-serve varieties, as these will not set correctly and can result in a runny or less flavorful cake.
Note 3: Whipped Topping Choice: Regular Cool Whip® provides the best stability and creamy texture for this icebox cake. Light or sugar-free versions of whipped topping may become watery as they sit and chill, affecting the overall consistency of your dessert.
Cutting Tip: For perfectly clean and elegant slices, run a sharp knife under hot water for a few seconds, then wipe it completely dry before making each cut. This warmth helps the blade glide through the layers without sticking or tearing, resulting in smooth edges.
Storage: To keep your Oreo Icebox Cake fresh and delicious, store it tightly covered in the refrigerator. It tastes best and maintains its ideal texture within the first 2 to 3 days. Beyond that, the cream can start to become a bit watery, so it’s best enjoyed fresh. Freezing is not recommended as it alters the texture significantly.
Nutrition
Serving:
1
serving
|
Calories:
157
kcal
|
Carbohydrates:
9
g
|
Protein:
1
g
|
Fat:
13
g
|
Saturated Fat:
9
g
|
Cholesterol:
41
mg
|
Sodium:
17
mg
|
Potassium:
68
mg
|
Fiber:
1
g
|
Sugar:
7
g
|
Vitamin A:
446
IU
|
Vitamin C:
1
mg
|
Calcium:
33
mg
|
Iron:
1
mg
Nutrition information is automatically calculated, so should only be used as an approximation.
Like this recipe? Leave a comment below!
Your feedback helps other bakers!
Flavor Variations
Switch Up The Flavor!
The beauty of this Oreo Icebox Cake lies in its versatility. There are countless ways to customize and switch up the flavors to suit your cravings or the occasion. Get creative with these delicious ideas:
- Mint Oreo Cake: For a refreshing twist, simply swap out the classic Oreos for mint-flavored ones. The cool mint combined with the creamy layers is absolutely delightful, especially around holidays or for a vibrant treat.
- Peanut Butter Crunch: Elevate your cake with a rich, nutty flavor by using peanut butter Oreos. For an extra layer of indulgence, add a delicate peanut butter drizzle between each layer of pudding and cookies. This combination is a dream for peanut butter lovers!
- Triple Chocolate Dream: Dive into chocolate heaven by pairing your regular or chocolate Oreos with a chocolate instant pudding mix. You can even sprinkle some mini chocolate chips or chocolate shavings between layers for an ultimate triple chocolate experience.
- Golden Dream: If you prefer a lighter, more vanilla-centric flavor profile, opt for Golden Oreos. These pair beautifully with either vanilla pudding or a cheesecake-flavored instant pudding mix for a bright and airy dessert.
- Pistachio Icebox Cake: Explore another unique flavor profile with our dedicated Pistachio Icebox Cake recipe. It offers a distinct nutty flavor and a beautiful green hue.
- Seasonal Swaps: Think seasonally! Use Pumpkin Spice Oreos in the fall, or Peppermint Bark Oreos during the winter holidays for festive and timely desserts.
Oreo Icebox Cake FAQs
The texture of the Oreo Icebox Cake is truly at its peak on day two and day three after it’s been made. By then, the cookies have fully softened and integrated with the creamy layers, creating a perfect cake-like consistency. After day four, the whipped topping and pudding can start to become a bit watery, so it’s best enjoyed fresh within this optimal window.
While 2% milk will technically work for this recipe, using whole milk is highly recommended. Whole milk provides a richer, creamier texture and helps the instant pudding set more firmly, resulting in a more robust and satisfying cake. If you use 2% milk, the cake might be slightly less firm and have a milder richness. I wouldn’t advise going lower than 2% fat milk, as a lower fat content could result in a pudding mixture that is too soft and runny, impacting the cake’s structural integrity.
Yes, for this specific no-bake recipe, using instant pudding mix is crucial. Instant pudding contains gelling agents that allow it to thicken rapidly without cooking, providing the necessary structure for the cake layers. Cook-and-serve pudding or homemade custard will not thicken properly when mixed with whipped topping and will not set in the same way, leading to a runny and unsatisfactory result.
Absolutely! While store-bought whipped topping (like Cool Whip) is convenient and very stable, homemade whipped cream can add an extra touch of fresh flavor and richness. Just be sure to whip your heavy cream to stiff peaks to ensure it holds its shape well within the cake layers after chilling.
The cake needs a minimum of 8 hours to chill. However, for the very best results, allowing it to chill overnight (10-12 hours) is ideal. This extended chilling time gives the Oreo cookies ample opportunity to fully soften and absorb moisture from the pudding and whipped cream, transforming them into a delightful cake-like texture.
Final Thoughts on This Dreamy Oreo Dessert
This No-Bake Oreo Icebox Cake is more than just a dessert; it’s a nostalgic treat that brings smiles to every face. Its simplicity belies its incredible flavor and texture, making it a go-to recipe for busy hosts and sweet tooths alike. Whether you’re making it for a special occasion or simply to satisfy a craving, this cookies and cream masterpiece is guaranteed to impress with its effortless charm and irresistible taste. So, gather your ingredients, follow these simple steps, and prepare to enjoy a truly legendary dessert that will have everyone asking for seconds!