
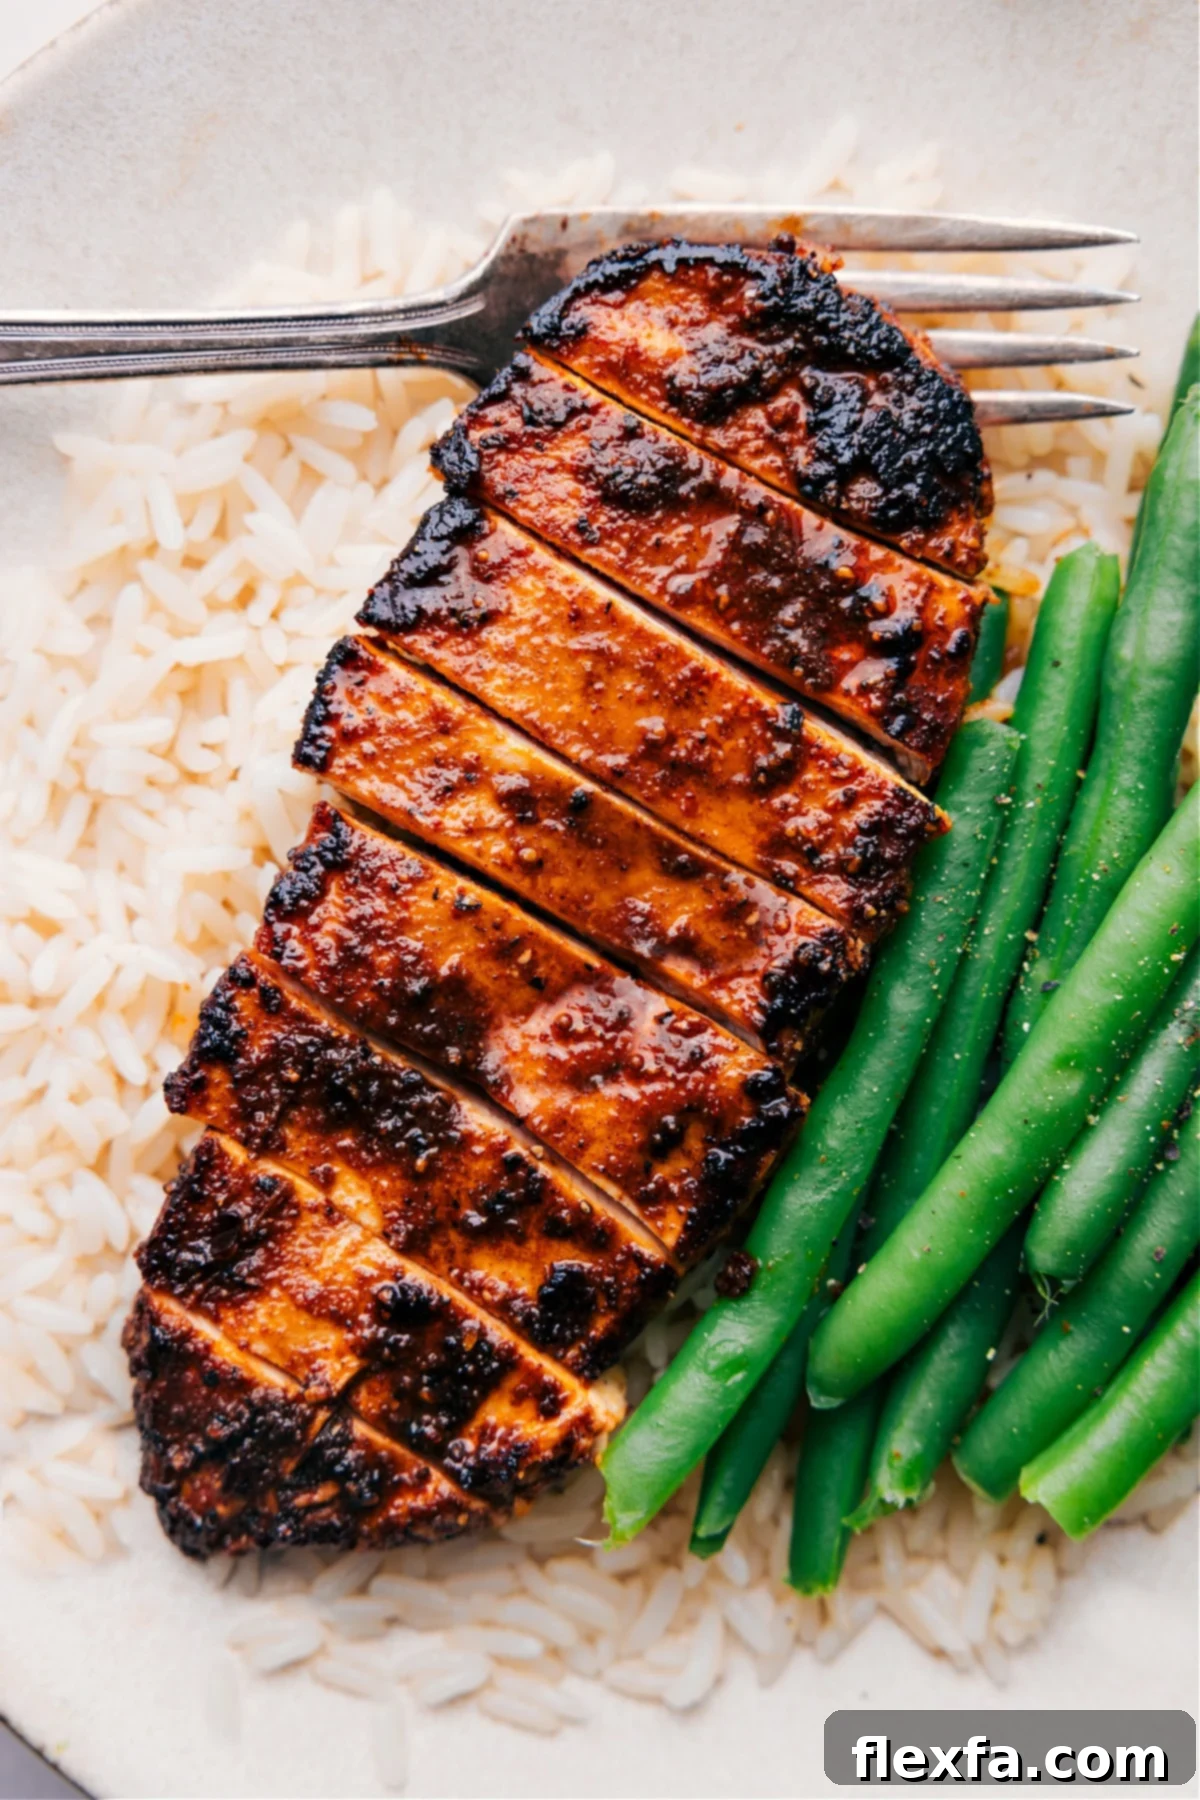
Mastering a truly delicious Blackened Chicken Recipe is simpler than you think! This guide will show you how to prepare perfectly seasoned chicken, quickly cooked to a flavorful, dark crust in your oven, skillet, or on the grill. Forget complicated steps; just a quick mix of spices, oil, and vinegar, a generous rub on the chicken, and you’re ready to cook up a meal that’s bursting with vibrant flavor.
What Is Blackened Chicken: A Culinary Exploration
Often misunderstood, “blackened” food is distinctly different from “burnt.” Originating from Cajun cuisine, the blackening technique involves coating meat or fish in a generous layer of savory spices, then cooking it at high heat in a cast-iron skillet (or other cooking methods) until a dark, flavorful crust forms. This crust isn’t charred or acrid; rather, it’s a deep mahogany to nearly black color, rich in caramelized spices that lock in moisture and create an intense flavor profile. Our recipe typically uses boneless, skinless chicken thighs for their inherent juiciness and forgiving nature, but we’ll also detail how to perfectly blacken leaner chicken breasts for a versatile meal option.
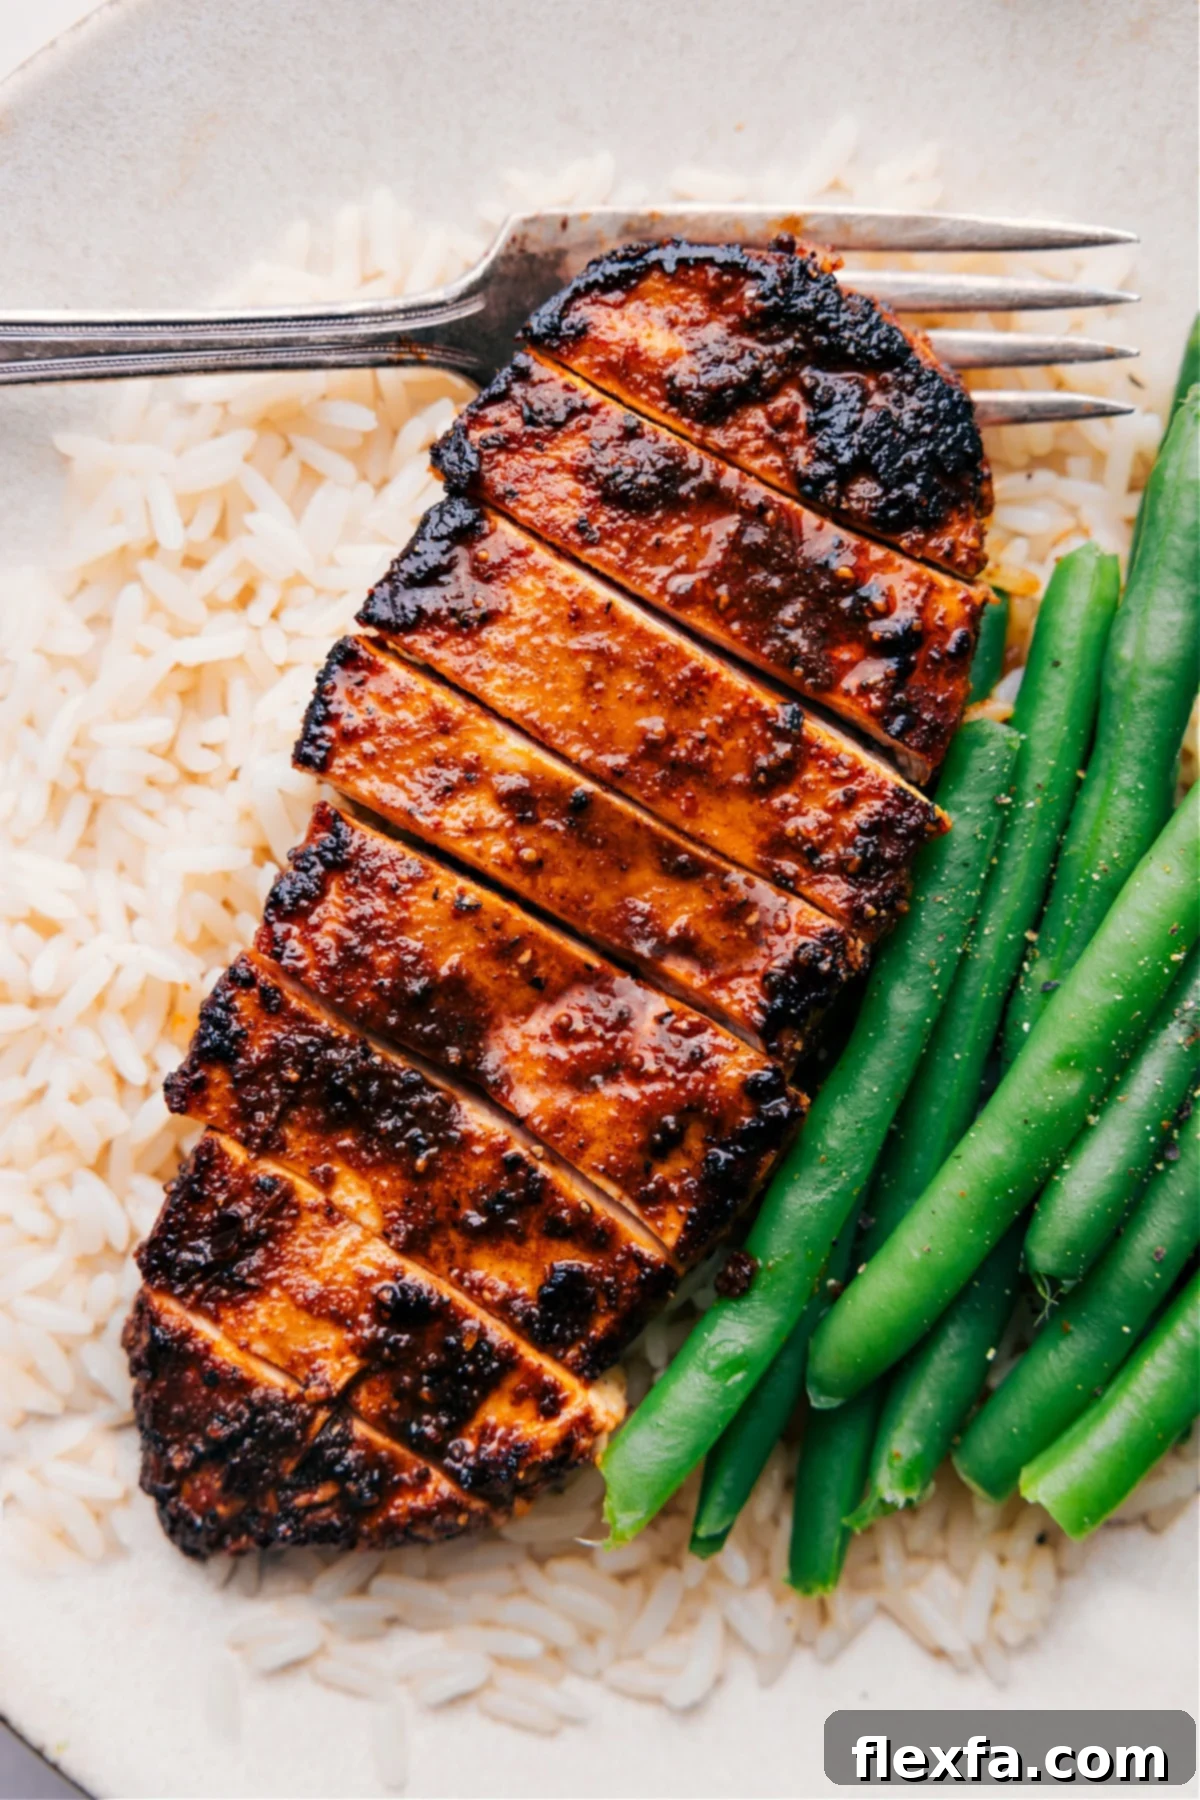
The Ultimate Blackened Chicken Recipe: Effortless Flavor & Meal Prep Perfection
Why declare this the best blackened chicken recipe? It’s not just about ease of preparation—though it’s undeniably ridiculously simple. This recipe excels in delivering an explosion of flavor, coupled with an incredibly tender and juicy texture that will make it a family favorite. The secret lies in a perfectly balanced spice blend and thoughtful cooking methods that ensure every bite is a delight.
For busy individuals and families, this blackened chicken is a game-changer, especially for meal prepping. I’ve personally found it to be an absolute lifesaver. Preparing several batches at the beginning of the week, alongside other staple proteins like chicken from an Italian chicken marinade, allows for quick assembly of diverse meals and snacks throughout the week. Feeding three growing kids with endless appetites requires smart strategies, and this recipe consistently delivers on both flavor and convenience. Dice it, slice it, or serve it whole—its versatility makes weekly meal planning a breeze.
Spice Level Customization: Make it Your Own!
Wondering if blackened chicken is spicy? It certainly can be, but it’s entirely customizable to your preference! As written, this recipe yields a wonderfully **mild** flavor profile that even my children enthusiastically enjoy. If you prefer less heat, simply omit the pinch of red pepper flakes. Additionally, ensure you use a mild chili powder blend, such as McCormick®. For those who crave a fiery kick, feel free to increase the amount of red pepper flakes or incorporate a dash of cayenne pepper. This flexibility ensures everyone at your table can savor this dish exactly how they like it.
Key Ingredients for Authentic Flavor
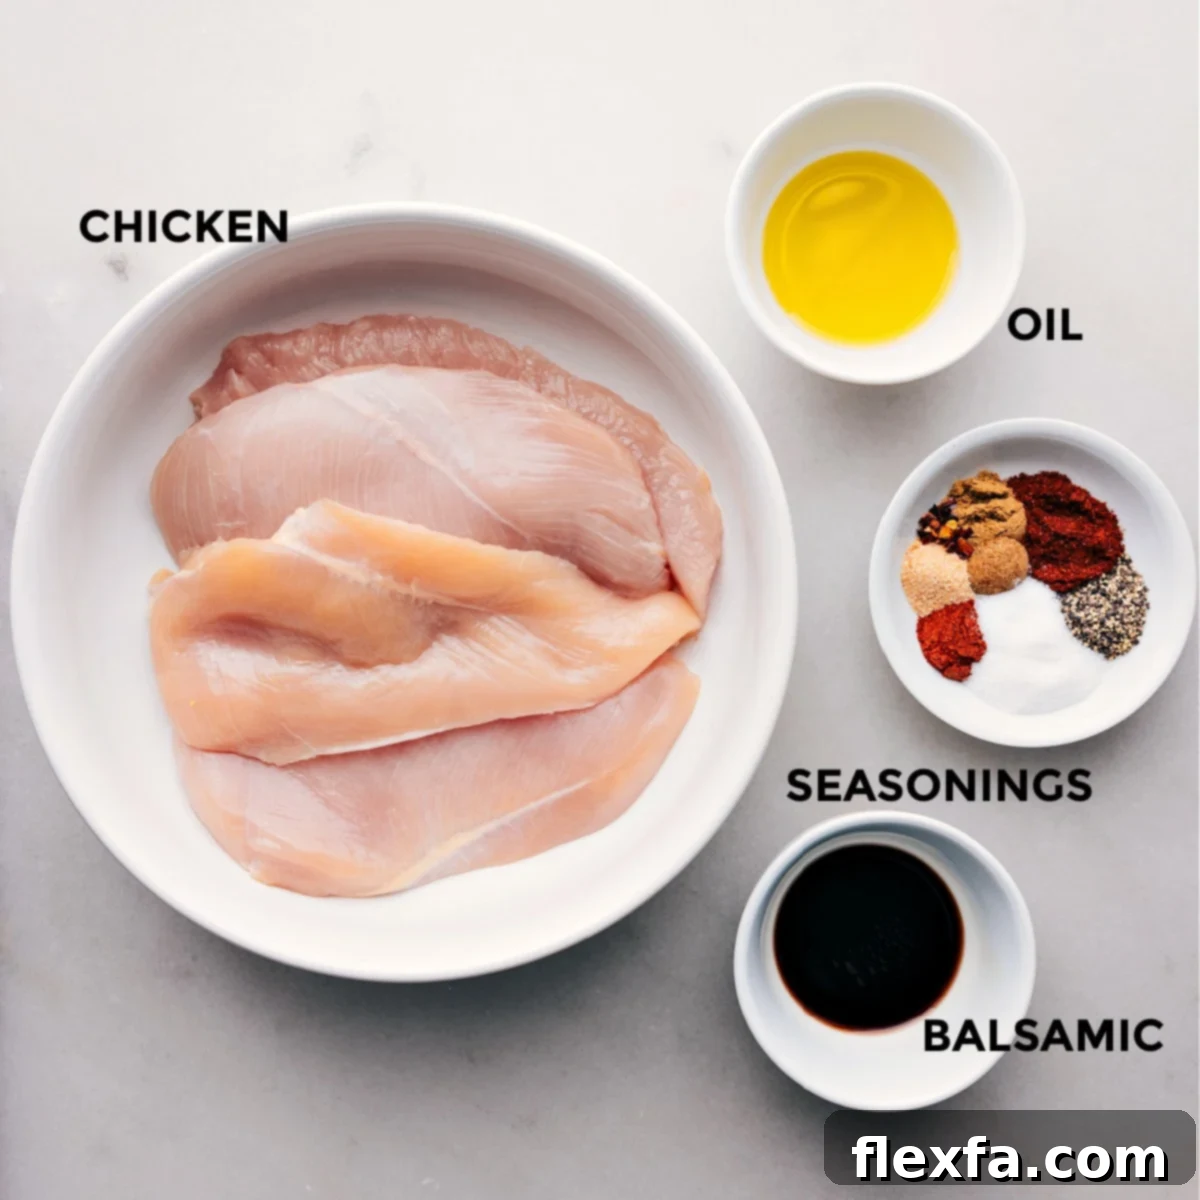
This Blackened Chicken recipe is remarkably simple to bring together, especially if you take a few moments to pre-assemble the spice blend. Each ingredient plays a crucial role in building the dish’s signature depth and complexity:
- The Perfect Seasoning Blend: Our blend is a symphony of flavors featuring chili powder, earthy cumin, aromatic coriander, sweet paprika, pungent garlic powder, and a hint of red pepper flakes for warmth. Of course, a foundational touch of salt and freshly ground black pepper rounds out this irresistible mix, ensuring a perfectly balanced taste.
- Olive Oil: Essential for creating the distinctive blackened crust, olive oil also helps the spices adhere beautifully to the chicken. You can also confidently substitute avocado oil if preferred, as both perform excellently in achieving that desired sear and moist interior.
- Balsamic Vinegar: This is truly the “secret” ingredient that elevates our blackened chicken above the rest. While you might not distinctly taste the vinegar itself, it imparts just the right amount of acidity. This acidity works to tenderize the chicken, enhance the spice flavors, and contribute to a more complex, deeply satisfying taste that lingers pleasantly on the palate. It’s a subtle touch with a powerful impact.
Pro Tip: Pre-Assemble Your Spice Blend for Ultimate Convenience!
To streamline your cooking process and make future meals even quicker, I highly recommend preparing a few **packets of the seasoning mix** in advance. Since all the spices are already out and you’re measuring them anyway, this takes just a few extra minutes. Simply measure out the full blend of spices for multiple batches, combine them, and then store these pre-measured blends in individual, labeled snack-size bags—for example, “Blackened Chicken Mix.” Store these handy packets with your other spices. The next time you’re ready to make this recipe, all you’ll need to do is open a packet, add the oil and balsamic vinegar, and you’re ready to coat your chicken! This simple step drastically cuts down on prep time on busy weeknights.
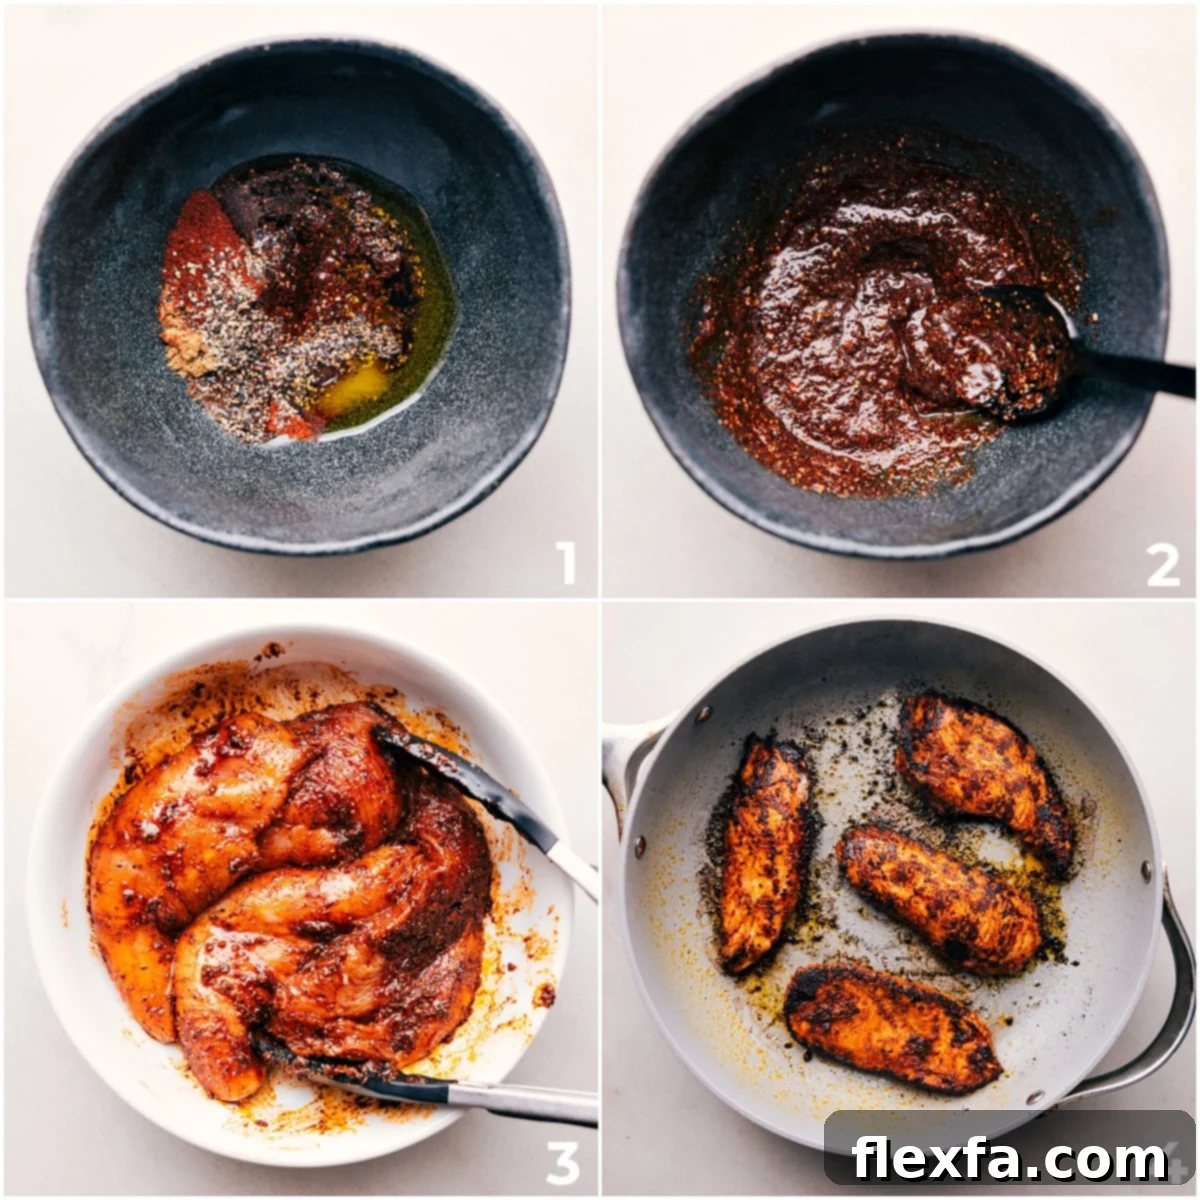
How To Make The Perfect Blackened Chicken Recipe: Step-by-Step
Achieving perfectly blackened chicken is straightforward and adaptable to your preferred cooking method. The key steps begin with preparing your seasoning and ensuring the chicken is ready to absorb all that incredible flavor. Here’s a detailed guide:
Initial Preparation:
In a medium-sized bowl, whisk together all the seasoning blend ingredients: chili powder, cumin, coriander, paprika, garlic powder, red pepper flakes (if using), olive oil, and balsamic vinegar. Season generously with salt and pepper to taste. Aim for a pasty consistency that will thoroughly coat the chicken. Next, pat your chicken thighs (or breasts, prepared as described below) thoroughly dry with paper towels. This crucial step helps the seasoning adhere better and promotes that desirable crispy, blackened crust. Once dry, generously rub the entire chicken surface with the prepared spice mixture, ensuring an even and complete coating.
Choose Your Cooking Method:
This recipe offers three fantastic cooking options, each yielding wonderfully flavorful results:
- Oven Baking (Our Go-To Method for Thighs): This is our preferred method for juicy boneless, skinless chicken thighs. Preheat your oven to 425°F (220°C). Line a large sheet pan with aluminum foil for easier cleanup. Place the seasoned chicken thighs on the prepared pan, ensuring they are laid flat and spaced with plenty of room between each piece to allow for even cooking and browning – avoid crowding the pan. Bake for 15 minutes. After baking, move the oven rack to about 8 inches from the heat source and switch your oven to the broiler setting. Immediately return the pan to the oven and broil for 7-10 minutes. Keep a close eye on it during this stage to achieve a beautiful, dark blackening and caramelization without burning. The internal temperature should reach 160°F (71°C), as carryover heat will bring it to the safe 165°F (74°C). For 5.5-ounce thighs, 8 minutes under the broiler is often perfect in my oven.
- Grilling (For Thighs or Breasts): Preheat your grill to medium-high heat (around 450°F / 230°C). Ensure your grill grates are clean and well-greased to prevent sticking. Place the seasoned chicken pieces flat on the grates, again making sure they are not bunched up. Close the lid and cook for 3-5 minutes per side, or until you achieve a lovely caramelized exterior and the chicken is cooked through. Use a metal spatula to easily scrape and flip the chicken. Cooking time will vary based on the thickness of your chicken.
- Skillet Cooking (Ideal for Breasts): If using boneless, skinless chicken breasts, this method is fantastic. To ensure even cooking and prevent dryness, halve the breasts widthwise to create thinner cutlets, and then lightly pound them to an even thickness (about 3/4 inch). Rub the prepared seasoning mixture all over. Heat 1 tablespoon of olive or avocado oil in a large, heavy-bottomed skillet (cast iron works best) over high heat until shimmering. Add the chicken pieces in a single layer, being careful not to overcrowd the pan. Cook for 2-3 minutes per side, or until a beautiful crust forms and the chicken is cooked through (internal temperature 160°F / 71°C). Remove the chicken from the skillet and let it rest for 5 minutes before slicing and serving. This resting period allows the juices to redistribute, ensuring maximum tenderness.
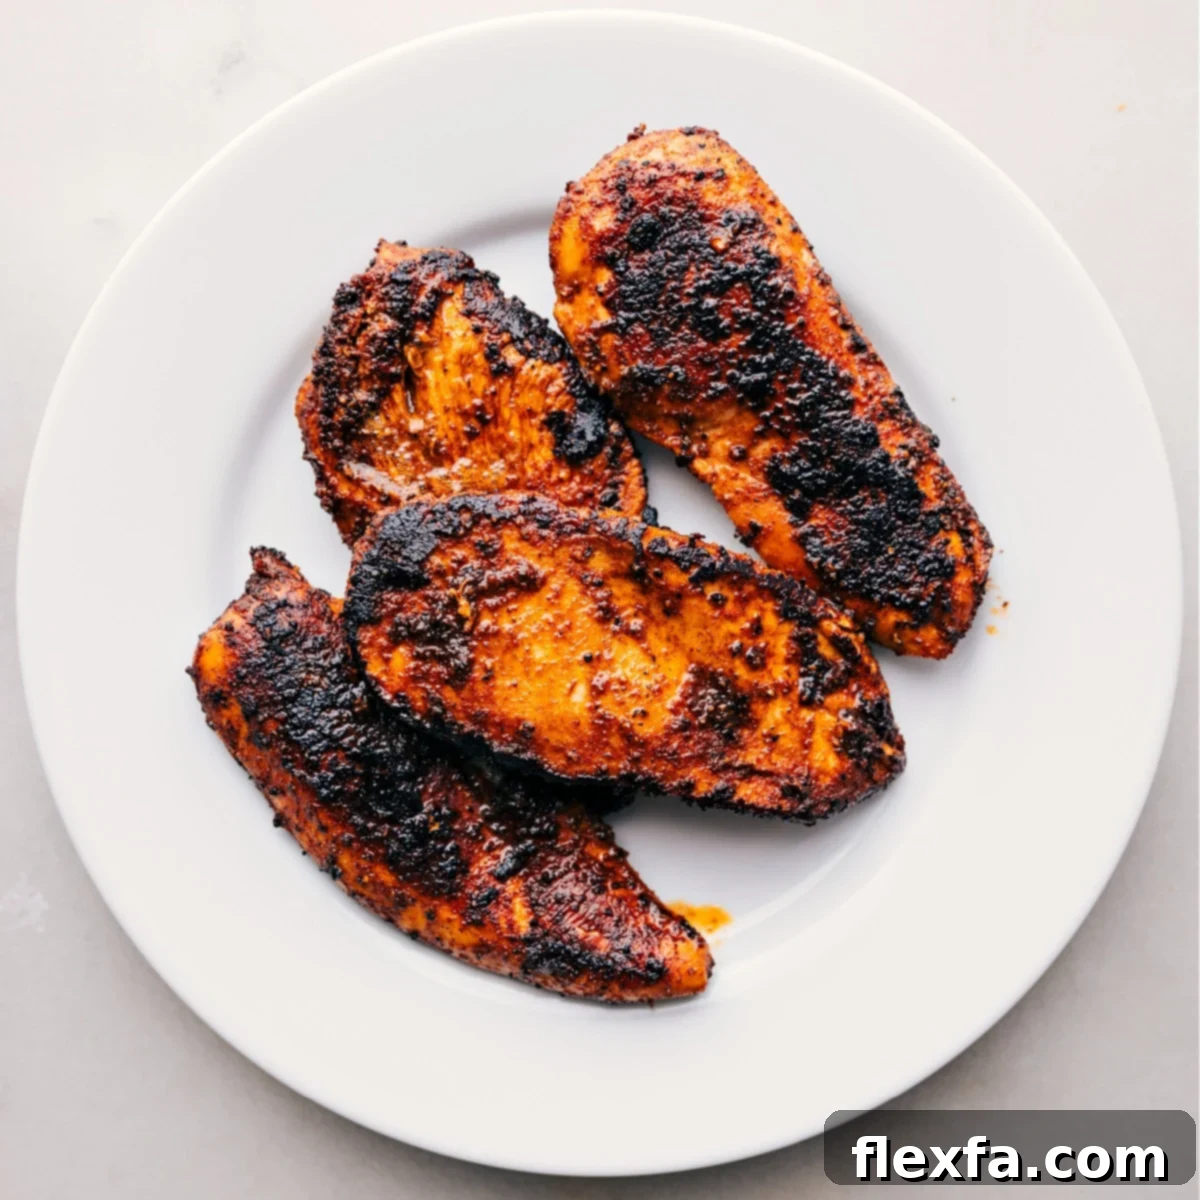
What To Serve With Blackened Chicken: Versatile Meal Ideas
One of the greatest attributes of this blackened chicken recipe is its incredible versatility. As I mentioned, I love preparing a large batch and incorporating it into various meals throughout the week. Here are some delectable ideas to inspire your culinary creations:
- As a Stand-Alone Meal, Fresh Out of the Oven: Enjoy this flavorful chicken simply as is, straight from the oven or skillet. It pairs wonderfully with a variety of simple side dishes:
- Roasted Vegetables: Complement the rich spices with vibrant roasted vegetables such as tender Roasted Broccoli, sweet Roasted Sweet Potatoes, or crisp Roasted Green Beans.
- Hearty Salads: For a lighter but still satisfying meal, serve alongside a substantial Italian Salad or a classic Olive Garden Salad.
- Transform into Flavorful Tacos: Create an exciting taco night! Gently char some extra-thin corn tortillas on the stovetop until they’re warm and pliable. Fill them with creamy guacamole, then pile on diced blackened chicken. A dollop of sour cream or a drizzle of this refreshing cilantro lime sauce provides the perfect finishing touch.
- Elevate Your Favorite Salads: Any salad you love will be instantly elevated by the addition of diced blackened chicken. Its robust flavor adds protein and depth. I’ve recently enjoyed it immensely in both the trendy Jennifer Aniston Salad and a wholesome Quinoa Salad Recipe.
- Craft a Delicious Burrito Bowl: Assemble a vibrant and satisfying burrito bowl. Start with a base of fragrant cilantro lime rice, add your diced blackened chicken, some roasted corn, black beans, and your favorite burrito bowl toppings. Think ripe avocado slices, a generous scoop of sour cream, or a fresh, zesty pico de gallo.
Recipe Tips for Perfection
Achieving the best blackened chicken consistently comes down to a few simple but important techniques:
- Always Line Your Pan with Foil: For oven baking, do not skip this step! Blackening spices can bake onto your pan, creating a stubborn mess. Lining the sheet pan with heavy-duty aluminum foil will make cleanup incredibly easy.
- Ensure Adequate Spacing on the Pan: Whether baking or grilling, it’s crucial to spread your chicken pieces out on the pan or grates with plenty of room between them. If chicken pieces are bunched together or overlapping, they will steam instead of sear, preventing that desirable blackened crust from forming.
- Adjust Seasoning for Larger Batches: If you decide to double or triple this recipe for meal prep or a crowd, remember to proportionally increase all the seasonings, including salt and pepper. While doubling the liquid ingredients (oil and vinegar) is usually straightforward, taste and adjust the spices, especially salt, as you mix to ensure the flavor remains balanced and robust. Keep in mind that baking time will also likely increase slightly when cooking a larger quantity of meat on the same pan.
- Don’t Rush the Rest: After cooking, allow the chicken to rest for 5-10 minutes, lightly tented with foil. This allows the juices to redistribute throughout the meat, resulting in a significantly more tender and moist chicken. Skipping this step can lead to dry chicken.
- Check Internal Temperature: For food safety and optimal tenderness, always ensure your chicken reaches an internal temperature of 165°F (74°C) as measured by a meat thermometer in the thickest part of the meat.
Extend the Flavor: Use This Chicken In One Of These Recipes:
Dinner
Coconut Chicken and Rice
Dinner
Chicken Caesar Wrap Recipe
Dinner
Rotisserie Chicken Tacos
Sandwiches
Mexican Street Corn Chicken Salad
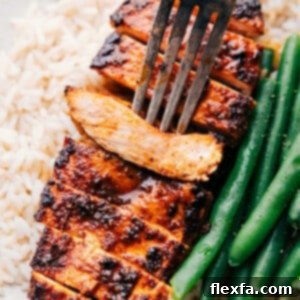
Blackened Chicken Recipe
Video
Equipment
-
Large sheet pan (15″ x 21″ recommended for oven method)
-
Aluminum foil
-
Mixing bowls
-
Whisk
-
Meat thermometer (optional, but recommended)
Ingredients
- 1 pound boneless, skinless chicken thighs or breasts—see note 1 for preparation
- 4 teaspoons olive oil (or avocado oil)
- 2 teaspoons balsamic vinegar
- Salt and pepper (to taste, typically 1 tsp salt, 3/4 tsp pepper)
- 1-1/4 teaspoon chili powder (mild)
- 1/2 teaspoon ground cumin
- 1/2 teaspoon garlic powder
- 1/2 teaspoon paprika
- 1/4 teaspoon ground coriander
- 1/16 teaspoon red pepper flakes (optional, for heat; see note 3)
Instructions
-
There are three primary cooking options for this recipe: (1) pan-sear chicken breasts, (2) grill chicken breasts or thighs, or (3) bake full chicken thighs. Choose the method that best suits your equipment and preference.
-
For specific instructions on how to cook breasts in a pan, please refer to Note 1 below. For grilling thighs or breasts, see Note 2.
-
**To bake thighs (this method is not recommended for chicken breasts as they can dry out):** Preheat your oven to 425°F (220°C). Line a large sheet pan (approximately 15″ x 21″) with aluminum foil for easy cleanup.
-
In a small bowl, combine all the ingredients listed under “Seasoning Blend.” Whisk thoroughly until a uniform, spreadable paste forms. Season the mixture to taste with additional salt and pepper as desired (a good starting point is 1 teaspoon of salt and 3/4 teaspoon of pepper).
-
Pat the chicken pieces thoroughly dry with paper towels. This step is crucial for achieving a crispy crust. Then, using your hands, generously rub the entire seasoning mixture over each piece of chicken, ensuring it is evenly and completely coated. All of the seasoning mix should be used.
-
Place the seasoned chicken thighs onto the prepared sheet pan, ensuring they are laid out flat and spaced well apart. This prevents steaming and encourages proper blackening. Bake for 15 minutes.
-
After 15 minutes, remove the pan from the oven. Move the oven rack to approximately 8 inches from the heat source and switch your oven to the broiler setting. Without delay, place the chicken back into the oven and broil for 7–10 minutes, or until the chicken develops a beautiful, dark blackening and caramelization. Monitor closely to avoid burning. The internal temperature of the chicken should reach 160°F (71°C), as residual heat will bring it to the safe 165°F (74°C). For average 5.5-ounce thighs, 8 minutes under the broiler is typically ideal.
-
Once cooked, remove the pan from the oven and let the chicken stand, uncovered, for 5 minutes to rest. This allows the juices to redistribute, ensuring tender and moist results. Transfer to a cutting board and dice or thinly slice the chicken as desired. Taste and add a pinch more salt if needed. Serve immediately and enjoy!
Recipe Notes
- How to Cook Breasts in a Pan: Cut 1 pound of chicken breasts in half widthwise to create 4 more even pieces. Use a meat mallet, the bottom of a frying pan, or even your fist to lightly pound each piece. The goal is not to flatten them thin, but to ensure all pieces have a fairly even thickness (around 3/4 inch) for consistent cooking. Toss the prepared breasts with the seasoning mix in a bowl using tongs to ensure even coating. Heat 1 tablespoon of olive or avocado oil in a large, heavy-bottomed pan (cast iron is excellent for this) over high heat until it shimmers. Add the chicken pieces in a single layer, making sure not to overcrowd the pan. Cook for about 2–4 minutes per side, or until they are cooked through and a nice blackened crust forms. Use a meat thermometer to ensure the internal temperature reaches 160°F (71°C), or until juices run clear. Remove the chicken to a plate, tent loosely with foil, and let it rest for 5 minutes before serving.
Note 2: Grilling Instructions: Follow the same seasoning preparation instructions mentioned above. This grilling method works wonderfully for both chicken thighs and breasts:
- How To Grill Breasts Or Thighs: Preheat your grill to medium-high heat (around 450°F / 230°C). Make sure the grill grates are clean and well-greased to prevent the chicken from sticking. Place the seasoned chicken pieces flat on the grates, ensuring they are not bunched up. Close the grill lid and cook for 3–5 minutes, or until the chicken has developed a beautiful caramelization and blackened crust. Use a sturdy metal spatula to carefully scrape and flip the chicken. Close the grill again and cook for another 3–5 minutes, or until the chicken registers an internal temperature of 160°F (71°C) in its thickest part. Cooking times may vary depending on the exact size and thickness of your chicken pieces and the actual heat of your grill. Remove the cooked chicken to a plate and cover it loosely with foil to rest for 5 minutes.
Note 3: Adjusting the Spice Level: As written, this recipe is quite mild, making it family-friendly. If you prefer less heat, simply omit the pinch of red pepper flakes. To ensure a mild flavor, also be sure to use a mild chili powder blend, such as McCormick, rather than a spicier variety. For those who enjoy a more intense heat, feel free to increase the amount of red pepper flakes, or add a small pinch of cayenne pepper to the seasoning blend.
Storage: To store leftover blackened chicken, transfer the cooled meat to an airtight container. It will keep well in the refrigerator for 3 to 4 days. This makes it perfect for meal prepping!
Nutrition Information
Nutrition information is automatically calculated and should be considered an approximation.