
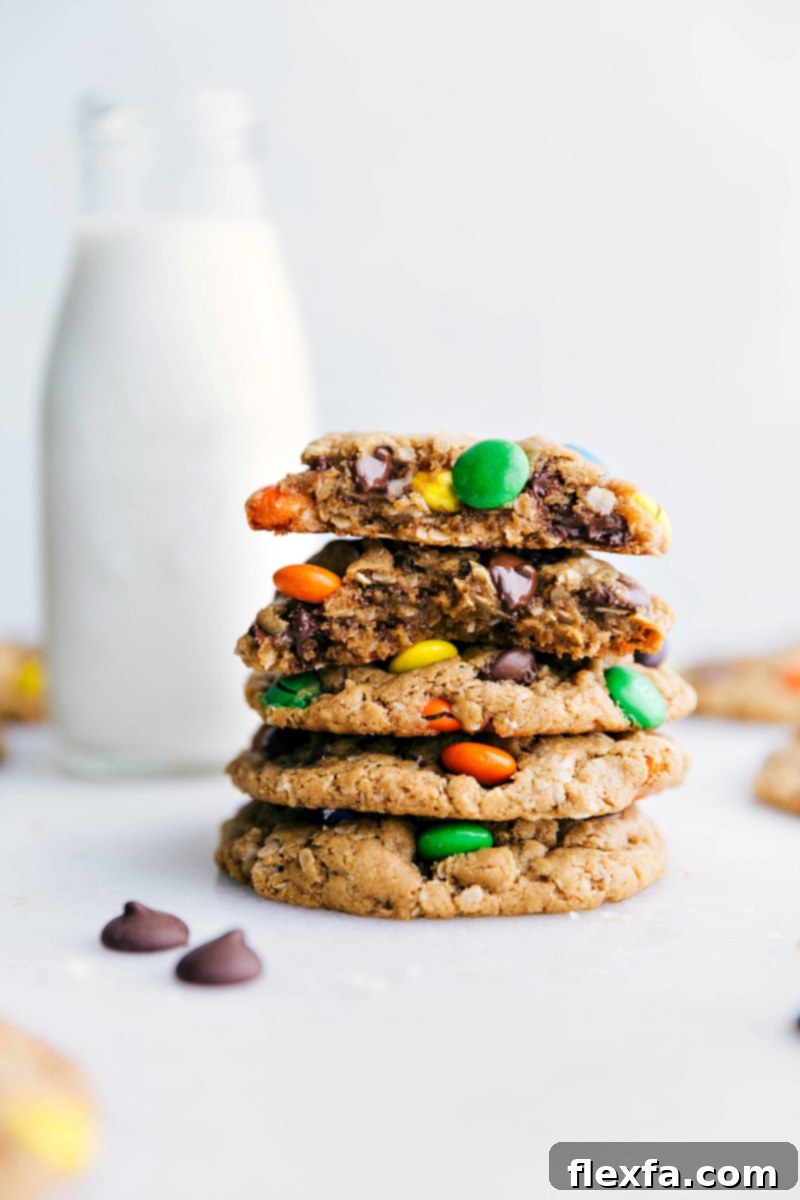
Sink your teeth into the most incredibly soft, chewy, and flavor-packed Gluten-Free Monster Cookies! Crafted with thoughtful swaps like rich coconut oil instead of butter, hearty quick oats, and creamy peanut butter replacing traditional flour, these cookies are a delightful treat that caters to everyone, without compromising on taste or texture.

Author’s Culinary Journey
Crafting the Perfect Gluten-Free Monster Cookie: Soft, Chewy, and Utterly Delicious!
As someone from a large family, I’ve seen firsthand the growing need for inclusive recipes. With over half my loved ones now navigating gluten or dairy sensitivities, hosting gatherings means ensuring everyone has delectable options they can truly savor. It’s not just about making a dish “free from” something; it’s about crafting something so delicious, so satisfying, that no one feels like they’re missing out.
The inspiration for these Gluten-Free Monster Cookies struck after a particularly successful batch of my classic M&M cookies. The joy those brought was palpable, and I knew I had to replicate that magic for my gluten-free family members. The challenge was on: create a gluten-free monster cookie that stood toe-to-toe with the original in terms of taste and texture.
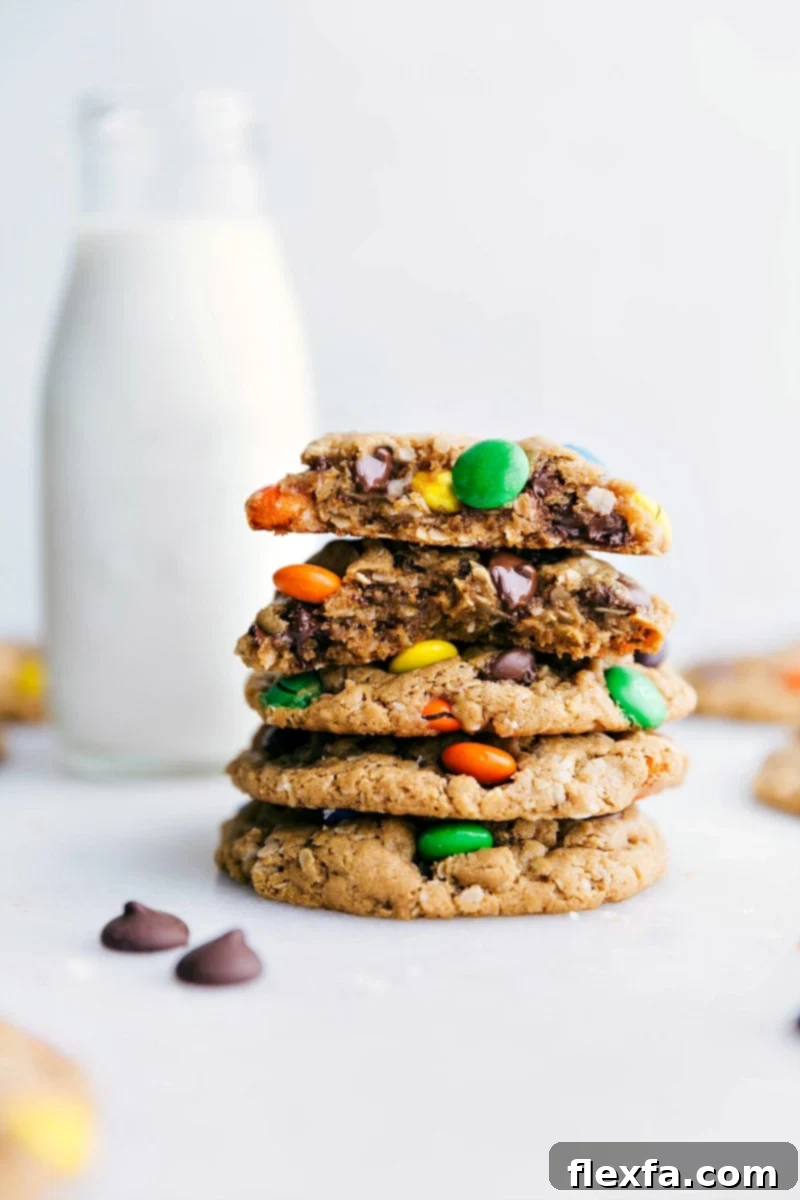
Using my beloved regular recipe as a foundation, I embarked on a delicious journey of trial and error. It took five dedicated batches, countless tweaks, and a whole lot of tasting, but the effort was unequivocally worth it. What emerged from my kitchen was a cookie so incredibly soft, chewy, and packed with irresistible flavor, you would genuinely never guess it was gluten-free. In fact, they vanished just as quickly as their traditional counterparts, a true testament to their universal appeal!
Why You’ll Love These Gluten-Free & Flourless Monster Cookies
These aren’t just any monster cookies; they’re a revelation for anyone seeking a delightful treat without gluten. Here’s why this recipe deserves a permanent spot in your baking repertoire:
- Naturally Gluten-Free: By intelligently replacing traditional wheat flour with quick oats and peanut butter, we achieve a wonderful texture without any gluten-containing grains. (Just ensure your oats are certified gluten-free!)
- Incredibly Chewy & Soft: The unique combination of creamy peanut butter, an extra egg yolk, and careful baking ensures these cookies boast an unparalleled soft and chewy consistency that melts in your mouth.
- Packed with Flavor: A delightful medley of rich peanut butter, sweet brown sugar, and a generous mix of chocolate chips and M&Ms creates a flavor explosion in every bite.
- Healthier Swaps: Utilizing coconut oil instead of butter offers a healthier fat profile, while the oats add beneficial fiber, making these a slightly more wholesome indulgence.
- Easy to Make: Despite being gluten-free, the process is straightforward and doesn’t require any specialized baking techniques or hard-to-find ingredients.
- Crowd-Pleaser: Whether you’re baking for those with dietary restrictions or simply looking for an amazing cookie recipe, these monster cookies are guaranteed to be a hit with everyone!
Decoding the Flourless Magic: The Science Behind Gluten-Free Monster Cookies
The secret to these sensational cookies lies in their innovative, flourless composition. Instead of relying on wheat flour for structure, this recipe skillfully uses a combination of ingredients to achieve the perfect cookie texture:
- Peanut Butter as a Base: Creamy peanut butter serves as the primary binder and provides a rich, nutty flavor foundation. Its fats and proteins contribute to the cookie’s tenderness and structure, mimicking some of the roles of flour.
- Quick Oats for Structure: Quick oats (be sure they are certified gluten-free for strict diets) play a crucial role in absorbing moisture and providing texture. They offer bulk and chewiness, preventing the cookies from becoming too dense or crumbly. Their smaller size compared to old-fashioned oats integrates seamlessly into the dough.
- Coconut Oil for Moisture & Spread: Solid coconut oil contributes healthy fats and helps achieve a desirable spread and a slightly crisp edge while keeping the interior soft. It’s a fantastic dairy-free alternative to butter.
- Eggs for Binding & Chewiness: The combination of a whole egg and an extra egg yolk is vital. The whole egg provides structure, while the additional yolk adds richness, tenderness, and that sought-after chewy texture by increasing the fat content and emulsifying properties.
- Baking Soda for Lift: As a leavening agent, baking soda reacts with the acidic elements (like brown sugar) to create carbon dioxide, giving the cookies a slight lift and contributing to their tender crumb.
Together, these ingredients create a harmonious balance, resulting in a cookie that is robust enough to hold all those delicious mix-ins, yet remains wonderfully soft and chewy.
Essential Gluten-Free Monster Cookies Ingredients
Crafting these delectable cookies begins with selecting the right components. Each ingredient plays a vital role in achieving their signature taste and texture. Here’s a detailed look at what you’ll need and some helpful tips for each:
| Ingredient | Swaps & Tips for Best Results |
|---|---|
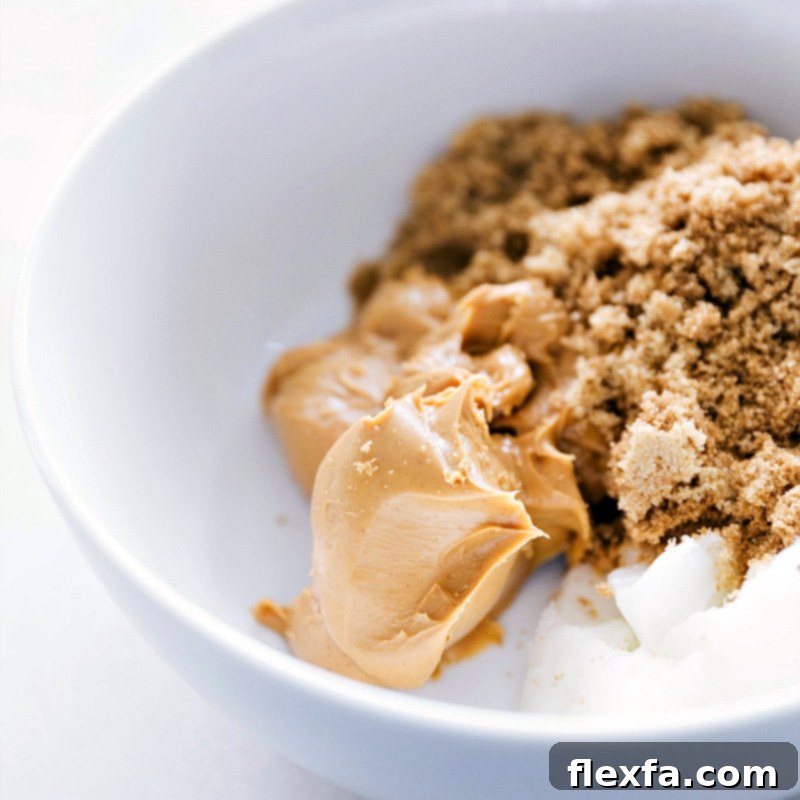
| Peanut Butter | Opt for no-stir, creamy peanut butter. Natural peanut butter (the kind that separates) can be too oily and might alter the cookie’s texture, making them drier or more crumbly. For a different flavor profile, almond butter or cashew butter can be used, but note that it will subtly change the overall taste. Ensure it’s a smooth variety for consistency. |
| Brown Sugar | Light brown sugar adds moisture and contributes to the cookies’ signature chewiness. For a richer, deeper flavor and a slight reduction in refined sugar, consider swapping a portion (up to half) with coconut sugar. This substitution can also introduce subtle caramel notes. |
| Coconut Oil | Crucially, use solid, unmelted coconut oil. Just like with butter in traditional recipes, using solid coconut oil at room temperature helps create a fluffy base when creamed with sugar and peanut butter, leading to a better cookie structure. If dairy isn’t an issue, unsalted butter can be used as a 1:1 substitute for a classic flavor. |
| Egg + Egg Yolk | The combination of one large egg and an additional egg yolk is key for richness and an extra chewy texture. The yolk adds fat and emulsifies, enhancing tenderness. For a vegan option, a flax egg (1 tablespoon ground flaxseed meal mixed with 2.5 tablespoons water, left to sit for 5 minutes) can replace the whole egg and yolk, though the cookies may be slightly less chewy. |
| Quick Oats | This is a critical ingredient for texture and its gluten-free nature. Make sure to use quick oats, not instant (which is too fine), steel-cut (which is too coarse), or old-fashioned oats (which have a different absorption rate and will throw off the texture). For those with celiac disease or severe gluten intolerance, ensure your quick oats are certified gluten-free to avoid cross-contamination. |
| M&Ms + Chocolate Chips | These are the classic monster cookie mix-ins! Feel free to use your favorite chocolate chips—semi-sweet, milk, or dark. Dark chocolate chips are a great choice for a slightly healthier twist and deeper flavor. If you need a dairy-free option, select certified dairy-free chocolate chips and candy-coated chocolates. Mini M&Ms can also be a fun addition! |
| Baking Soda & Salt | Baking soda provides the necessary lift, while a pinch of salt balances the sweetness and enhances all the other flavors. If you plan to finish your cookies with flaky sea salt, you might want to slightly reduce or omit the salt from the dough to prevent over-salting. |
| Vanilla Extract | Pure vanilla extract elevates the overall flavor profile, adding warmth and depth to the cookies. Don’t skip this! |
How To Make Perfectly Chewy Gluten-Free Monster Cookies
Making these gluten-free monster cookies is simpler than you might think! Follow these steps for a batch of perfectly soft, chewy, and flavorful cookies every time.
- Prepare Your Baking Station: Start by preheating your oven to 350°F (175°C). Line a large baking sheet with parchment paper or a silicone baking mat. This ensures even baking, prevents sticking, and makes cleanup a breeze.
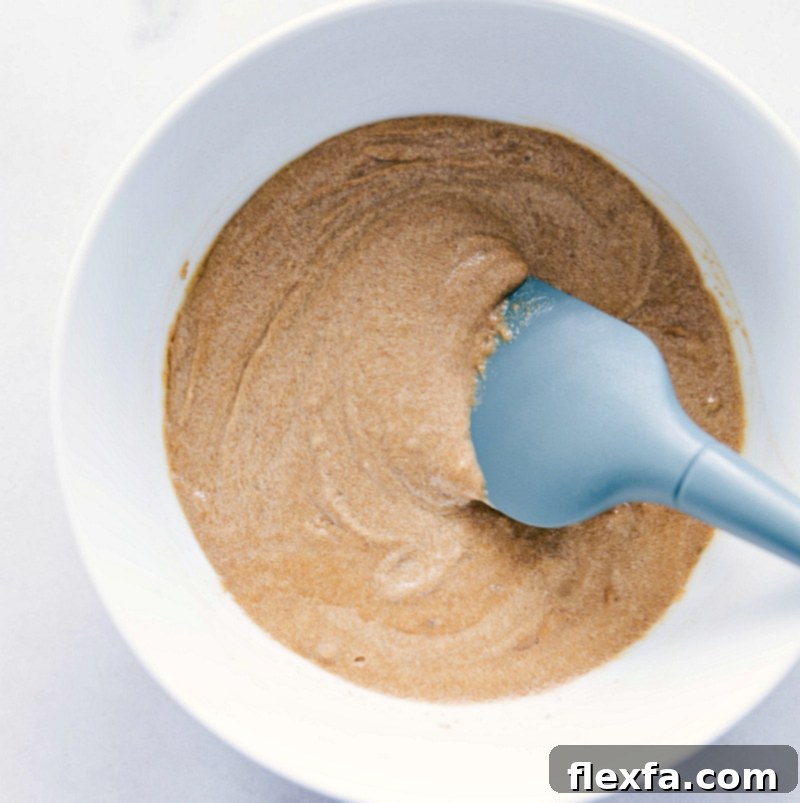
- Cream the Wet Ingredients: In a large mixing bowl, combine the creamy peanut butter, light brown sugar, and solid (unmelted) coconut oil. Use a hand mixer (or stand mixer with a paddle attachment) to beat these ingredients together until they are smooth and well-incorporated, about 1-2 minutes. The mixture should be light and creamy.
- Add Eggs and Flavorings: Next, beat in the large egg, the additional egg yolk, baking soda, salt (remember to omit if you plan to use flaky sea salt as a topping), and vanilla extract. Continue mixing until everything is fully combined and the dough is uniform in color and texture. Ensure your eggs are at room temperature for better emulsification and a smoother dough.
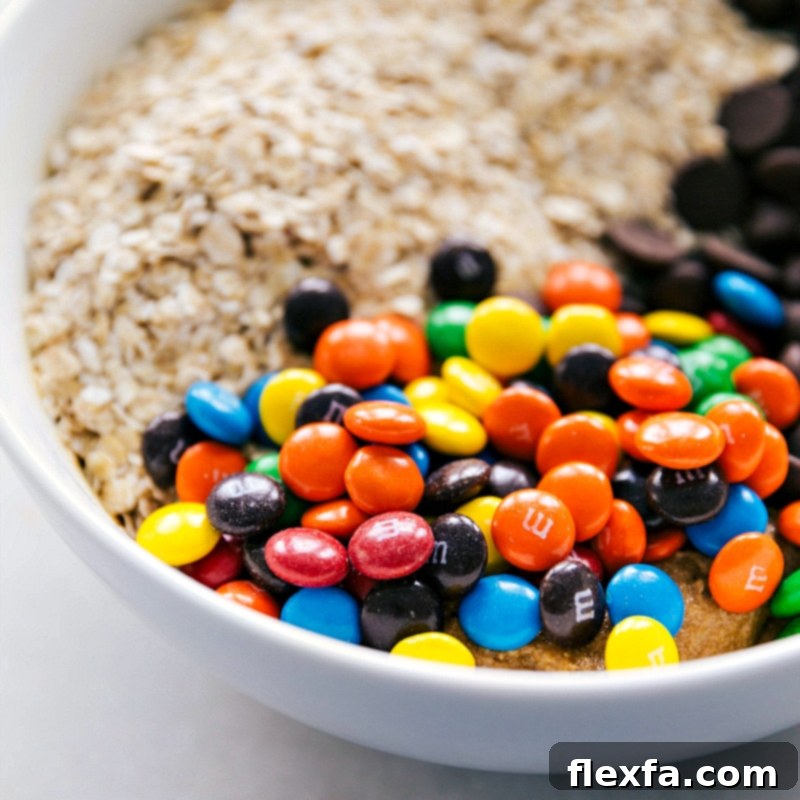
- Incorporate the Dry Mix-ins: With the wet ingredients perfectly blended, it’s time to fold in the stars of the show! Add the quick oats, chocolate chips, and M&M’s to the bowl. Use the mixer on low speed, or a sturdy spatula, to gently incorporate them until they are evenly distributed throughout the dough. Be careful not to overmix at this stage.
- Chill the Dough for Perfection: This step is crucial for preventing your cookies from spreading too much and for allowing the flavors to meld beautifully. Cover the bowl and chill the cookie dough in the refrigerator for at least 10 minutes. This helps the fats firm up, resulting in a thicker, chewier cookie.
- Scoop and Shape: Once chilled, remove the dough from the refrigerator. Use a medium cookie scoop (about 3 tablespoons or 2 ounces) to portion out the dough. Roll each portion into a smooth ball and place them onto your prepared baking sheet. Leave ample space between each cookie (about 2 inches), as they will spread slightly during baking. Aim for 6-8 cookies per sheet to avoid overcrowding.
- Bake to Golden Perfection: Transfer the baking sheet to your preheated oven and bake for 9-12 minutes. The cookies are done when their edges are just starting to turn golden brown, and the centers still look slightly soft. Remember, slight underbaking is key for that signature soft and chewy texture. Overbaking will lead to a drier, more crumbly cookie.
- Cool and Enjoy: Once out of the oven, allow the cookies to set on the hot baking sheet for 2-3 minutes. This critical cooling period helps them firm up enough to be transferred without falling apart. Then, carefully move them to a wire rack to cool completely. Repeat the baking process with the remaining dough.
- Optional Flaky Sea Salt Finish: For an extra touch of gourmet flavor, sprinkle a tiny bit of flaky sea salt on the hot cookies immediately after they come out of the oven. This sweet and salty combination is simply irresistible!
Expert Tips for Your Best Flourless Monster Cookies
Achieving bakery-quality gluten-free monster cookies is within reach with a few expert tips. These pointers will help you navigate common baking challenges and elevate your cookies to perfection.
- Precision in Measuring: Baking is a science, and accurate measurement is paramount, especially when working with flourless recipes. Use the spoon and level method for dry ingredients like oats and sugar: spoon the ingredient into your measuring cup until it overflows, then use a straight edge (like the back of a knife) to level it off. For wet ingredients, measure at eye level. This prevents your cookies from being too dry or too moist.
- The Right Baking Surface: Line your baking sheets with either parchment paper or silicone baking mats. Both are excellent for ensuring your cookies bake evenly, prevent them from sticking to the pan, and make for incredibly easy cleanup. They also help promote uniform browning on the bottom of the cookies.
- Don’t Skip the Dough Chilling: While it might seem like an extra step, chilling the dough for at least 10 minutes is crucial. This allows the fats (from peanut butter and coconut oil) to solidify, which significantly reduces spread during baking, resulting in thicker, chewier cookies. It also gives the flavors time to meld, enhancing the overall taste.
- Top Cookies for Visual Appeal and Extra Indulgence: For that irresistible, bakery-style look and an extra burst of chocolate in every bite, gently press a few extra chocolate chips and M&Ms onto the tops of the cookie dough balls before baking, or immediately after they come out of the oven while still warm and soft.
- Patience with Cooling: Resist the urge to move your cookies immediately after taking them out of the oven. Gluten-free cookies can be more delicate when hot. Allow them to sit on the baking sheet for at least 2-3 minutes before transferring them to a wire rack. This cooling period on the pan allows them to set up and firm, preventing them from falling apart.
- Don’t Overbake: The key to soft and chewy cookies is to pull them from the oven when the edges are just set and lightly golden, but the centers still look slightly underbaked or soft. They will continue to cook slightly on the hot baking sheet.
- Ensure Certified Gluten-Free Oats: If you are baking for someone with celiac disease or a severe gluten sensitivity, it is essential to use oats that are specifically labeled as “certified gluten-free.” This ensures they haven’t been cross-contaminated with wheat during processing.
- Room Temperature Ingredients (for Wet): Having your egg and egg yolk at room temperature helps them emulsify better with the peanut butter, sugar, and coconut oil, creating a smoother, more uniform dough.
Serving Suggestions for Your Flourless Monster Cookies
These gluten-free monster cookies are incredibly versatile and can be enjoyed in countless ways. Here are some ideas to make them even more special:
- Classic Milk Pairing: Nothing beats a warm, freshly baked monster cookie with a cold glass of milk (dairy or non-dairy for those sensitive). It’s a timeless combination!
- Dessert Upgrade: Serve them warm with a scoop of vanilla ice cream and a drizzle of chocolate sauce for an indulgent dessert.
- Coffee Break Companion: A perfect treat alongside your morning coffee or afternoon tea.
- Snack Time Delight: Pack them in lunchboxes for a special surprise, or enjoy them as an afternoon pick-me-up.
- Thoughtful Gift: Wrap a stack of these beautiful cookies in cellophane and tie with a ribbon for a homemade gift that everyone will appreciate, especially those with gluten sensitivities.
- Party Platter Essential: Add them to your dessert spread for parties, potlucks, or family gatherings. They’re guaranteed to be a crowd-pleaser and disappear fast!
Explore More Delicious Gluten-Free Treats:
Breakfast
Gluten Free Zucchini Muffins
Desserts
Gluten Free Apple Muffins
Desserts
Gluten Free Brownies Recipe
Desserts
Gluten-Free Pumpkin Cake

Gluten-Free Monster Cookies: The Best Flourless Recipe!
Chelsea Lords
10 minutes
10 minutes
10 minutes
30 minutes
14 cookies
Equipment
-
Large sheet pan (15″ x 21″)
-
Parchment paper or silicone baking mat
-
Hand mixer
Ingredients
- 3/4 cup creamy peanut butter
- 1 cup light brown sugar lightly packed
- 3 tablespoons coconut oil firm, unmelted
- 1 large egg
- 1 egg yolk
- 1 teaspoon baking soda
- 1/8 teaspoon salt
- 1 teaspoon vanilla extract
- 1-1/4 cups quick oats (not instant, steel-cut or old-fashioned, see note 1)
- 1/2 cup chocolate chips (semi-sweet, milk, or dark – use dark chocolate for a healthier substitution)
- 1/2 cup M&M’s
- Flaky sea salt optional
Instructions
-
Preheat oven to 350°F (175°C). Line a large sheet pan with parchment paper or a silicone liner and set aside.
-
In a large bowl, combine the peanut butter, brown sugar, and solid coconut oil. Use a hand mixer to beat until smooth and creamy. Add the egg, egg yolk, baking soda, salt (omit if you plan to add flaky sea salt to the top), and vanilla extract. Mix well until fully incorporated. Stir in the quick oats, chocolate chips, and M&M’s until just combined. Chill the dough for 10 minutes.
-
Roll dough balls (approximately 3 tablespoons or 2 ounces each) and place them on the prepared sheet pan. Ensure you leave enough space, about 2 inches, between each cookie as they will spread slightly during baking. Aim for 6–8 cookies per sheet.
-
Bake for 9–12 minutes, or until the edges are just beginning to turn golden and the centers still appear slightly soft. It’s important not to overbake these cookies, as this will prevent them from being soft and chewy. Allow the cookies to set on the sheet pan for 2–3 minutes before carefully transferring them to a cooling rack. Repeat until all the dough has been used.
-
If desired, sprinkle a tiny bit of flaky sea salt on the hot cookies immediately after baking for a delicious sweet and salty contrast.
Recipe Notes
Storage Tips: Store completely cooled Gluten-Free Monster Cookies in an airtight container at room temperature for optimal freshness. While they are best enjoyed within 1–2 days, they will remain delicious for about 5 days.
Freezing for Longer Shelf Life: For longer storage, you can freeze these cookies. Arrange cooled cookies in a single layer on a baking sheet and freeze until solid. Once frozen, transfer them to an airtight freezer bag or container. They can be stored in the freezer for up to 3 months. When ready to enjoy, you can bake them straight from frozen, adding an extra 2-3 minutes to the baking time.
Nutrition
|
Calories: 260kcal
|
Carbohydrates: 30g
|
Protein: 6g
|
Fat: 14g
|
Saturated Fat: 6g
|
Cholesterol: 31mg
|
Sodium: 192mg
|
Potassium: 153mg
|
Fiber: 2g
|
Sugar: 23g
|
Vitamin A: 59IU
|
Calcium: 38mg
|
Iron: 1mg
Nutrition information is automatically calculated and should be used as an approximation only.
Storage and Freezing Instructions
- Room Temperature Storage: To maintain their optimal freshness and delightful chewiness, store any leftover gluten-free monster cookies in an airtight container at room temperature. While they are at their absolute best within the first 1-2 days, they will keep well for up to 5 days.
- Freezing for Extended Enjoyment: For longer-term storage, these cookies freeze beautifully. Once the cookies have completely cooled, arrange them in a single layer on a baking sheet and place them in the freezer until they are solid (this prevents them from sticking together). Afterward, transfer the frozen cookies to an airtight freezer-safe bag or container, removing as much air as possible to prevent freezer burn. They can be stored in the freezer for up to 3 months. When you’re ready to indulge, you can bake them straight from frozen; just add an additional 2-3 minutes to the regular baking time. This method ensures you always have a delicious, gluten-free treat on hand!