
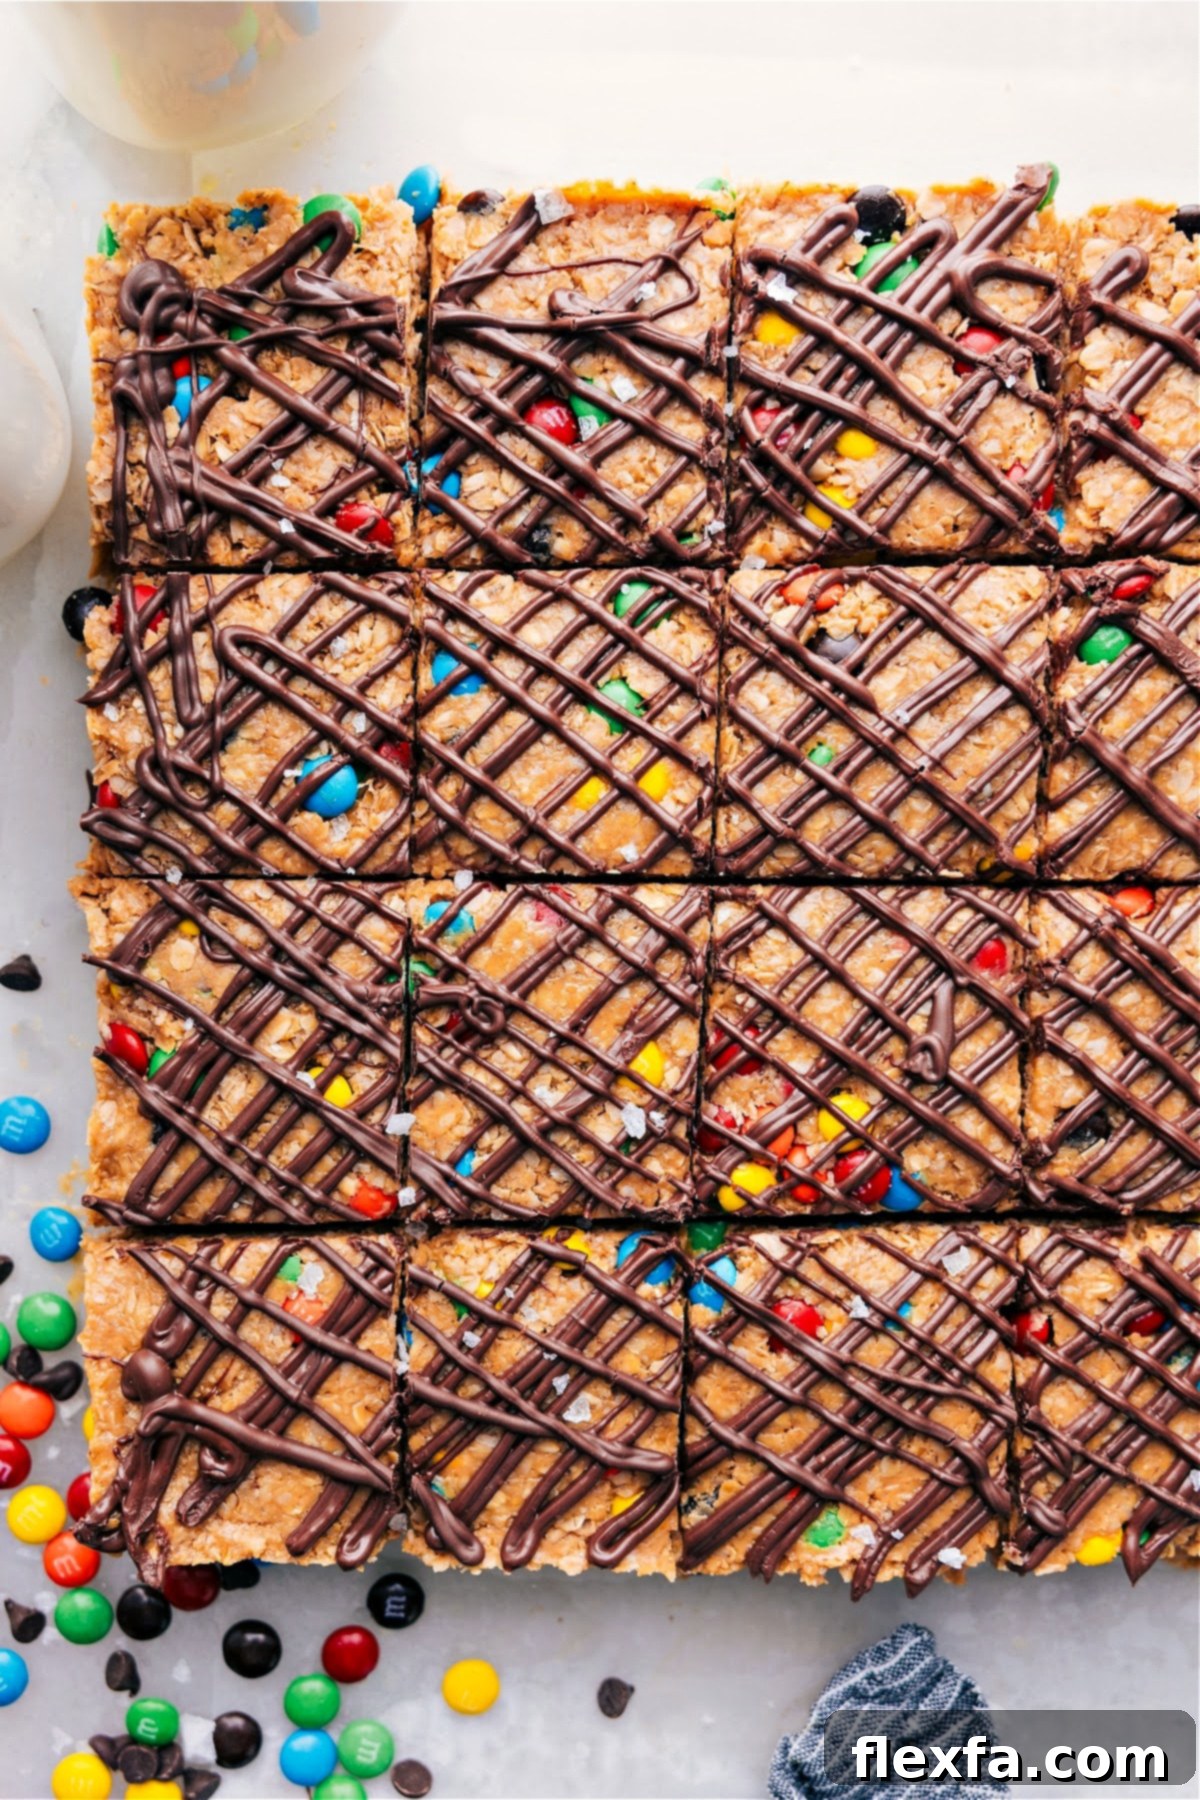
Craving a delicious, satisfying snack that feels like a treat but is packed with goodness? Look no further than these incredible No-Bake Energy Bars! With just 5 core ingredients, this simple recipe comes together in minutes, requiring no oven time at all. Each bar is loaded with protein and fiber, making it an ideal choice for sustained energy throughout your busy day. Forget bland, store-bought alternatives; these homemade energy bars taste remarkably like a candy bar, offering a delightful balance of sweetness and satisfying texture, all while contributing positively to your health and wellness goals. Whether you need a quick breakfast on the go, a post-workout refuel, or a wholesome treat for your family, this recipe is designed to become a staple in your kitchen.
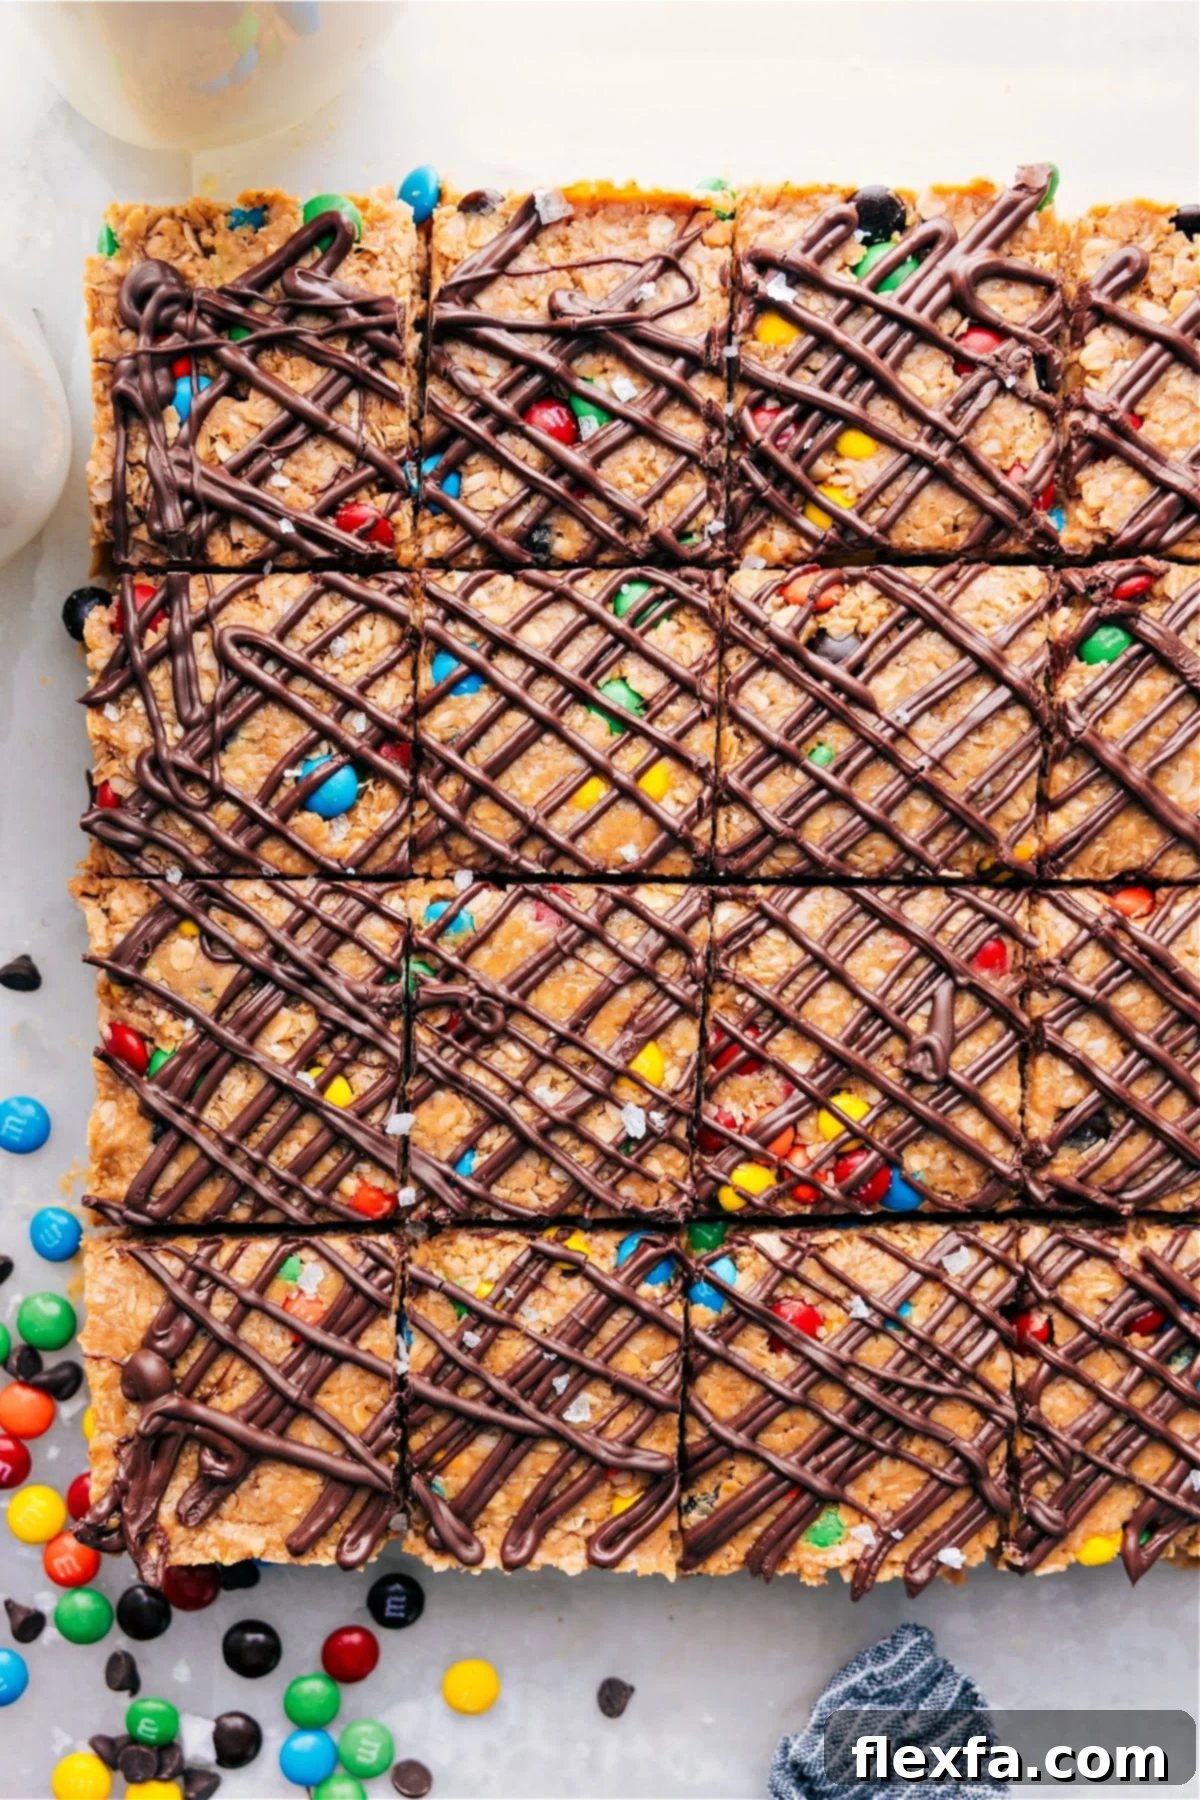
Why You’ll Adore These No-Bake Energy Bars:
- Effortlessly Simple & Quick: Say goodbye to complicated baking processes! This recipe involves a straightforward mix, press, and chill method, making it perfect for even the busiest schedules. You can whip up a batch in under 15 minutes of active prep time, with no need to preheat an oven or wait for things to bake. It’s the ultimate time-saver for homemade goodness.
- Incredibly Flexible & Customizable: The beauty of these energy bars lies in their adaptability. While the core recipe is fantastic, it serves as a perfect canvas for your culinary creativity. Feel free to swap ingredients, add different nuts, seeds, dried fruits, or even various chocolate types to tailor them to your personal taste, dietary needs, or whatever you have on hand. This makes them versatile for everyone, from picky eaters to those with specific dietary requirements.
- Remarkably Filling & Nutritious: Don’t let the delicious taste fool you; these bars are powerhouses of nutrition. Crafted with ingredients rich in protein and dietary fiber, they are designed to keep you feeling full and satisfied for longer. This sustained energy release helps prevent sugar crashes and keeps hunger at bay, making them an excellent choice for a mid-morning snack or an afternoon pick-me-up.
- A Guaranteed Family Favorite: These energy bars are a hit with both kids and adults alike! Their sweet, candy-like flavor makes them irresistible, and the simple no-bake process means children can actively participate in making them. It’s a fun and delicious way to get the whole family involved in creating healthier snack options.
- Ideal for Smart Meal Prep: Planning ahead is key to healthy eating, and these bars excel in meal prep. They store exceptionally well, making them perfect for preparing a batch at the beginning of the week. You’ll have grab-and-go snacks readily available, saving you time and ensuring you always have a nutritious option at hand, whether for work, school, or travel.
- A Guilt-Free Treat That Tastes Amazing: Experience the joy of indulging in a sweet treat without the guilt. These energy bars truly taste like a decadent candy bar, but they are thoughtfully packed with wholesome, good-for-you ingredients. It’s the perfect solution for satisfying your sweet tooth in a healthy and fulfilling way.
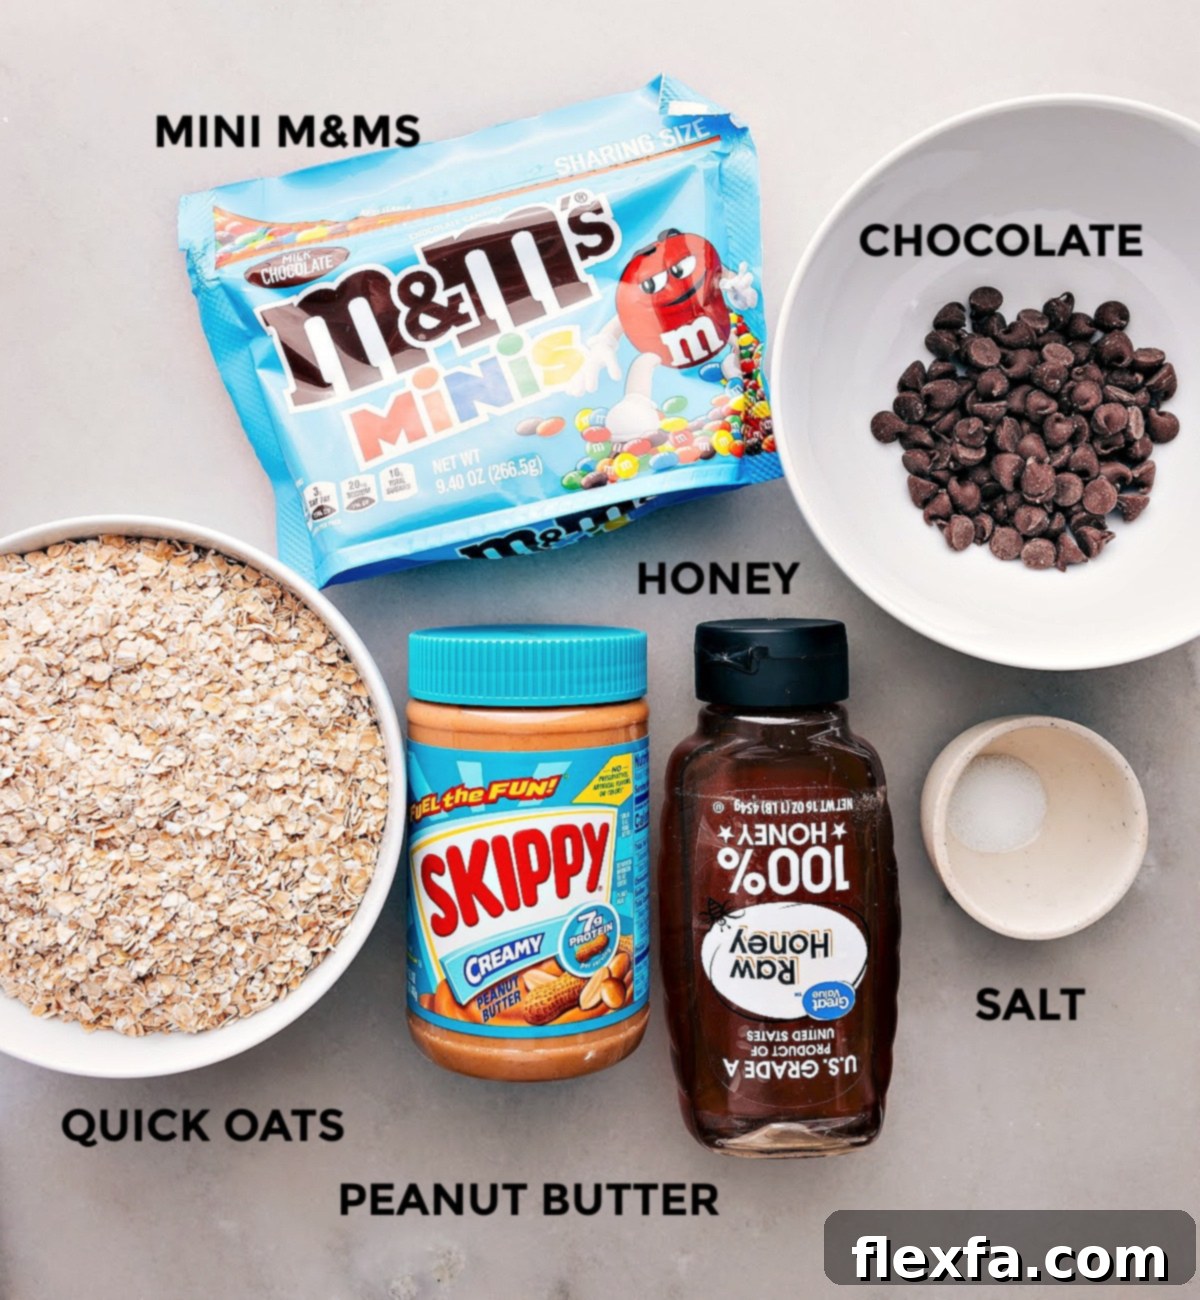
Essential Ingredients for Your Homemade Energy Bars
Crafting the perfect no-bake energy bar starts with selecting the right ingredients. Here’s a detailed look at what you’ll need and why each component is crucial for achieving the ideal texture, flavor, and nutritional profile.
- Quick Oats: The foundation of these bars! Quick oats, also known as instant oats, are specifically chosen for their ability to absorb moisture efficiently and bind the ingredients together seamlessly, resulting in a wonderfully chewy texture. Unlike rolled oats or steel-cut oats, which would create a much firmer, more granular bar, quick oats break down just enough to create a cohesive, pleasant bite. They also contribute significant dietary fiber, aiding in digestion and promoting a feeling of fullness. Always use quick oats for this recipe to ensure the best results.
- Creamy Peanut Butter: This is a superstar ingredient, providing both rich flavor and essential binding power. Creamy peanut butter adds healthy fats and a substantial protein boost, contributing to the bars’ satisfying nature. If you opt for natural peanut butter (which often separates), remember to stir it very thoroughly before measuring to ensure a consistent texture and prevent your bars from being too dry or oily. For those with peanut allergies or who prefer other flavors, almond butter, cashew butter, or even sunflower seed butter are excellent alternatives that will work well.
- Honey: A natural liquid sweetener that not only adds a lovely sweetness but also acts as a crucial binding agent, helping to hold all the ingredients together. Honey provides a distinct, rich flavor profile. If you’re looking for a vegan alternative, pure maple syrup or agave nectar can be used in equal measure, though they may subtly alter the flavor.
- Salt: Often overlooked, a small pinch of salt works wonders in this recipe. It’s not just for making things salty; it’s a flavor enhancer that balances the sweetness of the honey and M&Ms (or other mix-ins) and makes all the other flavors pop. Don’t skip it!
- Miniature M&Ms: These add a fun, colorful, and deliciously sweet crunch, truly giving the bars that “candy bar” appeal. They are fantastic for making the bars appealing, especially to kids. However, this is also where you can get creative and customize for less sugar or different textures. Consider swapping them entirely or partially with nutrient-dense alternatives like chopped nuts (almonds, walnuts, pecans), various seeds (chia seeds, flax seeds, pumpkin seeds for omega-3s and fiber), or finely diced dried fruits (cranberries, raisins, apricots for natural sweetness and antioxidants).
Elevate Your Bars: Optional Add-Ins & Toppings
While the core recipe is fantastic, these optional ingredients allow you to take your energy bars to the next level in terms of flavor and presentation.
- Chocolate Chips: A classic addition that enhances the “dessert-like” quality of these bars. You can melt them for a decadent topping or mix them directly into the bar mixture for pockets of gooey chocolate. Use a high-quality milk, semi-sweet, or dark chocolate for the best flavor experience. Chocolate chips also provide antioxidants, especially dark chocolate, adding another layer of nutritional benefit.
- Coconut Oil: When melting chocolate for a topping, a touch of coconut oil is key. It helps to thin out the melted chocolate, making it smoother and easier to drizzle or spread evenly over the bars. The result is a glossy, professional-looking finish that sets beautifully. If coconut oil isn’t available, a neutral-flavored vegetable oil can be used as a substitute in a pinch, though coconut oil often adds a subtle, pleasant aroma.
- Vanilla Extract: A teaspoon of pure vanilla extract can deepen the flavor profile of your bars, adding a warm, aromatic note that complements the peanut butter and honey beautifully.
- Cinnamon: For a hint of spice and warmth, a half-teaspoon of ground cinnamon can be mixed in. It pairs wonderfully with oats and peanut butter.
- Protein Powder: To significantly boost the protein content, especially for post-workout recovery, consider adding 1-2 scoops of your favorite protein powder (vanilla or unflavored work best). You may need to adjust the liquid components slightly if the mixture becomes too dry.
- Shredded Coconut: For a tropical twist and added texture, incorporate a quarter to half cup of unsweetened shredded coconut. It toasts slightly in the mixture’s warmth and adds a lovely chewiness.
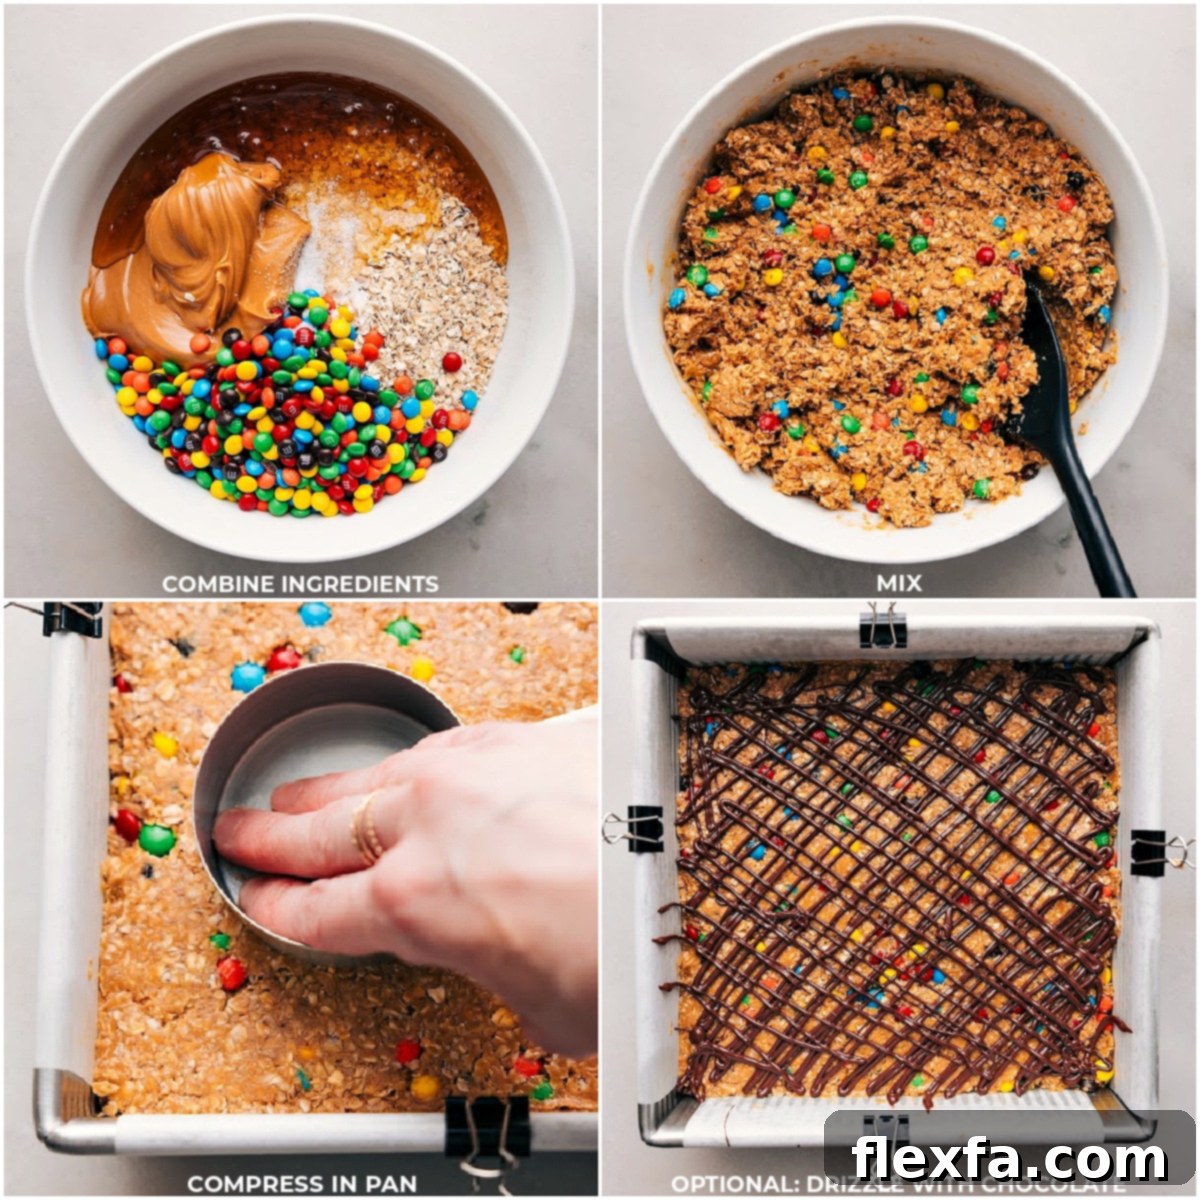
Step-by-Step Guide: Crafting Your Perfect No-Bake Energy Bars
Making these delightful energy bars is incredibly simple, but following these steps carefully will ensure perfect results every time.
- Prepare Your Pan: Begin by lining an 8×8-inch baking pan with parchment paper. It’s crucial to leave an overhang on all sides – this acts as a sling, making it incredibly easy to lift the entire batch of bars out of the pan once they are set. For extra stability, especially if you’re pressing the mixture very firmly, small binder clips can be used to hold the parchment paper firmly in place along the edges of the pan. This prevents the paper from shifting as you press down the mixture.
- Combine Ingredients Thoroughly: In a very large mixing bowl, combine all the main “Energy Bars” ingredients: quick oats, creamy peanut butter, honey, and salt. If you’re adding any mix-ins like M&Ms, nuts, seeds, or dried fruit, incorporate them at this stage as well. Use a sturdy hand mixer or a stand mixer with a paddle attachment (mixing on low speed) for this step. This ensures that all ingredients are incredibly well combined and uniformly distributed. Continue mixing until a cohesive, slightly sticky dough forms. The goal is to avoid any dry pockets of oats.
- Compress the Mixture: Transfer the entire mixture into your prepared 8×8-inch pan. Now comes a critical step for bars that hold their shape: compression. Using the bottom of a flat glass, a metal measuring cup, or even your hands, press the mixture down *very* firmly and evenly into the pan. You want to eliminate any air pockets and create a dense, tightly compressed layer. The firmer you press, the less likely your bars will crumble when cut. Ensure the surface is as level as possible for uniform bars.
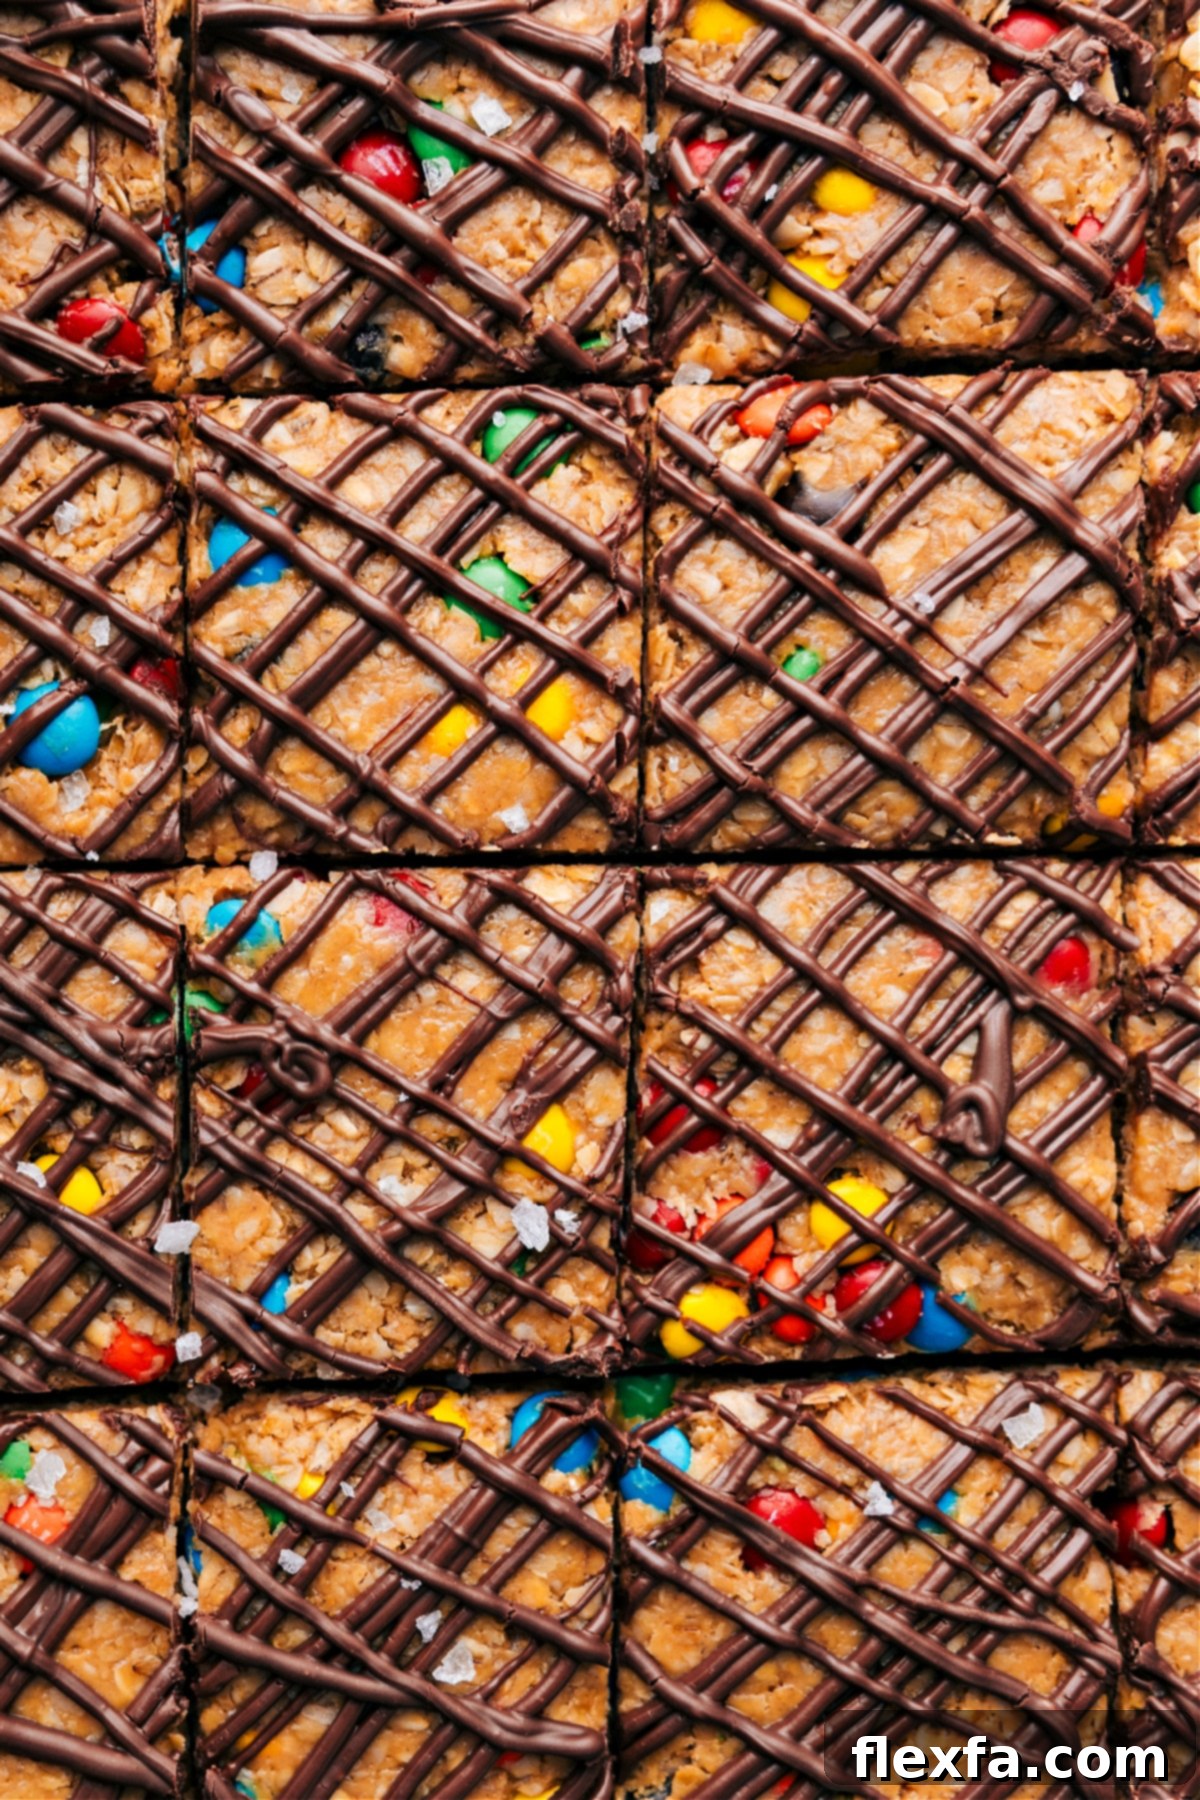
- Add Optional Chocolate Topping (If Desired): If you’re adding a chocolate topping, now is the time. In a microwave-safe bowl, combine the chocolate chips and coconut oil. Microwave in short bursts of 15-20 seconds, stirring well after each burst, until the chocolate is completely melted and smooth. Be careful not to overheat the chocolate, as it can seize. Once melted, transfer the chocolate to a plastic zip-top bag and seal it, pushing out any excess air. Snip off a tiny corner of the bag to create a piping tool. Drizzle or pipe the melted chocolate artfully over the compressed bars in the pan. Alternatively, you can simply spread the melted chocolate evenly over the top using a spatula for a full chocolate layer.
- Chill to Perfection: Place the pan in the refrigerator and chill for at least 1 hour, or until the bars are completely set and firm. This chilling process is essential as it allows the fats in the peanut butter and any melted chocolate to solidify, binding all the ingredients together and ensuring the bars maintain their shape. For best results, allow them to chill until quite firm.
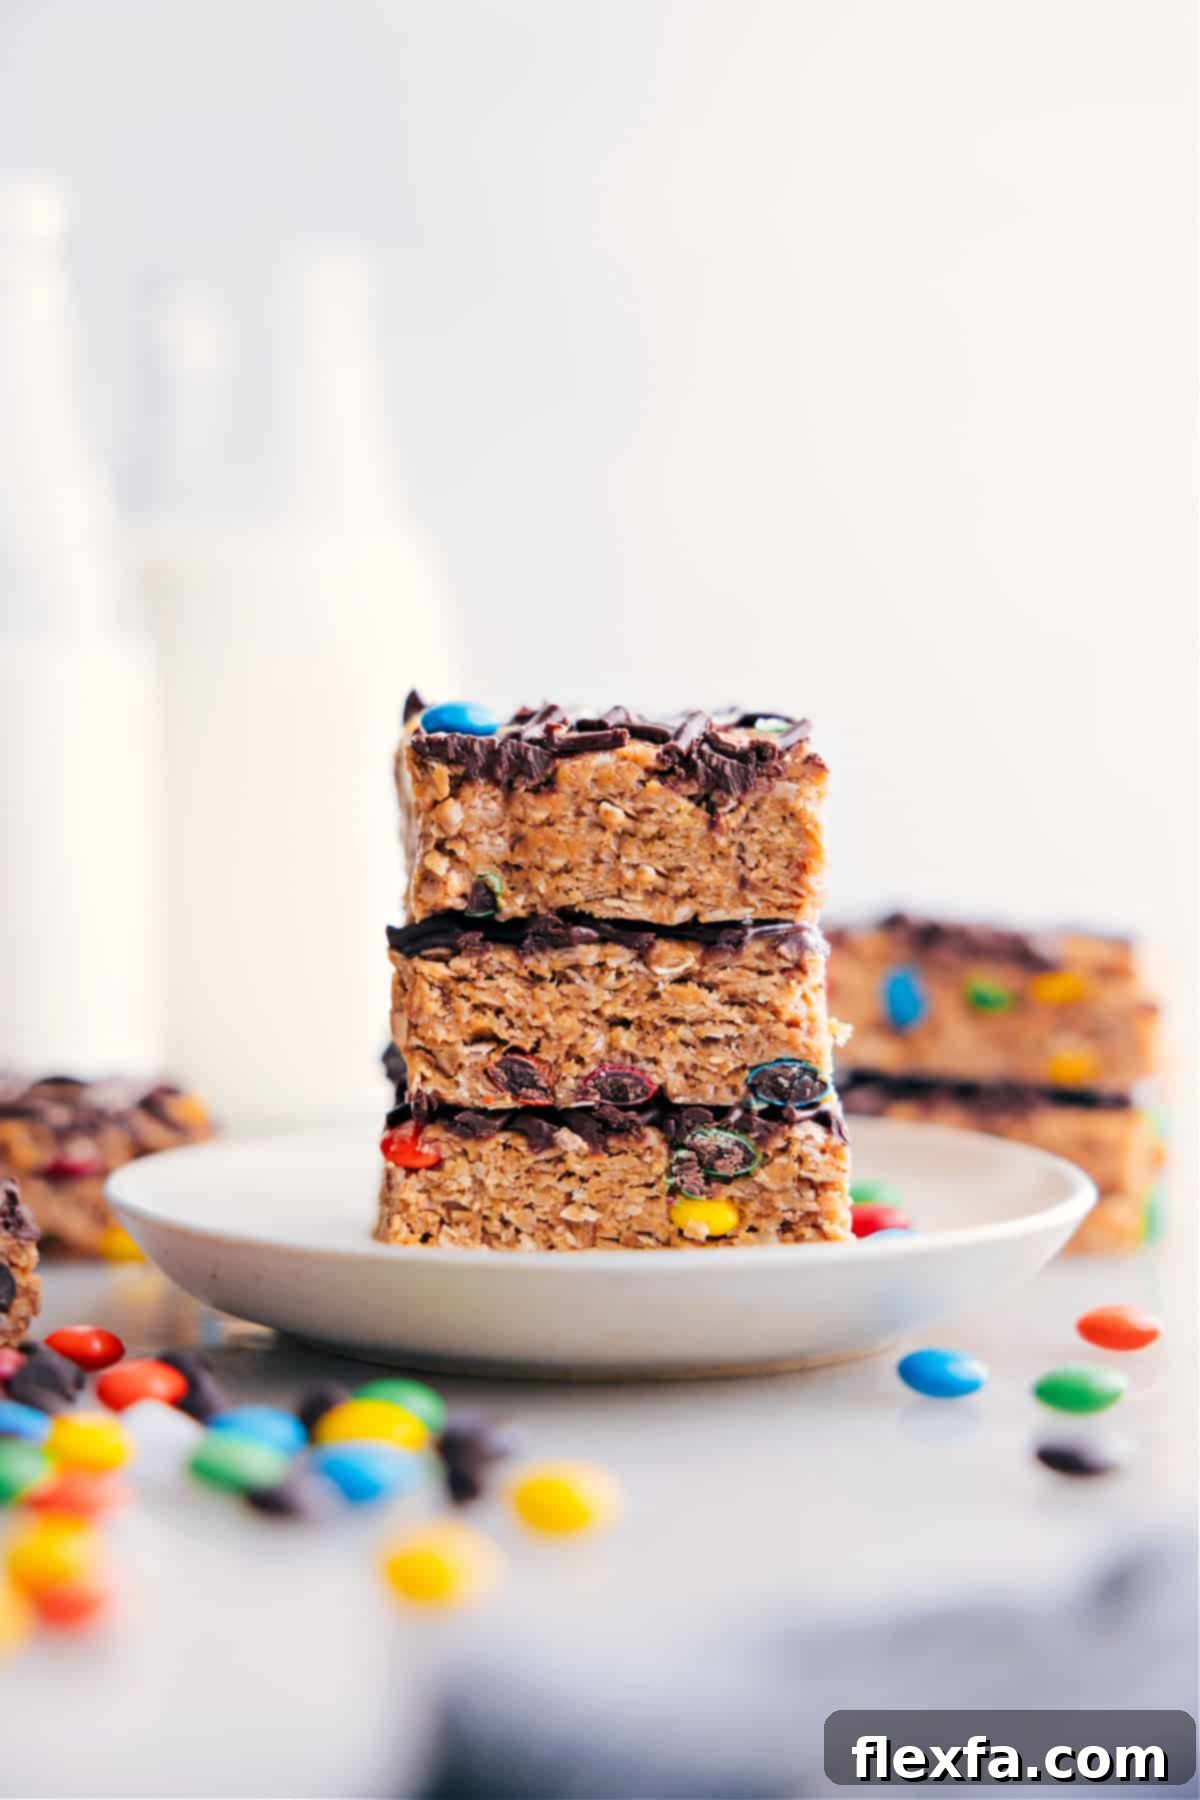
- Cut and Serve: Once fully chilled and firm, use the parchment paper overhangs to carefully lift the entire slab of energy bars out of the pan and place it on a cutting board. For clean, sharp cuts, use a very sharp knife that has been run under hot water and thoroughly dried between each slice. This warms the blade slightly, allowing it to glide through the chocolate topping and dense bar mixture without dragging or sticking. Slice into your desired bar size – typically 12-24 bars, depending on how large you prefer them.
Smart Storage Solutions for Your Energy Bars
Ensuring your homemade energy bars stay fresh and delicious is key to enjoying them throughout the week. Proper storage also helps maintain their ideal texture.
How to Store Leftover Energy Bars:
- Room Temperature: For immediate enjoyment and convenience, these bars can be stored in an airtight container or a sealed bag at room temperature for up to 1 week. Make sure they are in a cool, dry place away from direct sunlight to prevent them from becoming too soft.
- Refrigerator: To extend their freshness and maintain a firmer texture, particularly in warmer climates or if your bars contain melted chocolate, store them in an airtight container or bag in the refrigerator for up to 2 weeks. Chilling also enhances their chewy consistency.
- Freezing for Long-Term: These energy bars are excellent for freezing, making them a fantastic option for bulk meal prep. Wrap individual bars tightly in plastic wrap, then place them in a freezer-safe airtight container or heavy-duty freezer bag. They can be frozen for up to 3 months without compromising quality. This method ensures you always have a healthy snack ready to go.
- Thawing: When ready to enjoy a frozen bar, simply remove it from the freezer and allow it to thaw at room temperature for about 15-30 minutes, or until it reaches your desired softness. You can also enjoy them slightly chilled for a different texture.
Frequently Asked Questions About No-Bake Energy Bars:
- Can I use old-fashioned or rolled oats instead of quick oats?
No, it’s highly recommended to stick with quick oats for this recipe. Quick oats are pre-cooked, dried, and cut into smaller pieces, allowing them to absorb moisture much faster and create the desired soft, chewy texture. Rolled or old-fashioned oats are thicker and will result in a much drier, crumblier bar that won’t hold together as well. - How can I make these energy bars vegan?
Making these bars vegan is easy! Simply substitute the honey with an equal amount of pure maple syrup or agave nectar. Ensure your chocolate chips (if using) are dairy-free, and verify that your peanut butter does not contain any animal-derived ingredients (most creamy peanut butters are naturally vegan, but always check the label). - Are these energy bars gluten-free?
Yes, they can easily be made gluten-free! Oats are naturally gluten-free, but they are often processed in facilities that also handle wheat, leading to cross-contamination. To ensure your bars are truly gluten-free, use certified gluten-free quick oats. - Can I add protein powder to these bars?
Absolutely! Adding protein powder is a great way to boost the nutritional value, especially for a post-workout snack. Start by mixing in 1-2 scoops of your favorite protein powder (vanilla or unflavored typically work best) with the dry ingredients. You may need to add a touch more honey or peanut butter if the mixture becomes too dry. Adjust to achieve a pliable, sticky consistency. - What if my mixture is too dry and crumbly?
The consistency of natural peanut butter and the ambient humidity can sometimes affect the mixture. If your mixture feels too dry and crumbly, slowly add a bit more creamy peanut butter or honey, one tablespoon at a time, until it reaches a sticky, cohesive consistency that can be firmly pressed. - What if my mixture is too sticky?
If the mixture is too wet or sticky, it might be difficult to handle and may not set as firmly. You can gradually add a tablespoon or two of additional quick oats until the mixture is more manageable. Keep in mind that oats will continue to absorb moisture over time, so the mixture will firm up as it chills.
Explore More No-Bake Delights:
If you love the ease and deliciousness of these no-bake energy bars, you’ll be thrilled to discover other fantastic no-bake recipes to add to your repertoire. These options are perfect for quick snacks, breakfasts, or healthy treats, all without ever turning on your oven!
- Chewy No-Bake Granola Bars: Indulge in chewy and satisfying granola bars, packed with wholesome ingredients and bursting with flavor. A truly delightful and simple snack.
- Irresistible Oatmeal Energy Balls: These little bites taste just like an oatmeal cookie, but they’re loaded with energy-boosting goodness, perfect for a quick pick-me-up.
- Protein-Packed Cinnamon Roll Breakfast Cookies: Start your day right with these delicious, cinnamon roll-flavored cookies that are full of protein and require no baking. A unique and healthy breakfast treat!
- Homemade No-Bake Granola with Chocolate Chips: Enjoy crunchy, wholesome granola studded with chocolate chips, made effortlessly without an oven. Perfect for yogurt, milk, or straight from the bag.
- Quick No-Bake Energy Bites: Need a snack in a flash? These energy bites are ready in just 15 minutes, offering a convenient and nutritious boost to your day.
No-Bake Energy Bars Recipe
By Chelsea Lords
These delightful no-bake Energy Bars require only 5 fundamental ingredients and mimic the taste of a candy bar – yet they’re generously packed with beneficial protein and fiber, offering a wholesome and satisfying snack solution!
Prep Time: 15 minutes
Chilling Time: 1 hour
Total Time: 1 hour 15 minutes
Servings: 24 bars
Equipment
- 8 x 8-inch baking pan
- Parchment paper
- Hand mixer or stand mixer
Ingredients
Energy Bars
- 3 cups quick oats (see note 1 below for important details)
- 1 cup creamy peanut butter (Skippy is a great choice, ensure natural peanut butter is well-mixed)
- 1/2 cup honey
- 1/4 teaspoon salt
- 2/3 cup miniature M&M’s (or your preferred mix-ins like nuts, seeds, or dried fruit)
Optional Chocolate Topping
- 1/3 cup chocolate chips (milk, semi-sweet, or dark)
- 1/4 teaspoon coconut oil or vegetable oil
Instructions
- Line an 8×8-inch baking pan with parchment paper, allowing for a generous overhang on all sides to facilitate easy removal. Binder clips can be helpful for holding the paper in place securely.
- In a very large bowl, combine all the main “Energy Bars” ingredients. Use a hand mixer or a stand mixer (mixing on low speed) to ensure everything is thoroughly combined until a cohesive, slightly sticky mixture forms. Refer to Note 2 for consistency adjustments.
- Transfer the mixture to the prepared pan. Using the bottom of a 1-cup measuring cup or a similar flat tool, firmly and evenly press the mixture into the pan to create a dense, tightly compressed layer.
- Optional Chocolate Topping: If desired, melt the chocolate chips and coconut oil in a microwave-safe bowl. Heat in 15-second intervals, stirring well after each, until the chocolate is smooth and fully melted. Carefully transfer the melted chocolate to a plastic zip-top bag, seal it, snip off a small corner, and drizzle or pipe it decoratively over the bars until all chocolate is used.
- Chill the pan in the refrigerator for approximately 1 hour, or until the bars are completely firm and set.
- Once firm, use the parchment paper overhangs to carefully lift the entire slab of bars out of the pan. Place it on a cutting board. For neat and clean cuts, use a very sharp knife that has been run under hot water and thoroughly dried between each cut. Slice the slab into individual bars.
Recipe Notes
Note 1: Quick Oats are Key! For the best texture and proper binding in this no-bake recipe, you are relying specifically on the moisture absorption properties of quick oats. Do not substitute with regular or old-fashioned rolled oats, as they will not yield the same firm, chewy results and your bars may be crumbly.
Note 2: Consistency Adjustments: The exact consistency of your mixture can vary slightly depending on factors like the type of peanut butter used (e.g., natural vs. processed) and ambient humidity.
- If the mixture feels too dry and crumbly, it won’t hold together properly. Gradually incorporate an additional tablespoon or two of peanut butter or honey until it becomes sticky and cohesive.
- If the mixture is overly sticky and difficult to work with, add a small amount (1-2 tablespoons) of extra quick oats. Remember that oats will continue to absorb moisture as the bars chill, so they will firm up over time.
Storage: Store your prepared energy bars in an airtight container or bag. At room temperature, they will keep for up to 1 week. If stored in the refrigerator, they will remain fresh for up to 2 weeks and maintain a firmer texture. For longer preservation, individually wrap bars and freeze them for up to 3 months. Thaw at room temperature before enjoying.
Nutrition Information
Serving: 1 bar | Calories: 160 kcal | Carbohydrates: 20.3g | Protein: 4.1g | Fat: 6.7g | Cholesterol: 0.8mg | Sodium: 73.8mg | Fiber: 1.9g | Sugar: 10.6g
Nutrition information is automatically calculated and should only be used as an approximation. Actual values may vary based on specific ingredients and preparation.
Love this recipe? Share your thoughts and leave a comment below! Your feedback is always appreciated.