
Easy Homemade Chocolate Truffles: A Gourmet Treat You Can Make at Home
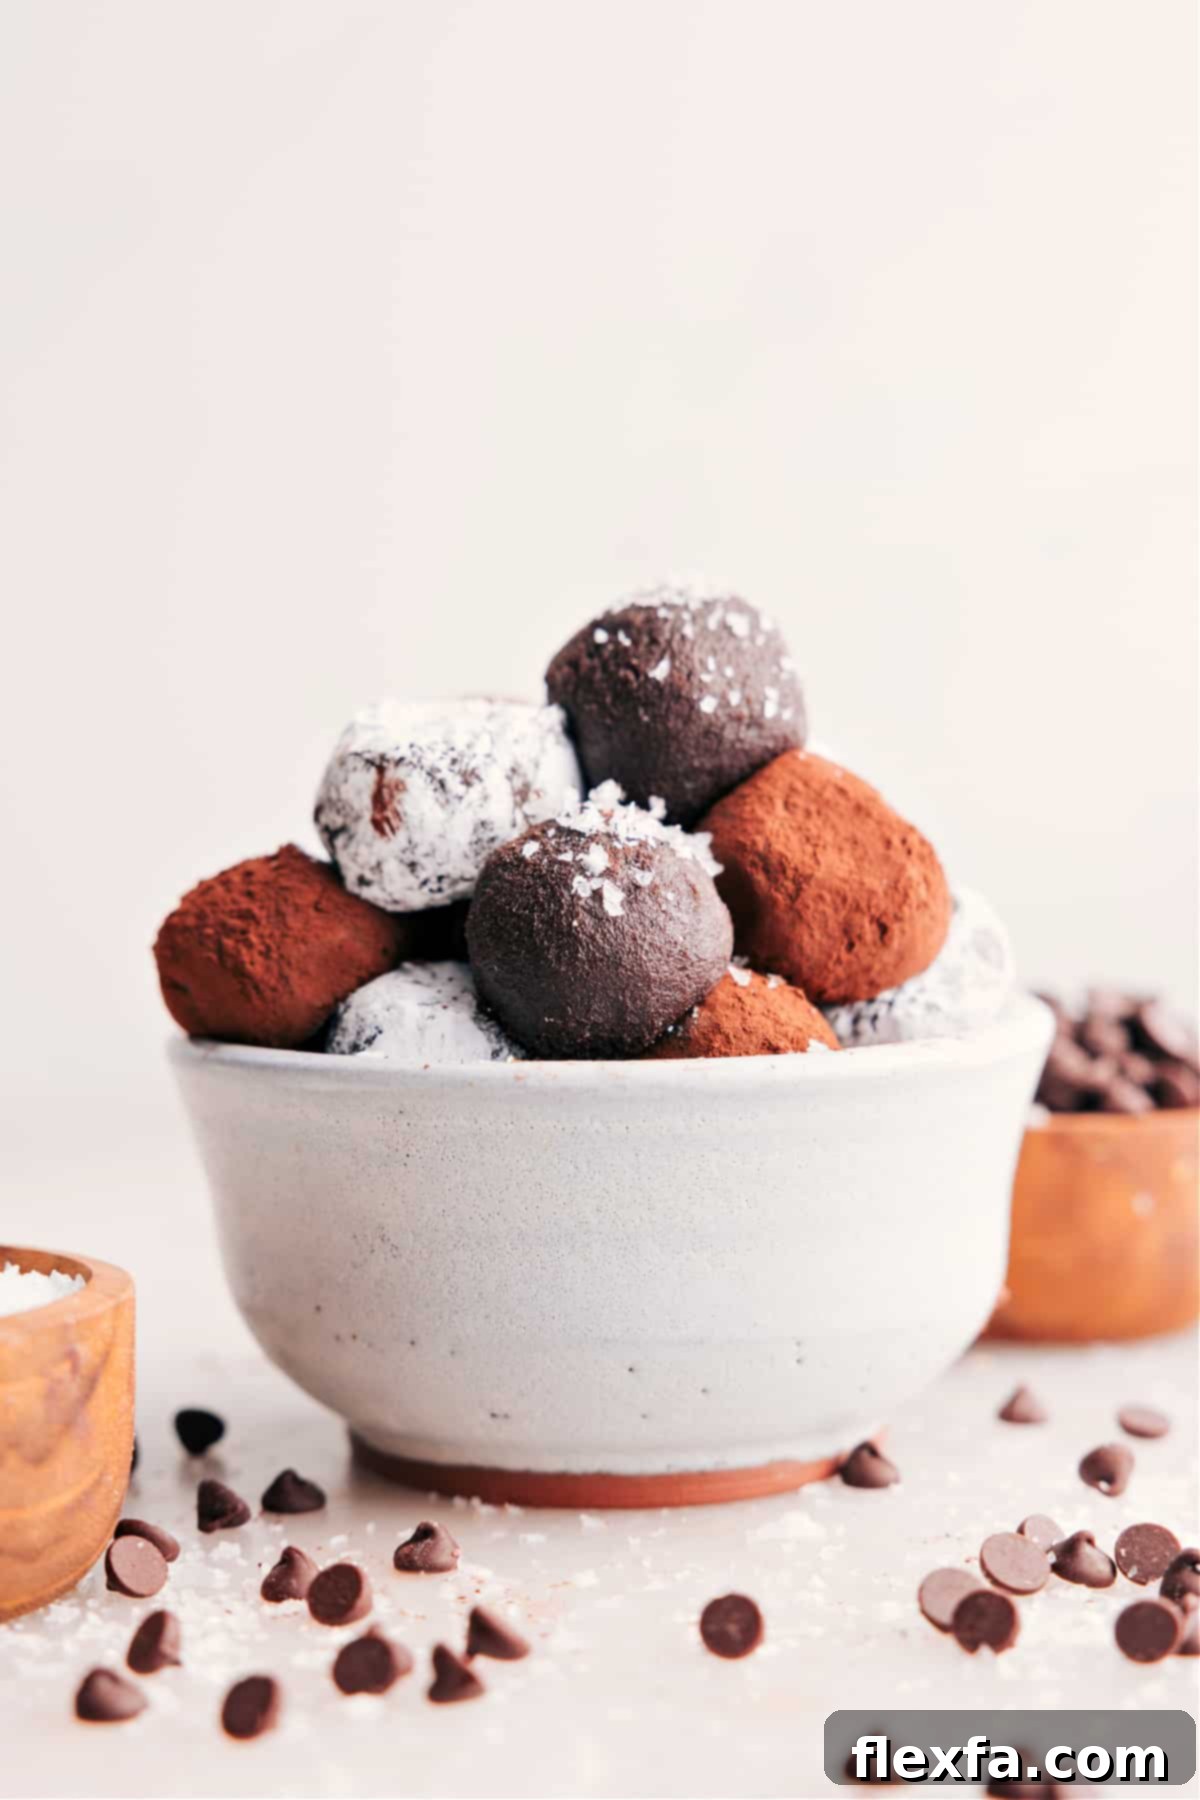
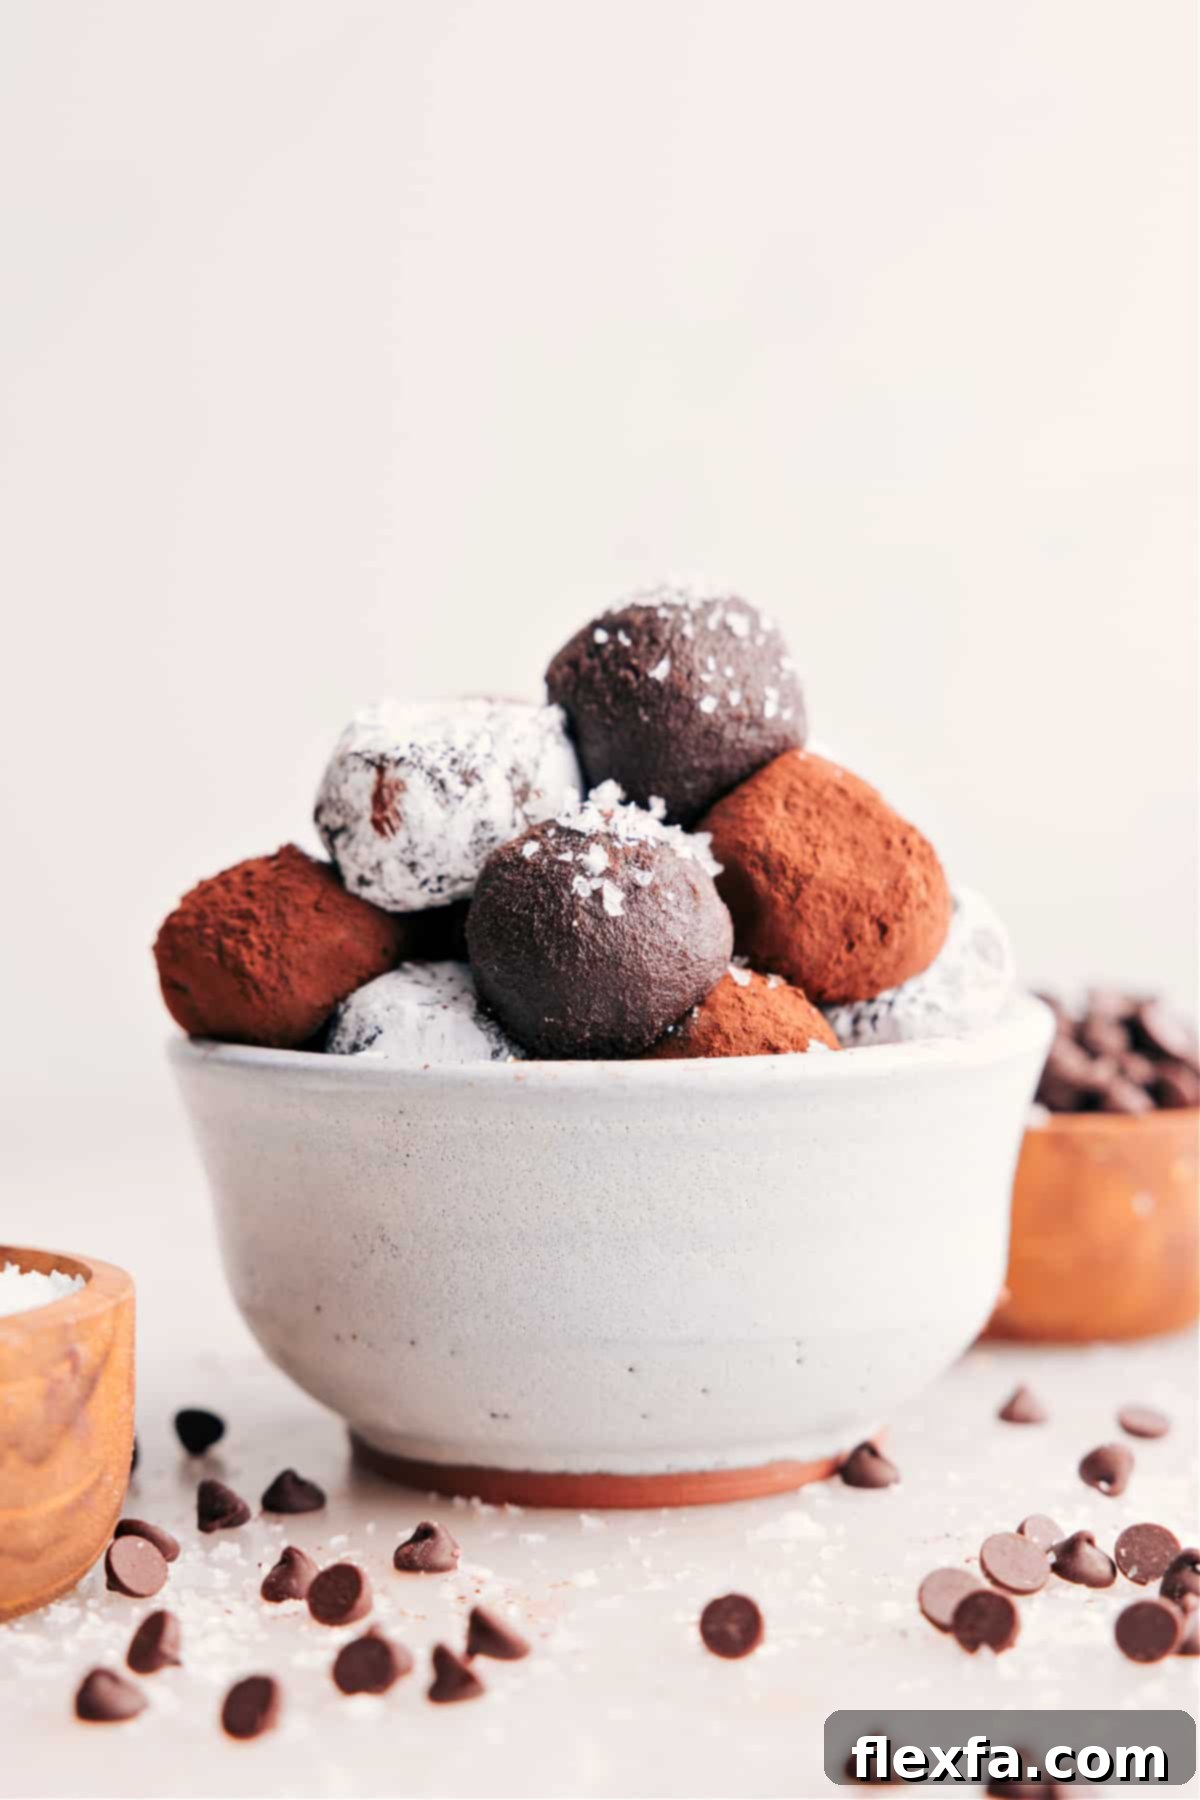
Indulge in the luxurious world of **Chocolate Truffles**, where richness meets velvety smoothness in every bite. Forget expensive store-bought options; these decadent treats are surprisingly simple to create in your own kitchen. Whether you’re looking for an impressive gift, a sophisticated dessert for guests, or a delightful personal indulgence, homemade chocolate truffles are a perfect choice.

A Note from the Author
Fancy-Looking Truffles, Zero Fuss!
My culinary journey with chocolate truffles began in my childhood, deeply influenced by my mom’s Brazilian heritage. Growing up, we savored her homemade brigadeiros—small, sweet chocolate truffles crafted from sweetened condensed milk. That tradition of creating simple, yet incredibly satisfying, chocolate confections has always held a special place in my heart. Today, I continue this delightful tradition with my own children, sharing the joy of making these treats together.
This particular chocolate truffle recipe is a testament to how utterly delicious and surprisingly easy homemade gourmet can be. You might think truffles are complicated, but I’ve streamlined the process to make it approachable for everyone, even for little helpers in the kitchen!
The true secret to achieving that rich, fancy chocolate flavor and unbelievably smooth texture without any of the usual fuss of chopping or tempering chocolate? It’s all about using high-quality melting wafers, specifically Ghirardelli. These wafers melt beautifully and consistently, ensuring your truffles turn out perfect every single time, making you look like a pastry chef without the extra effort.
Why You’ll Love Making Homemade Chocolate Truffles
There’s something uniquely satisfying about creating gourmet treats from scratch, and chocolate truffles are no exception. Beyond the joy of crafting them, here are a few reasons why this recipe will become a staple in your kitchen:
- **Effortlessly Elegant**: These truffles look incredibly sophisticated, making them ideal for special occasions, holiday gifting, or simply impressing your dinner guests. Yet, the process is far simpler than their appearance suggests.
- **Cost-Effective Indulgence**: High-end chocolate truffles can be quite pricey. Making them at home allows you to enjoy the same luxurious quality at a fraction of the cost, so you can indulge more often!
- **Customizable Flavors**: This recipe serves as a perfect base for endless flavor experimentation. From classic vanilla to bold peppermint or citrus, you can easily adapt them to suit any palate or occasion.
- **A Fun Family Activity**: As mentioned in my personal note, this recipe is simple enough for kids to help with. Rolling the truffle balls and coating them in various toppings can be a delightful and memorable activity for the whole family.
- **Perfect for Gifting**: Handcrafted gifts carry a special charm. Package these truffles in a beautiful box, and you have a thoughtful, delicious present for friends, teachers, or hosts.
Mastering Homemade Chocolate Truffles: Essential Tips for Success
Making chocolate truffles is a rewarding process, and while this recipe is designed for simplicity, a few key tips can elevate your results from good to absolutely perfect. The full step-by-step instructions are provided in the recipe card below, but consider these top tips as you embark on your truffle-making adventure:
- Chill Properly, Don’t Rush: Patience is crucial when chilling your chocolate mixture (ganache). An adequately chilled ganache is firm enough to scoop and roll without being too sticky or too hard. Aim for 4-6 hours in the refrigerator. If your mixture feels too firm after chilling, simply let it sit at room temperature for about 30 minutes to soften slightly before attempting to scoop.
- Never Freeze for Firmness: While tempting to speed up the chilling process, freezing your ganache will unfortunately alter the delicate texture of the chocolate. Freezing can cause the fat and water in the chocolate to separate, resulting in a grainy, less desirable consistency. Always stick to refrigeration.
- Opt for a Wide, Shallow Bowl: When chilling your ganache, transfer it to a wide, shallow bowl or dish. This allows the mixture to cool down more quickly and evenly, preventing the edges from firming up too much while the center remains soft.
- Cover with Plastic Wrap Directly: To prevent a film or crust from forming on the surface of your ganache during chilling, press a piece of plastic wrap directly onto the surface of the chocolate mixture. This creates an airtight seal that locks in moisture and maintains smoothness.
- Use Only Heavy Cream: For the luxurious, thick consistency required for truffles, heavy cream is indispensable. Milk or half-and-half contain less fat and will not thicken sufficiently to create the proper ganache texture needed for rolling. Full-fat heavy cream (or whipping cream) is key.
- Stick with Dark Chocolate Melting Wafers: This recipe specifically calls for dark chocolate melting wafers, and for good reason. Dark chocolate has a higher cocoa solids content and less sugar and milk solids compared to milk or semi-sweet chocolate, which makes it firmer and easier to roll into stable balls. Other types of chocolate are too soft and will be challenging to handle at room temperature.
Truffle Flavor Variations & Creative Ideas
While classic chocolate truffles are undeniably delicious, the beauty of homemade confections lies in their versatility. Don’t hesitate to get creative with flavors and presentations to suit your taste or occasion:
- Miniature Truffles: For a more delicate bite or to make your batch go further, use 1½ teaspoons of the ganache mixture instead of a full tablespoon. These mini delights are adorable and perfect for dessert platters.
- Switch Up the Extracts: Vanilla is a wonderful base, but you can easily swap it for other extracts to create a variety of flavored truffles. Experiment with peppermint for a festive treat, almond for a nutty depth, coconut for a tropical twist, vibrant orange or raspberry, or rich hazelnut extract. Start with ½ teaspoon and adjust to taste.
- Dip in Melted Chocolate: Instead of rolling in dry toppings, consider dipping your firm truffles in a fresh batch of melted dark, milk, or white chocolate for a smooth, glossy shell. You can then drizzle with contrasting chocolate or sprinkle with toppings before the coating sets.
- Infused Creams: For an even deeper flavor, gently warm the heavy cream with aromatics like orange zest, a cinnamon stick, or even dried chili flakes. Steep for 15-20 minutes, then strain before adding to the chocolate.
- Boozy Truffles: Replace a portion of the vanilla extract (e.g., ¼ teaspoon) with a teaspoon of your favorite liqueur like Grand Marnier, Kahlúa, rum, or a fruit-flavored brandy for an adult-friendly treat.
Storing Your Delicious Truffles for Freshness
To keep your homemade chocolate truffles at their best, proper storage is essential. They are incredibly stable and can last for an extended period when stored correctly:
Store finished truffles in an airtight container in the refrigerator. They will remain fresh and delicious for up to two weeks. When you’re ready to enjoy one (or several!), allow them to sit at room temperature for about 15-30 minutes before eating. This allows the chocolate to soften slightly, bringing out their optimal smooth, melt-in-your-mouth texture and rich flavor. Avoid leaving them out for extended periods, especially in warm environments, as they can soften and lose their shape.
Mastering the Roll: Preventing Sticky Truffles
One of the most common challenges when making truffles is dealing with sticky ganache that’s difficult to roll into perfect spheres. My number one tip, inspired by baking guru Sally’s Baking Addiction, is a game-changer:
After scooping out your chilled ganache onto a parchment-lined tray, instead of rolling immediately, return the tray to the fridge for an additional 30 minutes, uncovered. This brief chill period allows the surface of the chocolate blobs to firm up slightly and dry out, making them significantly easier to handle and roll into beautiful, smooth balls. Once firmed, roll them quickly straight from the fridge.
Quick Rolling Tip for Stubborn Truffles
Still encountering sticky truffles even after the extra chill? Don’t despair! You have a couple of quick solutions: either place the tray back in the fridge for another 10-15 minutes, or, for an immediate fix, cool your hands. You can do this by holding a freezer bag filled with ice or a bag of frozen vegetables for a minute or two before you start rolling. Cold hands will minimize melting and sticking.
More Indulgent Dessert Recipes to Love
If you’re a fan of rich, decadent desserts, you’ll love exploring these other delightful recipes perfect for any sweet craving:
- **Chocolate Cheesecake**: A creamy, dreamy chocolate cheesecake with an irresistible chocolate cookie crust.
- **Chocolate Covered Strawberries**: Fresh strawberries elegantly coated in chocolate, often finished with a delicate white chocolate drizzle.
- **Bakery Style Chocolate Cookies**: Soft, chewy, and rich chocolate cookies loaded with melty chocolate chips, just like your favorite bakery.
- **Buttercrunch Candy**: A delightfully crunchy peanut butter and chocolate confection that’s addictive.
- **Chocolate Peanut Butter Pie**: A decadent pie featuring a rich chocolate cookie crust and a smooth, creamy peanut butter filling.
Pin This Recipe
Print Recipe
Chocolate Truffles
Chelsea Lords
30 minutes
4 hours
4 hours 30 minutes
22 truffles
Recipe Video
Equipment
-
Large, microwave-safe bowl
-
Sheet pan (15″ x 10″) (lined with parchment paper)
-
Measuring spoons and cups
-
Whisk or spoon for stirring
-
Plastic wrap
Ingredients
-
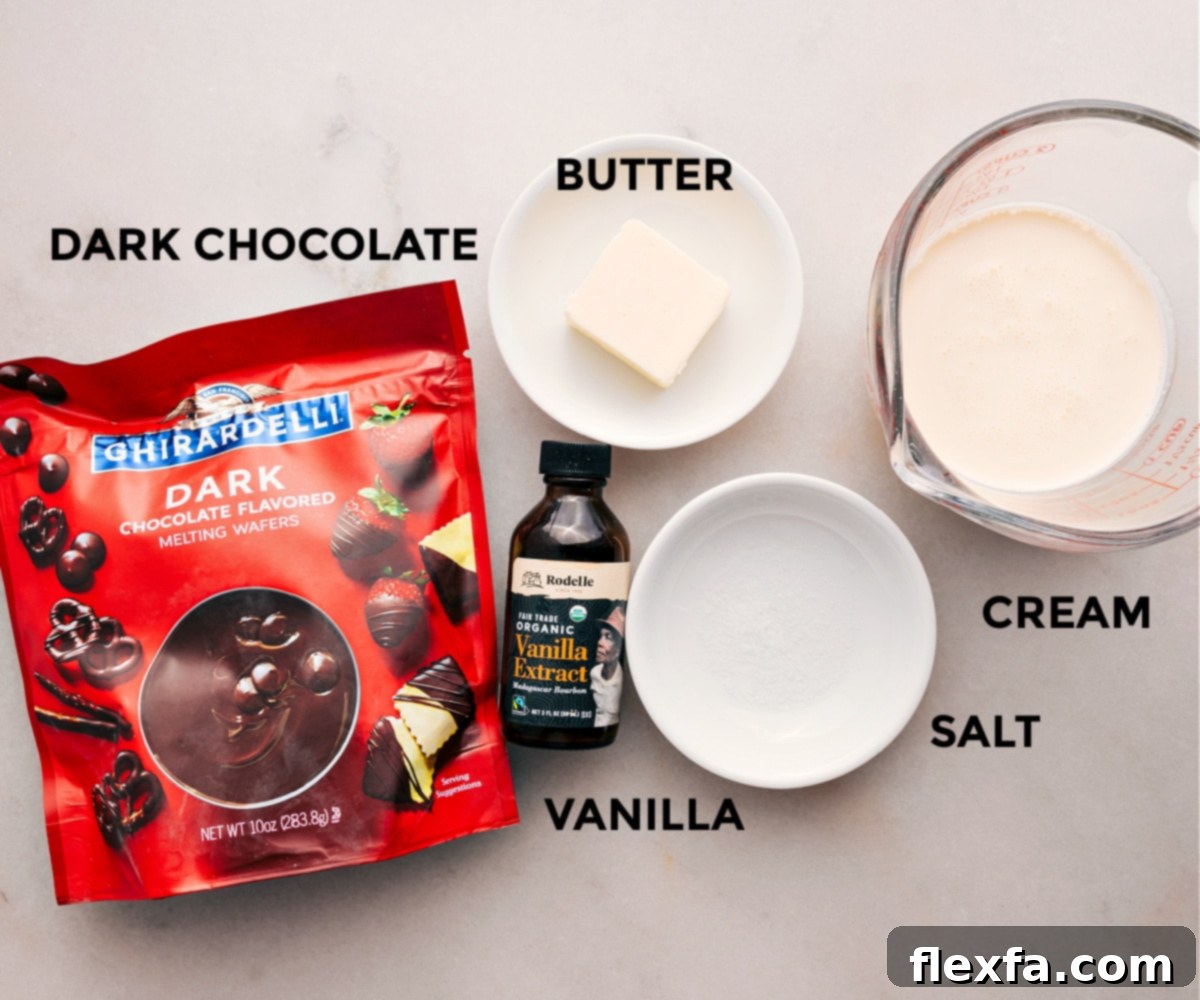
1 (10-ounce) bag
dark chocolate melting wafers
(see note 1 below for important chocolate type information) - 2 tablespoons unsalted butter
- 1/2 cup heavy cream
-
1/8 teaspoon
salt
-
1/2 teaspoon
vanilla bean paste
(or vanilla extract; see note 2 for flavor variations) - Truffle coating (see note 3 for coating suggestions)
Instructions
-
Combine the dark chocolate melting wafers, unsalted butter, heavy cream, and salt in a large, microwave-safe bowl. Microwave the mixture in short bursts of 30 seconds, stirring thoroughly for 20 seconds after each burst. Continue this process until the chocolate is mostly melted, which typically takes about 90 seconds in total. It’s perfectly fine if a few small pieces of chocolate remain; the residual heat will melt them. Once mostly melted, give it a final stir, cover the bowl with a plate or lid, and let it stand undisturbed for 5 minutes. This allows the remaining chocolate to melt completely and ensures a smooth ganache.
-
After the 5-minute resting period, remove the cover and stir the ganache vigorously until it becomes completely smooth and glossy. Stir in the vanilla bean paste (or extract) until well combined. Next, cover the surface of the ganache directly with plastic wrap, pressing it down so it touches the entire surface. This prevents a skin from forming. Transfer the bowl to the refrigerator and chill for a minimum of 4 to 6 hours, or until the ganache is firm enough to scoop. Do not freeze the mixture at any point, as this will compromise the smooth texture (see note 4).
-
Prepare a baking tray by lining it with parchment paper. Using a tablespoon measuring spoon, scoop out portions of the chilled chocolate ganache. Use another spoon to gently coax the chocolate out of the measuring spoon, dropping small, uniform blobs onto the prepared tray. Aim for even sizes to ensure consistent chilling and rolling.
-
Place the tray of chocolate blobs, uncovered, back into the refrigerator for an additional 30 minutes. This crucial step slightly dries out the surface of the ganache, making it much easier to roll without excessive stickiness.
-
After 30 minutes, remove the tray from the fridge. Working quickly, roll each chocolate blob into a smooth, round ball between the palms of your hands. If the ganache starts to become sticky or difficult to roll at any point, simply return the tray to the fridge for 10-15 minutes to firm up again. Once each ball is rolled, place it back on the parchment-lined sheet pan. When all the truffles have been shaped, return the pan to the fridge for a final 10-minute chill to ensure they are firm before coating.
-
While the truffles are firming for the last 10 minutes, prepare your chosen coatings. Place each topping into small, shallow bowls. Popular options include finely shredded coconut, Dutch-process cocoa powder, and powdered sugar. Once the truffles are firm, roll each ball generously in your desired coating until evenly covered. Serve your exquisite chocolate truffles at room temperature for the best flavor and texture.
Recipe Notes
Note 2: Flavor Variations. Feel free to customize the flavor profile by swapping out vanilla for other extracts. Popular choices include peppermint, coconut, almond, orange, raspberry, or hazelnut extracts or emulsions. Begin with 1/2 teaspoon and adjust to your preference.
Note 3: Coating Options. The finishing touch for your truffles can be as creative as you like! Consider rolling them in finely blended sweetened coconut, finely crushed nuts (like pecans, walnuts, or pistachios), colorful sprinkles, rich Dutch-process cocoa powder, confectioners’ (powdered) sugar, or even crushed candy cane pieces for a festive touch.
Note 4: Chilling Guidance. While the recommended chilling time is 4-6 hours, it’s perfectly fine to chill the ganache longer, even overnight. If the mixture becomes too firm to scoop directly from the fridge, simply leave it at room temperature for approximately 30 minutes to soften enough for easy handling.
Storage: Store your homemade Chocolate Truffles in an airtight container in the refrigerator for up to two weeks. For the ultimate smooth, melt-in-your-mouth experience, always allow them to come to room temperature for about 15-30 minutes before serving.
Nutrition Information (Approximate per Truffle)
Calories: 101 kcal |
Carbohydrates: 9 g |
Protein: 0.2 g |
Fat: 7 g |
Saturated Fat: 6 g |
Polyunsaturated Fat: 0.1 g |
Monounsaturated Fat: 1 g |
Trans Fat: 0.04 g |
Cholesterol: 9 mg |
Sodium: 19 mg |
Potassium: 5 mg |
Sugar: 9 g |
Vitamin A: 111 IU |
Vitamin C: 0.03 mg |
Calcium: 4 mg |
Iron: 0.01 mg
Nutrition information is automatically calculated, so should only be used as an approximation.
Enjoyed this recipe? Share your thoughts below!