
Are you ready to elevate your culinary skills and achieve flawless results in every dish? Precision is the secret ingredient to exceptional cooking and baking, and our comprehensive guide will show you how. Discover expert tips for measuring ingredients accurately, learn about essential kitchen tools, and get immediate access to our invaluable, free printable Kitchen Conversion Chart! Download your chart today, laminate it for durability, and keep it handy – perhaps on the inside of a cabinet or in your pantry – for instant reference.
The Indispensable Kitchen Conversion Chart
Say goodbye to guesswork and hello to consistent culinary success! Our carefully curated Kitchen Conversion Chart is designed to simplify complex measurement conversions, making your cooking and baking journey smoother and more enjoyable. With this chart, you’ll effortlessly convert between different units like ounces to grams, teaspoons to tablespoons, cups to milliliters, and much more. It’s an essential resource for any home cook, whether you’re a beginner looking to build confidence or an experienced chef aiming for perfection. This tool empowers you to tackle any recipe, regardless of its origin or the measurement system it uses, ensuring your creations always turn out exactly as intended. Download your free chart today and start cooking with professional accuracy!
Essential Kitchen Measuring Tools for Precision Cooking
Before we delve into the nuances of accurate measuring and explore our detailed Kitchen Conversion Chart, let’s ensure your kitchen is equipped with the fundamental tools necessary for precise ingredient measurement. Having the right equipment makes all the difference in achieving consistent and delicious results.
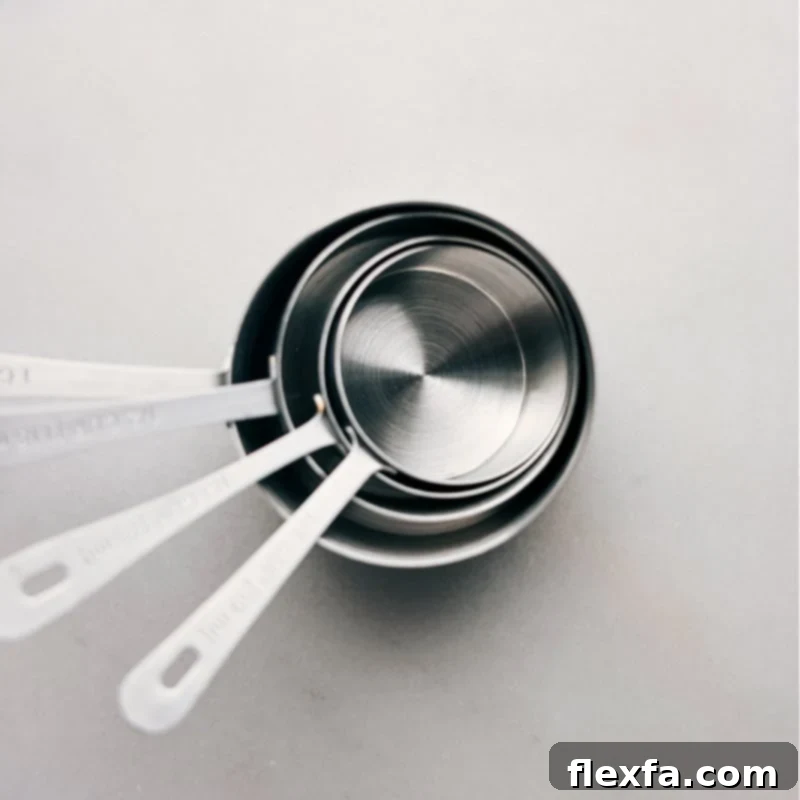
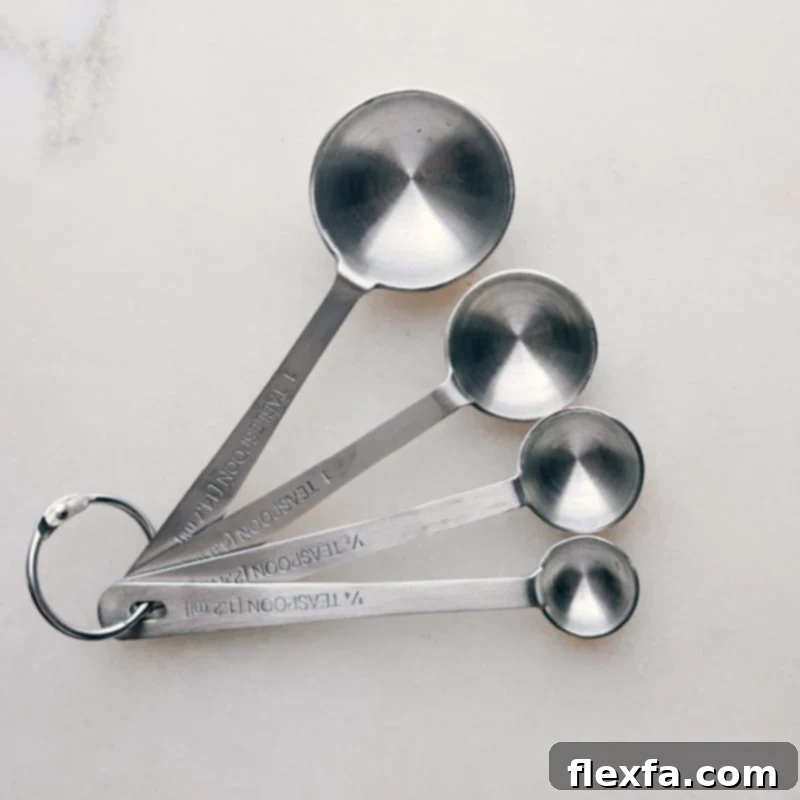
- Measuring Spoon Set – A standard set typically includes ¼ teaspoon, ½ teaspoon, 1 teaspoon, and 1 tablespoon. Some more comprehensive sets might also feature ⅛ teaspoon and ½ tablespoon. These small increments are crucial for spices, extracts, and potent flavorings, where even a slight deviation can alter the dish’s profile significantly. Opt for a set made of durable stainless steel for longevity and easy cleaning.
- Dry Measuring Cup Set – Designed for accuracy with solid or dry ingredients, a common set includes ¼ cup, ⅓ cup, ½ cup, and 1 cup sizes. These cups are meant to be filled to the brim and then leveled off precisely with a straight edge, such as the back of a knife, to ensure the exact volume is measured. They are essential for ingredients like flour, sugar, oats, and chopped vegetables.
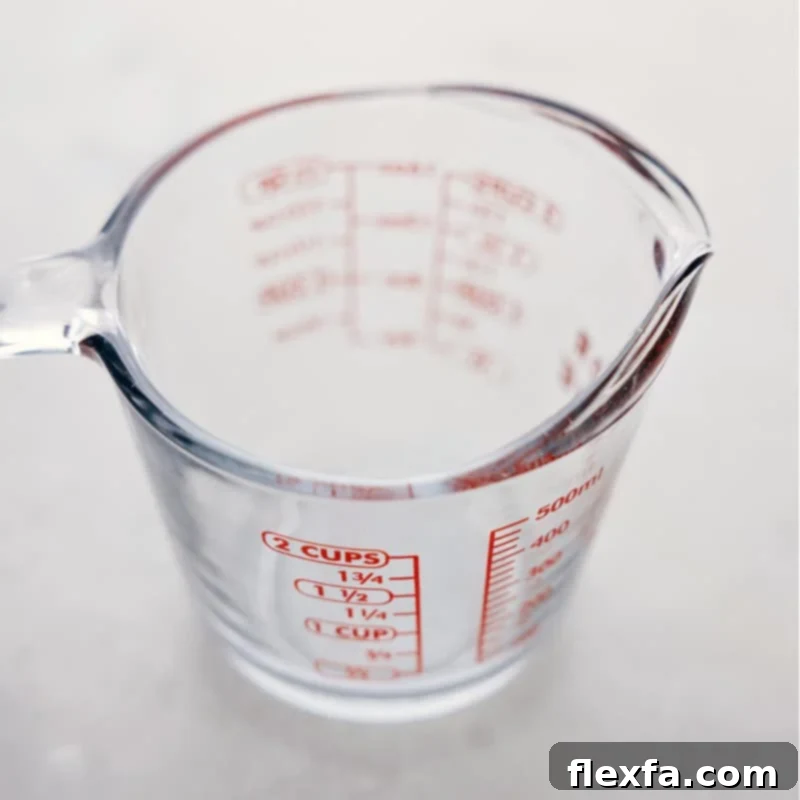
- Liquid Measuring Cups – Distinct from dry measuring cups, these are typically clear, feature a spout for easy pouring, and often come in 1-, 2-, or 4-cup capacities. They usually have markings for ounces, quarts, and milliliters. The key to accurate liquid measurement is placing the cup on a flat surface and reading the measurement at eye level to avoid parallax errors.
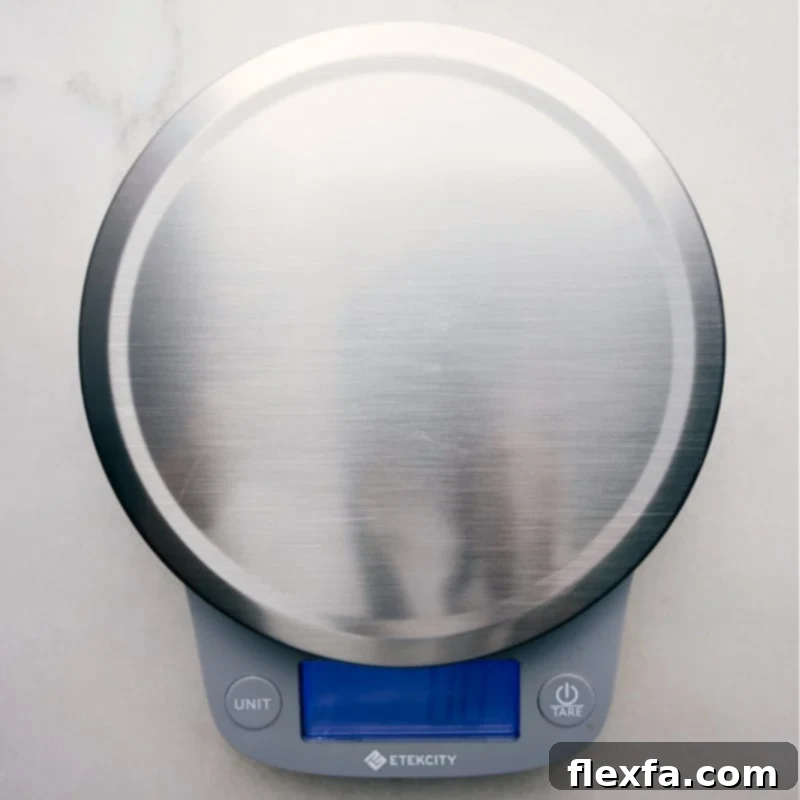
- Food Scale – For unparalleled accuracy, especially in baking, a digital food scale is indispensable. It measures ingredients by weight (grams or ounces) rather than volume. Recipes for baked goods like bread, cakes, and delicate pastries often yield superior and more consistent results when ingredients, particularly dry ones like flour, are weighed precisely. A food scale eliminates the inconsistencies of volumetric measuring, making it a favorite among professional bakers.
Beyond the tools, understanding the language of recipes is key. Let’s quickly review some common cooking abbreviations you’ll frequently encounter in recipes and on our Kitchen Conversion Chart.
Decoding Cooking Abbreviations: A Quick Reference Guide
Ever found yourself staring at a recipe, wondering what “tsp” or “Tbsp” actually means? You’re not alone! Recipe abbreviations are designed for brevity, but they can be confusing if you’re not familiar with them. Knowing these common measurement unit abbreviations will significantly boost your confidence and speed in the kitchen.
- tsp – Teaspoon
- Tbsp – Tablespoon (also commonly seen as tbsp, T, TB, Tbl, Tbs)
- C – Cup
- PT – Pint
- QT – Quart
- ML/mL – Milliliters
- L – Liters
- OZ – Ounce
- FL OZ – Fluid Ounce
- G – Grams
- LB – Pounds
With a little practice, these abbreviations will become second nature, allowing you to breeze through recipes without a hitch.
Now that we’ve covered the basic measuring utensils and decoded common abbreviations, it’s time to delve into the specifics of measuring techniques. Being precise with your ingredients is paramount to achieving the best possible results in all your culinary endeavors, especially when baking.
The Science of Measurement: A Cup Is Not Always A Cup
You might think “a cup is a cup,” but in the world of cooking and baking, measurements can vary significantly depending on what you’re measuring and how you’re doing it. To ensure you’re getting the correct amount of an ingredient, understanding the difference between measuring by volume and measuring by weight is crucial.
Consider this common kitchen conundrum: which weighs more, 16 ounces of marshmallows or 16 ounces of sweet potatoes? If you immediately thought sweet potatoes, you’re on the right track, but the answer depends entirely on how you’re measuring.
If you’re measuring by *volume*, the sweet potatoes would likely fill a 2-cup measure and be noticeably heavier than the same 2-cup measure filled with fluffy marshmallows. Marshmallows, being airy, take up a lot more space for the same weight.
However, if you’re measuring by *weight*, both the marshmallows and sweet potatoes would, by definition, weigh exactly 16 ounces. The difference is the *amount* of each ingredient you’d have. A bowl filled with 16 ounces of marshmallows would be overflowing, while 16 ounces of sweet potatoes would occupy a much smaller space. This illustrates a fundamental principle: volume measures how much space something occupies, while weight measures its density or heaviness.
An Ounce Isn’t Always An Ounce: Understanding Weight vs. Volume
This brings us to a critical distinction: an ounce measured by volume is not the same as an ounce measured by weight. Measuring by weight calculates how dense or heavy an item is, providing a truly consistent quantity. Measuring by volume, conversely, indicates how much space an ingredient takes up. This is precisely why many experienced cooks and devoted bakers prefer using a food scale for dry ingredients – it’s significantly more accurate and yields consistent results every time. Just because a liquid measuring cup holds 8 fluid ounces doesn’t mean those 8 fluid ounces of a dry ingredient will *weigh* 8 dry ounces. Confused? Let’s clarify further!
Why Measuring Cups Are Not Interchangeable: The Liquid vs. Dry Divide
The seemingly simple equation that “1 cup equals 8 ounces” can be misleading. It’s crucial to remember that 1 cup equals 8 fluid ounces, which is distinctly different from 8 dry ounces. This distinction dictates the type of measuring cup you should use.
Measuring Liquids: The Eye-Level Rule
Liquids should always be measured in transparent liquid measuring cups. These cups are designed with a handle and a spout, allowing for easy pouring and minimal spillage. Crucially, when measuring liquids, always place the cup on a flat, level surface and read the measurement at eye level. Looking down at the cup from above can create a distorted perspective, leading to an inaccurate reading due to parallax error. Ensure the liquid’s meniscus (the curve at the surface) is at the desired measurement line.
Measuring Dry Ingredients: The Spoon and Level Technique
Dry ingredients like flour, sugar, or cocoa powder require dry measuring cups, which have a flat top specifically for leveling. However, the method of filling these cups significantly impacts accuracy. Many home cooks make the mistake of “scooping and packing” by plunging the measuring cup directly into a bag or canister of flour. This compresses the flour, resulting in a much denser, heavier measure than the recipe intends – a common culprit for dry, dense baked goods.
The preferred method, especially for ingredients like flour, is the “spoon and level” technique. Instead of scooping, use a large spoon to gently spoon the dry ingredient into the measuring cup until it overflows. Then, take the back of a straight-edged knife or a dedicated leveling tool and gently swipe across the top of the cup to remove any excess, creating a perfectly level measure. This method ensures the ingredient is loosely packed, providing a more accurate volume.
The variation in measuring dry ingredients, depending on whether they are scooped, packed, or properly spooned and leveled, can be astonishing. This is where the kitchen scale truly shines. By weighing dry ingredients, you eliminate all volumetric inconsistencies, guaranteeing the exact amount required by the recipe and leading to consistently superior results.
But What About Measuring Spoons? Are They Different?
Here’s some good news! Measuring spoons are generally considered interchangeable for both liquid and solid ingredients. The reason for this flexibility lies in the small quantities they measure. A slight variance in a teaspoon of salt or a tablespoon of vanilla extract is unlikely to significantly alter the outcome of most recipes. However, if you are working with extremely potent ingredients, or if absolute precision is critical for a very delicate recipe, then yes, revert to your trusty food scale for weighing even small amounts.
The Bottom Line for Perfect Kitchen Measurements
To consistently achieve outstanding culinary results, follow these guiding principles. First, always read your recipe thoroughly from beginning to end before you start. This provides context and helps you anticipate measurement needs. Next, identify the type of ingredient you’re measuring:
- For 1 cup of milk or any other liquid, use a transparent liquid measuring cup and read it at eye level on a flat surface.
- For 1 cup of flour or other dry ingredients (like granulated sugar), use a dry measuring cup with the “spoon and level” technique. Avoid scooping directly from the container.
- For brown sugar, pack it firmly into the dry measuring cup until it retains its shape when inverted.
- For fats like butter or shortening, weigh them on a food scale for supreme accuracy, or use the displacement method with water in a liquid measuring cup if weighing isn’t an option.
Ultimately, for unparalleled accuracy, especially with dry ingredients in baking, always opt for a digital kitchen scale. If the success of your recipe truly matters, taking these extra steps to ensure precise measurements is always worth it!
Equivalents: More Than One Way to Measure with Our Chart
Ever found yourself needing ⅓ cup of an ingredient, only to realize your ⅓ cup measure is dirty or missing? No problem! With our handy list of measurement equivalents (also found on your Kitchen Conversion Chart), you can easily perform a little kitchen wizardry to get the job done. This section is invaluable for adapting recipes or working with limited tools.
- 1 tablespoon = 3 teaspoons = ½ fluid ounce
- ¼ cup = 4 tablespoons = 2 fluid ounces
- ⅓ cup = 5 tablespoons + 1 teaspoon = 2 ⅔ fluid ounces
- ½ cup = 8 tablespoons = 4 fluid ounces
- ¾ cup = 12 tablespoons = 6 fluid ounces
- 1 cup = 16 tablespoons = 8 fluid ounces = ½ pint
- 2 cups = 32 tablespoons = 16 fluid ounces = 1 pint
- 4 cups (2 pints) = 64 tablespoons = 32 fluid ounces = 1 quart
- 4 quarts = 16 cups = 128 fluid ounces = 1 gallon
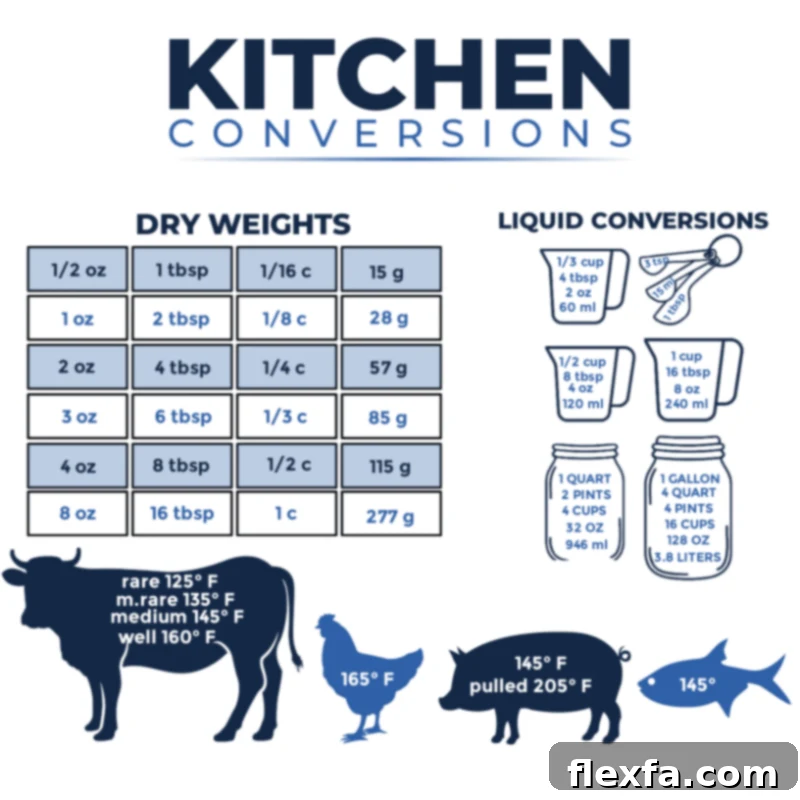
Download Your Free Printable Kitchen Conversion Chart Here!
Keeping Your Kitchen Conversion Chart Handy for Every Recipe
Our Kitchen Conversion Chart is designed to be incredibly useful, so you’ll want it within easy reach! For maximum convenience and durability, we highly recommend laminating it. This will protect it from spills, splashes, and general kitchen wear and tear. Once laminated, consider these clever spots for quick access:
- Inside a Cabinet Door: Tape it to the inside of an upper kitchen cabinet door that you frequently open while cooking.
- Pantry Wall: Affix it to the inside wall of your pantry for discreet yet visible access.
- Refrigerator Side: Use magnets to secure it to the side of your refrigerator.
- Recipe Binder or Cookbook: Keep a copy tucked into your favorite recipe binder or a frequently used cookbook.
- Magnetic Whiteboard: If you have a kitchen whiteboard, you can stick it there.
Having these essential conversions memorized or readily available in your kitchen will save you valuable time, reduce stress, and make following even the most complex recipes an absolute breeze. Eliminate interruptions to search for conversions and stay focused on creating culinary masterpieces.
Don’t let the perceived complexities of measurement terminology or techniques discourage you from exploring the joys of cooking and baking. The satisfaction and positive feedback that come from a perfectly executed dish are immensely rewarding. Taking a little extra time to master precise measurements is a small investment that pays off significantly in the quality and consistency of your homemade meals.
Use Our Kitchen Conversion Chart to Effortlessly Scale These Recipes for a Crowd
Planning a gathering or a large family meal? Our Kitchen Conversion Chart is your ultimate companion for scaling recipes up or down to suit any number of guests. These delicious recipes are some of our absolute favorites for feeding a crowd. Refer to your handy conversion chart to easily adjust the ingredient quantities, ensuring you can cater to any size group with confidence and precision.
- Hearty Shepherd’s Pie
- Classic Baked Ziti
- Delectable Crockpot BBQ Pulled Pork
- Comforting Funeral Potatoes
- Famous Cafe Rio Sweet Pork Recipe