
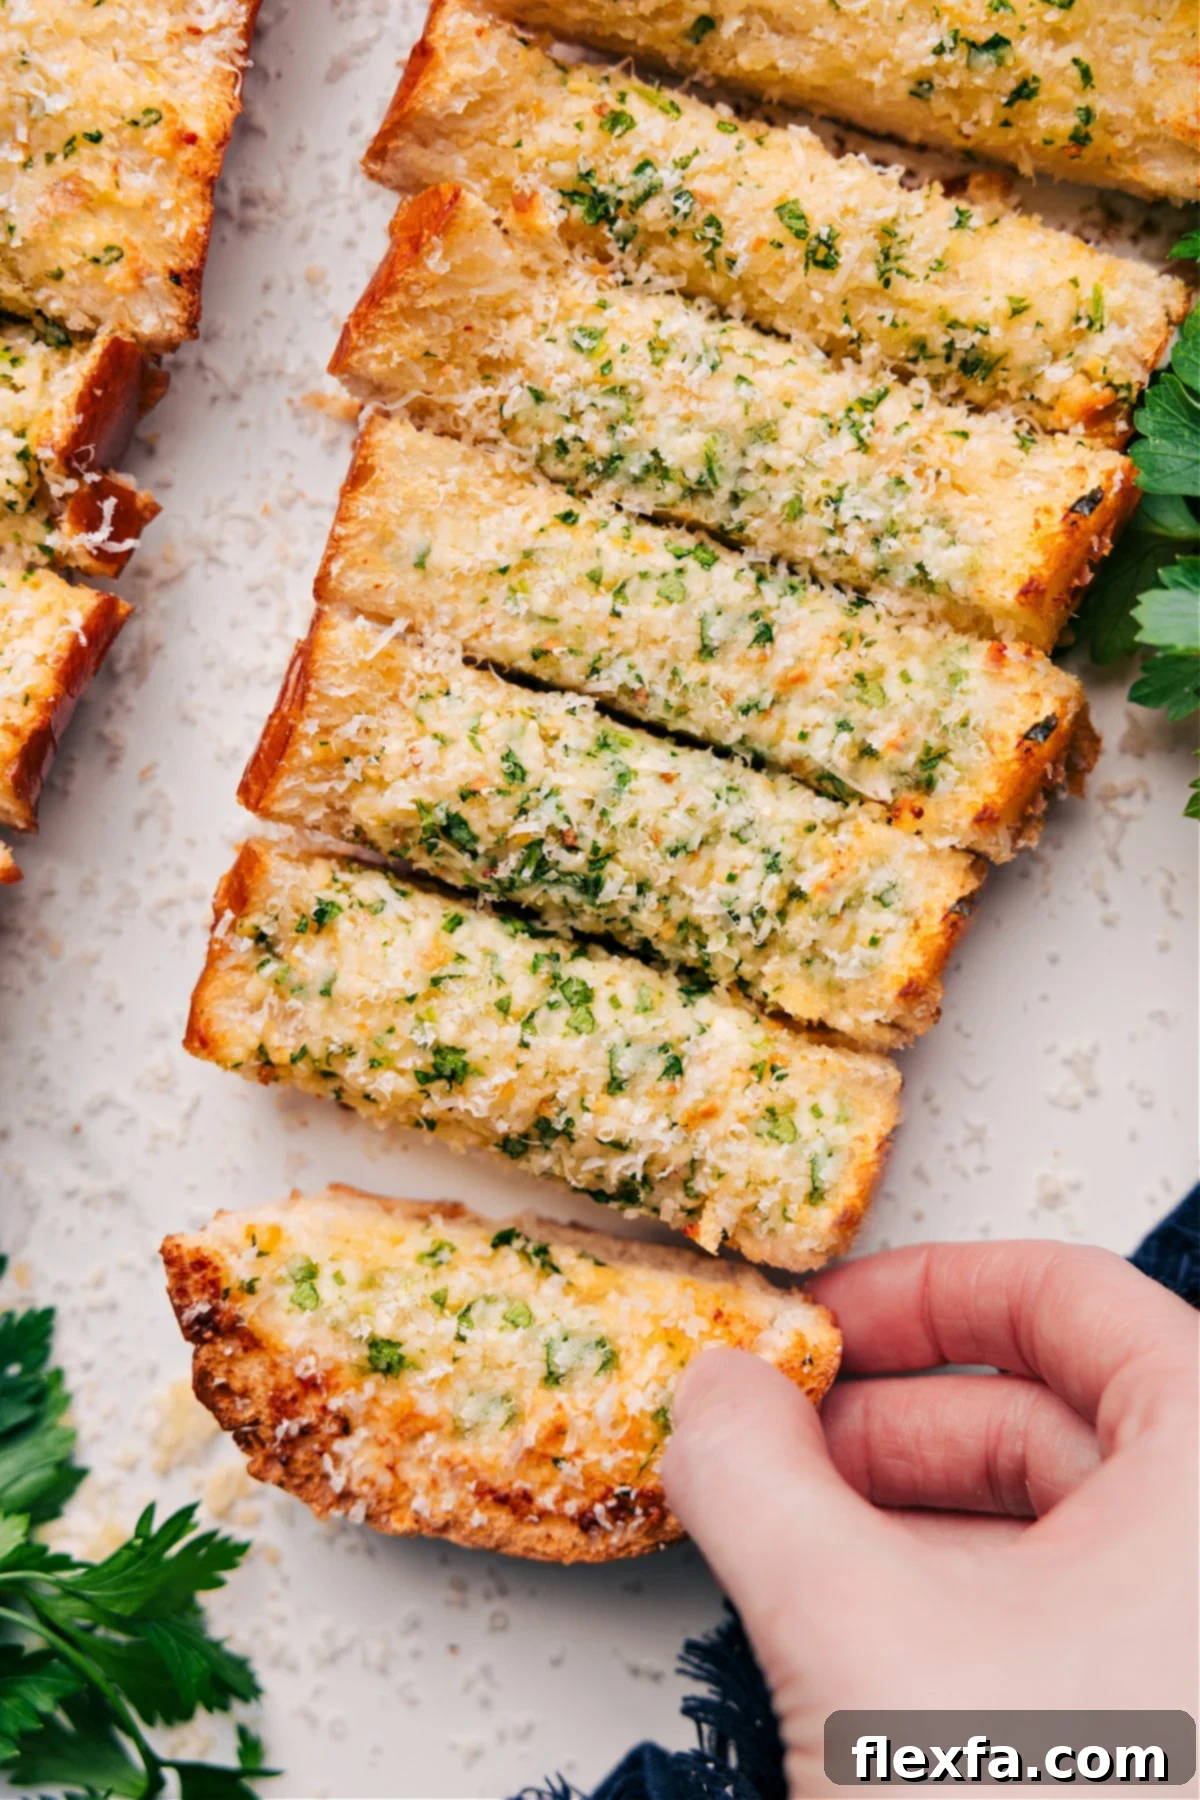
Transform your meals with the ultimate homemade Garlic Bread Recipe! Made with a perfect French bread base, generously slathered with a rich and creamy garlic Parmesan butter, then baked until beautifully golden and irresistibly crisp on the edges. This isn’t just a side dish; it’s an experience.
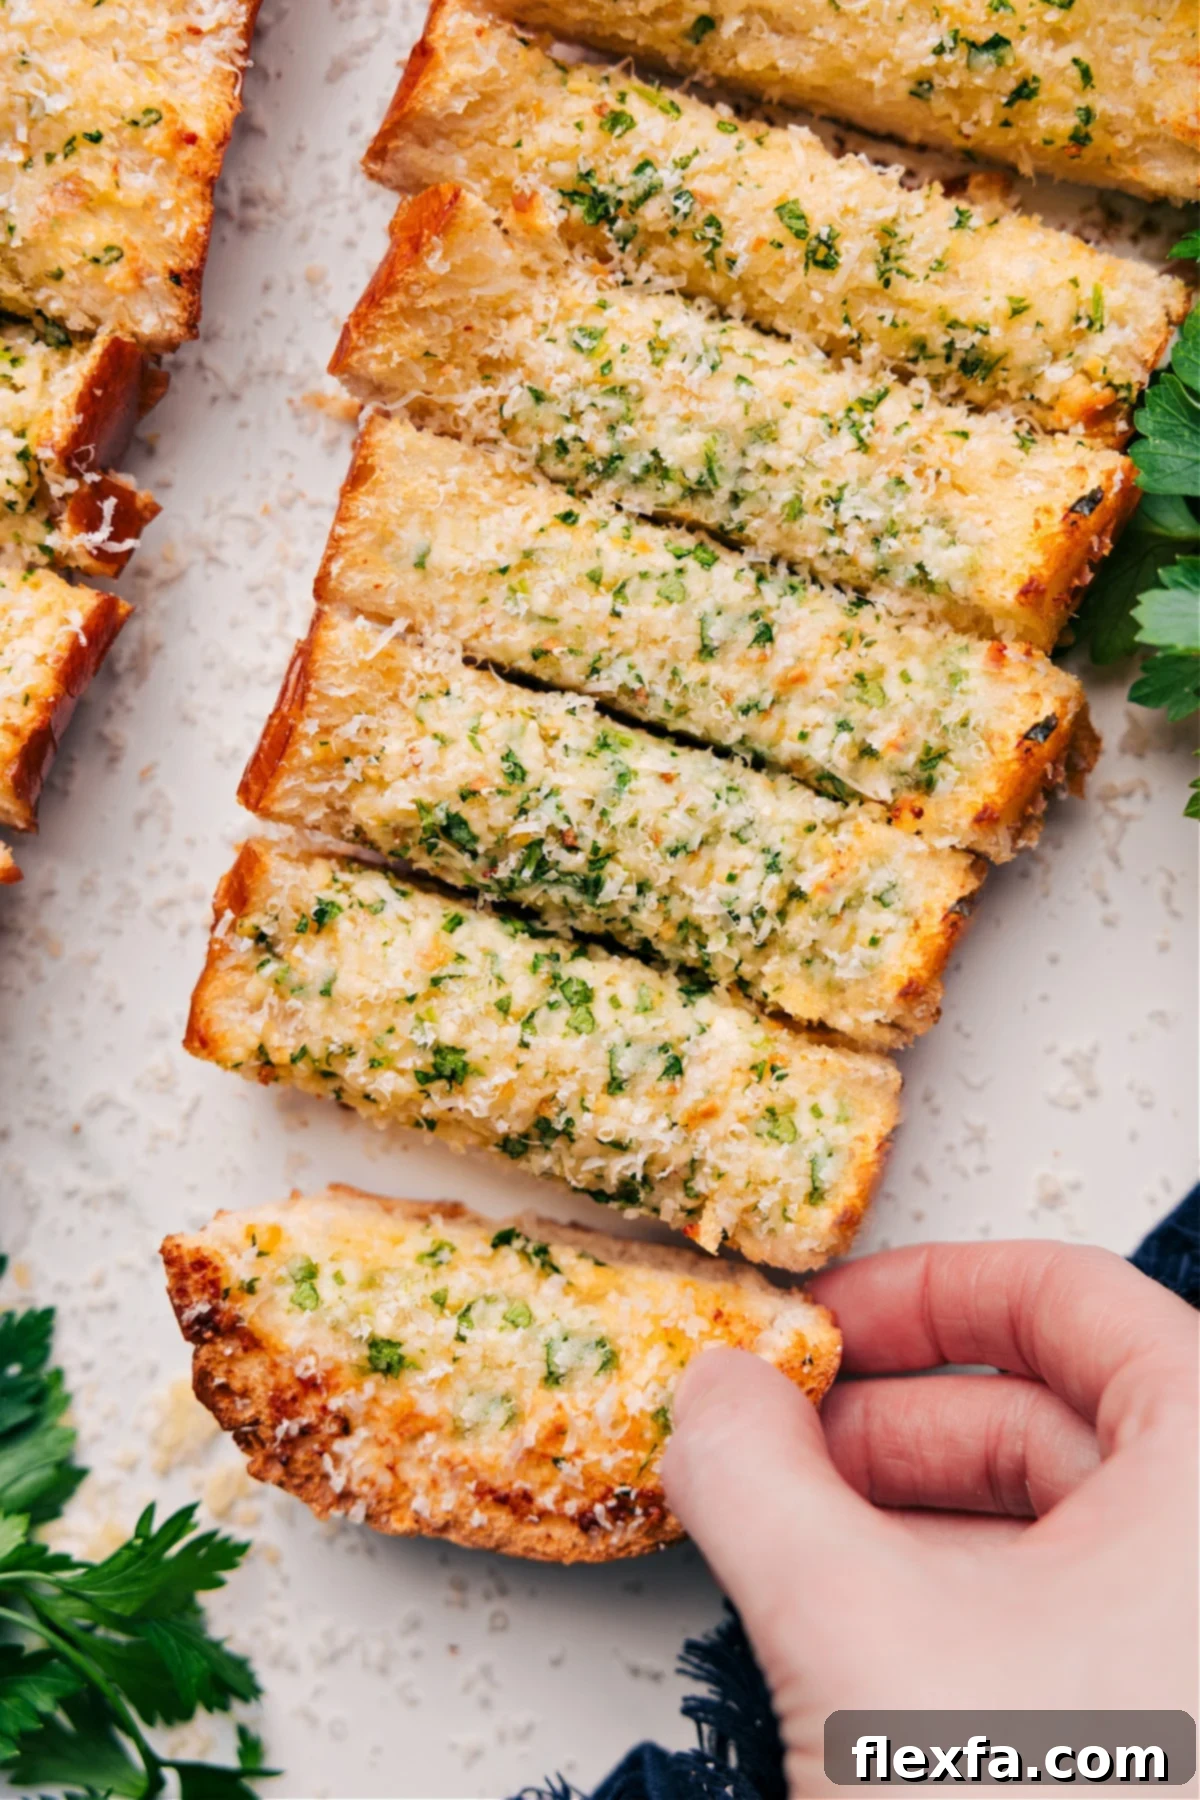

Author’s Notes
From Soup Sidekick to the Star of the Table
I still remember the day this garlic bread truly found its fame in our home. It all started when I whipped up a batch of my Nordstrom Tomato Soup copycat. As a topping, I made some simple garlic crostinis, and my family went absolutely wild for them. My husband declared them the best garlic bread he had ever tasted, and my kids, usually picky eaters, devoured the entire tray, using them to dip their way through their soup bowls. It was almost a 1:1 ratio of dipping to bread, which tells you just how much they loved it!
That immediate, enthusiastic reaction got me thinking: why keep these amazing crostinis confined to a soup topping? This incredible flavor deserved to be a full-blown garlic bread recipe. So, I grabbed a trusty loaf of French bread, mixed up that irresistible buttery filling, and spread it on thick. A quick bake later, the aroma alone filled the house, and the finished garlic bread was just as big a hit as its crostini predecessor.
Honestly, you won’t find an easier or more satisfying recipe. This garlic bread is quick to prepare, incredibly simple from start to finish, and serves as the perfect, versatile side for virtually any meal you can imagine. It’s the kind of dish that disappears fast, bringing smiles and requests for more every single time.
Why This Garlic Bread Recipe is a Must-Try
There are countless garlic bread recipes out there, but this one stands out for several compelling reasons:
- Unbeatable Flavor Depth: We use both fresh garlic and garlic powder to create a truly layered and robust garlic taste that isn’t overwhelming but perfectly satisfying.
- Creamy & Crispy Perfection: The softened butter combined with finely grated Parmesan melts into every crevice, creating a rich, savory layer that crisps beautifully at the edges while keeping the interior soft.
- Effortless Preparation: With just a handful of common ingredients and minimal steps, you can have a gourmet-tasting side on your table in under 30 minutes.
- Incredibly Versatile: While it’s the quintessential partner for Italian dishes, this garlic bread elevates everything from simple soups to hearty stews and vibrant salads.
- Crowd-Pleaser Guaranteed: This recipe is a proven hit with both kids and adults. Prepare for compliments and empty plates!
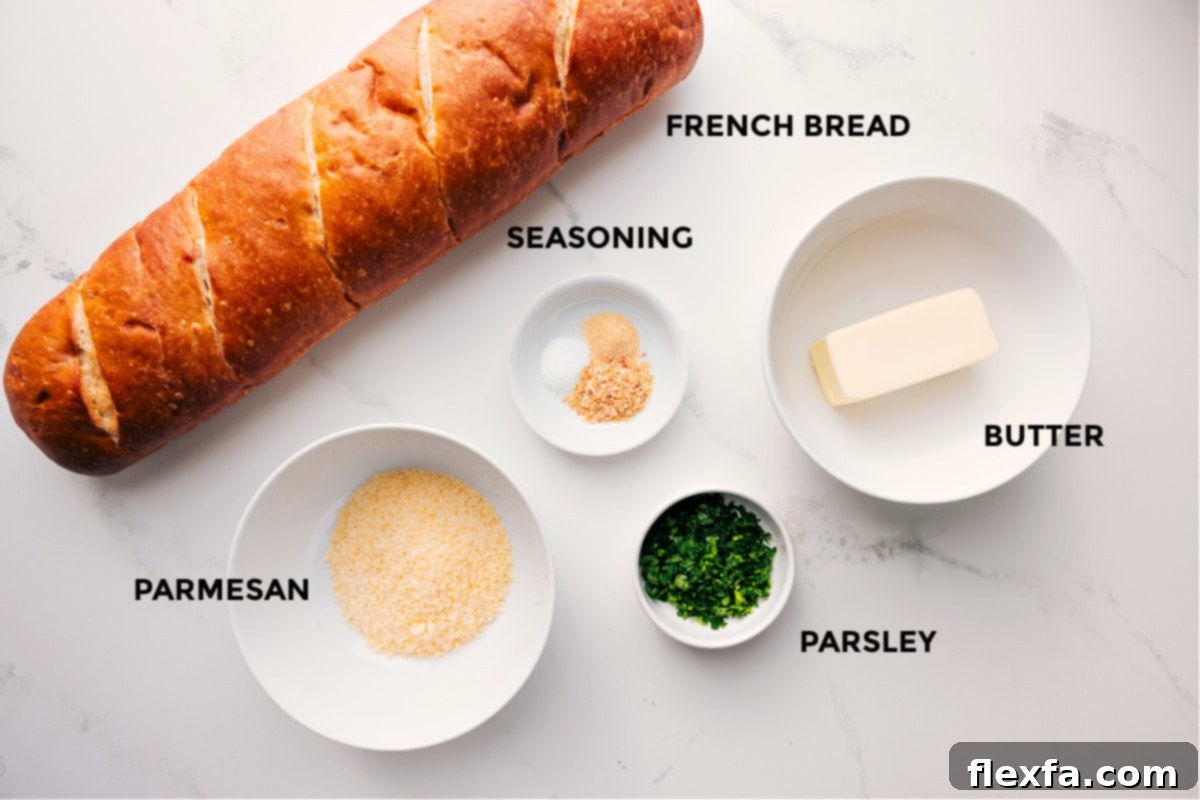
Garlic Bread Recipe Ingredients: The Essentials
Crafting the best homemade garlic bread starts with high-quality ingredients. Here’s a closer look at what you’ll need and why each component matters:
| Ingredient | Why It Matters & Pro Tip or Swap |
|---|---|
| French Bread | A good French baguette or loaf is crucial. Look for a soft loaf with a good crust for the best contrast in texture. Day-old bread can actually be even better, as it absorbs the butter mixture without becoming soggy, leading to extra crisp edges. Ciabatta or Italian bread also make excellent alternatives. |
| Butter | Use good quality butter, preferably unsalted, so you can control the salt content precisely. It’s vital that the butter is softened to room temperature for smooth mixing with the other ingredients. If using salted butter, reduce the added salt in the recipe accordingly. |
| Garlic & Garlic Powder | This dynamic duo is the secret to deep, complex garlic flavor. Freshly minced garlic provides a sharp, pungent kick, while garlic powder offers a mellow, foundational garlic taste. Using both ensures a well-rounded profile that truly sings. For extra convenience, granulated garlic can be used in place of fresh minced garlic. |
| Parmesan Cheese | This is where quality truly shines! Always opt for real, refrigerated Parmesan cheese, finely grated. Avoid the shelf-stable, pre-shredded varieties often found in jars, as they tend to be dry and lack the rich, nutty flavor that makes authentic Parmesan so special. A good quality grated Parmesan with a sand-like texture will melt beautifully and add the perfect salty, umami depth. You can find excellent options like Bella Rosa Grated Parmesan. |
| Fresh Parsley | Finely chopped fresh parsley isn’t just for garnish; it adds a burst of freshness, a subtle herby note, and vibrant color that makes your garlic bread visually appealing. While fresh is best, freeze-dried parsley can be used as a convenient substitute in a pinch, though the flavor will be less intense. |
| Salt | A touch of salt is essential to enhance all the other flavors. Use fine sea salt or kosher salt. Adjust the amount based on whether you’re using salted or unsalted butter. |
Essential Equipment for Homemade Garlic Bread
You don’t need fancy tools to make incredible garlic bread. Here’s what will help you:
- Large Sheet Pan: Essential for baking the bread evenly. Using a sturdy, light-colored pan helps prevent over-browning.
- Parchment Paper or Aluminum Foil: Lines the baking sheet for easy cleanup and prevents sticking.
- Mixing Bowl: For combining the butter mixture.
- Rubber Spatula or Spoon: For mixing and spreading the butter.
- Sharp Serrated Knife: For cleanly slicing the French bread without tearing.
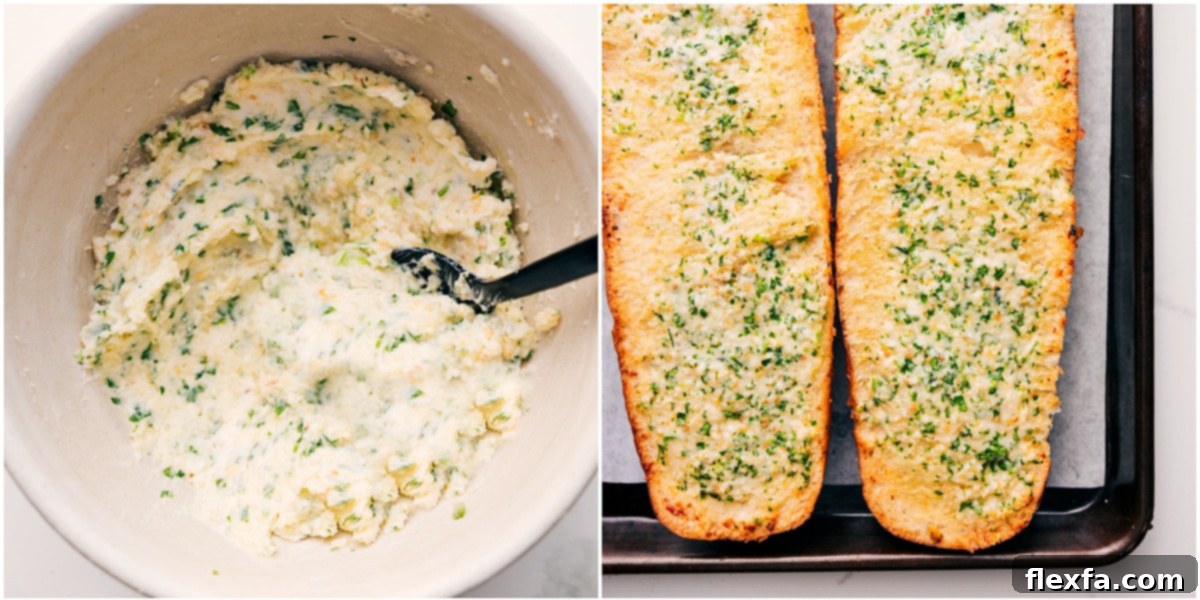
How to Make This Garlic Bread Recipe: A Simple Guide
Making delicious homemade garlic bread is incredibly straightforward. Follow these simple steps for perfect results every time:
- Prepare Your Oven and Baking Sheet: Begin by preheating your oven to a robust 425°F (220°C). While the oven heats up, line a large baking sheet with either parchment paper or aluminum foil. This step is crucial for easy cleanup and prevents the bread from sticking.
- Craft the Flavorful Butter Mixture: In a medium-sized bowl, combine your softened unsalted butter with the granulated garlic (or fresh minced garlic), garlic powder, salt, finely grated Parmesan cheese, and chopped fresh parsley. Mix everything together thoroughly until the mixture is smooth, creamy, and all ingredients are well combined. Ensure there are no lumps of butter and the garlic and cheese are evenly distributed.
- Slice and Spread the Bread: Take your French bread loaf and carefully slice it in half lengthwise. Place both halves, cut-side up, on your prepared baking sheet. Using a spatula or the back of a spoon, generously and evenly spread the garlic butter mixture over the entire cut surface of each bread half. Don’t be shy – a thick layer ensures maximum flavor!
- Bake to Golden Perfection: Place the baking sheet with the buttered bread into your preheated oven. Bake for approximately 10 to 12 minutes. Keep a close eye on it during the last few minutes. You’re looking for the edges to turn a beautiful golden brown and become lightly crisp, while the butter mixture is bubbly and fragrant. If you like it extra crispy, you can briefly broil it for 1-2 minutes, but watch it constantly to prevent burning!
- Serve Warm and Enjoy: Once baked, carefully remove the garlic bread from the oven. Let it cool for just a minute or two before slicing it into individual portions (typically 1-inch slices work well). Serve immediately while it’s still warm and fragrant. Trust me, it’s hard to resist eating the whole loaf before dinner, so go ahead and enjoy a piece or two!
Tips for Garlic Bread Success
Achieve bakery-quality garlic bread every time with these helpful tips:
- Don’t Skimp on Butter Softness: Truly softened butter (not melted, but easily spreadable) is key to a smooth, cohesive garlic spread. If it’s too cold, it won’t mix well; if it’s too warm, it will be greasy.
- Even Spreading is Key: Distribute the garlic butter uniformly across the bread. This ensures every bite gets the full flavor and cooks evenly.
- Customize Your Garlic Level: If you’re a serious garlic lover, feel free to add an extra half teaspoon of fresh minced garlic. If you prefer a milder taste, slightly reduce the amount.
- Broil for Extra Crispiness: For a super crispy top and melted, bubbly cheese, consider finishing the last minute or two under the broiler. Stay vigilant, as broilers can quickly burn bread.
- Perfect Salt Balance: Taste your butter mixture before spreading it. If using unsalted butter, you might want a pinch more salt. If using salted butter, you might need less.
Variations and Customizations
While this classic garlic bread is perfect as is, it’s also incredibly adaptable. Get creative with these variations:
- Cheesy Garlic Bread Extravaganza: For the ultimate cheesy experience, sprinkle an additional layer of mozzarella, provolone, or a mixed Italian cheese blend over the garlic butter mixture during the last 5 minutes of baking.
- Herbaceous Delight: Beyond parsley, consider adding other fresh herbs like finely chopped chives, oregano, basil, or a mix of Italian herbs to the butter.
- Spicy Kick: A pinch of red pepper flakes mixed into the butter or sprinkled on top before baking adds a delightful warmth and subtle heat.
- Roasted Garlic Infusion: For a deeper, sweeter garlic flavor, roast a head of garlic, mash the cloves, and mix them into the butter. This provides a wonderfully mellow garlic punch.
- Different Bread Types: Experiment with sourdough, ciabatta, or even thick-sliced artisan bread. Each will offer a unique texture and flavor profile.
- Garlic Knots: If you’re feeling ambitious, use a pre-made pizza dough, cut it into strips, tie them into knots, brush with the garlic butter, and bake!
What to Serve With This Recipe: Perfect Pairings
This irresistible garlic bread is a versatile side dish that complements an incredible range of meals. While it’s a natural fit for Italian classics, don’t limit yourself! Here are some of my favorite pairings:
- Classic Comfort with Soup: It’s the absolute perfect partner for a bowl of comforting soup. My Nordstrom-style Tomato Soup is a phenomenal match, but it’s equally delicious with hearty Shepherd’s Pie Soup, delicate Pastina Soup, savory Mediterranean Lentil Soup, or bright Greek Lemon Soup. The crispy bread is ideal for soaking up every last drop!
- Italian Feast Essential: No pasta night is complete without garlic bread! Serve it alongside classic dishes like One-Pot Spaghetti, creamy fettuccine alfredo, a rich lasagna, or a cheesy Baked Ziti. It’s also fantastic with any red sauce or pesto-based pasta.
- Steak and Seafood Dinners: Garlic bread adds a touch of elegance and robust flavor to grilled steaks, roasted chicken, or baked salmon. Its savory profile perfectly balances richer main courses.
- Hearty Stews and Chilis: Just like with soups, the crunchy exterior and soft interior of garlic bread make it an excellent accompaniment for absorbing the rich broths of beef stew, chicken chili, or a vegetarian bean stew.
- Fresh Salads: While it might seem counterintuitive, garlic bread pairs wonderfully with a crisp, fresh salad. Imagine dipping a slice into the dressing of a classic Caesar salad or a vibrant mixed green salad. The contrast in textures and flavors is delightful.
- As an Appetizer: Serve slices of warm garlic bread with a bowl of marinara sauce for dipping. It’s a simple yet satisfying appetizer for any gathering.

Pin Recipe
Print Recipe
Garlic Bread Recipe
Chelsea Lords
15 minutes
10 minutes
25 minutes
24 1-inch slices
Video Tutorial
Equipment
- Large sheet pan plus parchment paper or foil
- Mixing Bowl
- Spatula or Spoon
- Sharp Knife
Ingredients
- 1 loaf French bread cut in half lengthwise
- 8 tablespoons unsalted butter softened
- 1 teaspoon granulated garlic or 2 teaspoons fresh minced garlic
- 1/4 teaspoon garlic powder
- 1/4 teaspoon salt
- 1/2 cup finely grated Parmesan cheese see note 1 below
- 2 tablespoons finely chopped fresh parsley
Instructions
-
Preheat the oven to 425°F (220°C) and line a baking sheet with parchment paper or foil.
-
In a medium bowl, mix softened butter, granulated garlic (or fresh minced), garlic powder, salt, Parmesan cheese, and fresh parsley until smooth and well combined.
-
Slice the French bread in half lengthwise and place cut-side up on the prepared baking sheet. Evenly spread the butter mixture over the surface of both halves.
-
Bake for 10–12 minutes, or until the edges are lightly golden brown and the butter is bubbly. For extra crispiness, you can briefly broil for 1-2 minutes, watching carefully.
-
Remove from oven, slice into desired portions, and serve warm. Enjoy!
Recipe Notes
Storage & Reheating: Store any leftover garlic bread in an airtight bag or container at room temperature for up to 2 days. To reheat, wrap the bread loosely in foil and bake at 350°F (175°C) for 10-15 minutes, or until thoroughly warmed through and slightly crisp again.
Freezing for Future Enjoyment: You can prepare the garlic bread ahead of time and freeze it before baking. Simply spread the butter mixture on the bread halves, wrap them tightly in plastic wrap, and then in foil. Freeze for up to 1 month. When ready to bake, place the frozen buttered bread (still wrapped in foil, or unwrapped if you want extra crispness) on a baking sheet and bake at 425°F (220°C) for 15-20 minutes, adding a few extra minutes to the bake time compared to fresh bread, until golden and hot.
Nutrition Information (Approximate Per Serving)
Serving Size: 1 slice
- Calories: 94 kcal
- Carbohydrates: 9 g
- Protein: 2 g
- Fat: 5 g
- Saturated Fat: 3 g
- Polyunsaturated Fat: 0.2 g
- Monounsaturated Fat: 1 g
- Trans Fat: 0.1 g
- Cholesterol: 12 mg
- Sodium: 150 mg
- Potassium: 31 mg
- Fiber: 0.5 g
- Sugar: 0.6 g
- Vitamin A: 169 IU
- Vitamin C: 0.4 mg
- Calcium: 45 mg
- Iron: 0.6 mg
Nutrition information is automatically calculated based on the ingredients listed and is an approximation. Values may vary based on specific brands and preparation methods.
Love this Garlic Bread Recipe? Leave a comment below!
Your feedback helps other home cooks discover delicious recipes.
Frequently Asked Questions (FAQs)
Here are answers to some common questions about making perfect garlic bread:
- Can I use different types of bread?
- Absolutely! While French bread is classic, you can use Italian bread, ciabatta, sourdough, or even thick slices of your favorite artisan bread. Adjust baking time slightly if the bread is denser or thinner.
- How do I prevent my garlic bread from getting soggy?
- Ensure your butter is softened, not melted, so it absorbs into the bread rather than just sitting on top. Also, avoid overloading the bread with too much butter mixture. Baking at a high temperature (425°F) helps create a crispy exterior quickly.
- Can I make the garlic butter ahead of time?
- Yes! The garlic butter mixture can be made up to 3-4 days in advance and stored in an airtight container in the refrigerator. Let it come to room temperature for about 30 minutes before spreading for easier application.
- What if I don’t have fresh parsley?
- You can use freeze-dried parsley as a substitute. Use about half the amount of freeze-dried as you would fresh. While fresh parsley offers the best flavor and color, the freeze-dried version will still work. Dried Italian seasoning can also be a nice addition.
- Is it better to use fresh garlic or garlic powder?
- This recipe uses both to achieve a rich, layered garlic flavor. Fresh garlic provides a pungent, vibrant taste, while garlic powder offers a mellow, foundational garlic presence. If you only have one, you can double up on that, but the combination is truly superior.
- How do I get extra crispy edges?
- For extra crispy edges, ensure your oven is fully preheated. You can also finish the garlic bread under the broiler for 1-2 minutes. Watch it very closely, as it can burn quickly under the broiler!
Storage & Reheating
Proper storage and reheating ensure your garlic bread remains delicious!
- Storing Leftovers: Any unconsumed garlic bread should be stored in an airtight bag or container at room temperature for up to 2 days. For longer storage, you can refrigerate it for up to 4 days, though the bread may dry out slightly.
- Reheating for Best Results: To bring leftover garlic bread back to life, wrap it loosely in aluminum foil and bake in a preheated oven at 350°F (175°C) for 10-15 minutes, or until it’s warmed through and the edges have crisped up again. This method prevents it from drying out too much. You can also reheat briefly in an air fryer at 325°F (160°C) for 3-5 minutes.
- Freezing for Future Feasts: This garlic bread freezes beautifully. You have two options:
- Freeze before baking: Prepare the bread by spreading the butter mixture, then wrap each half tightly in plastic wrap, followed by a layer of aluminum foil. Freeze for up to 1 month. When you’re ready to bake, place the frozen buttered bread (unwrapped, or still wrapped in foil for a softer result) on a baking sheet and bake at 425°F (220°C) for 15-20 minutes, adding a few extra minutes to the bake time, until golden and hot.
- Freeze after baking: Allow baked garlic bread to cool completely. Wrap individual slices or halves tightly in plastic wrap, then in foil, and place in a freezer-safe bag. Freeze for up to 1 month. Reheat as you would leftovers, but extend the baking time by 5-10 minutes.