
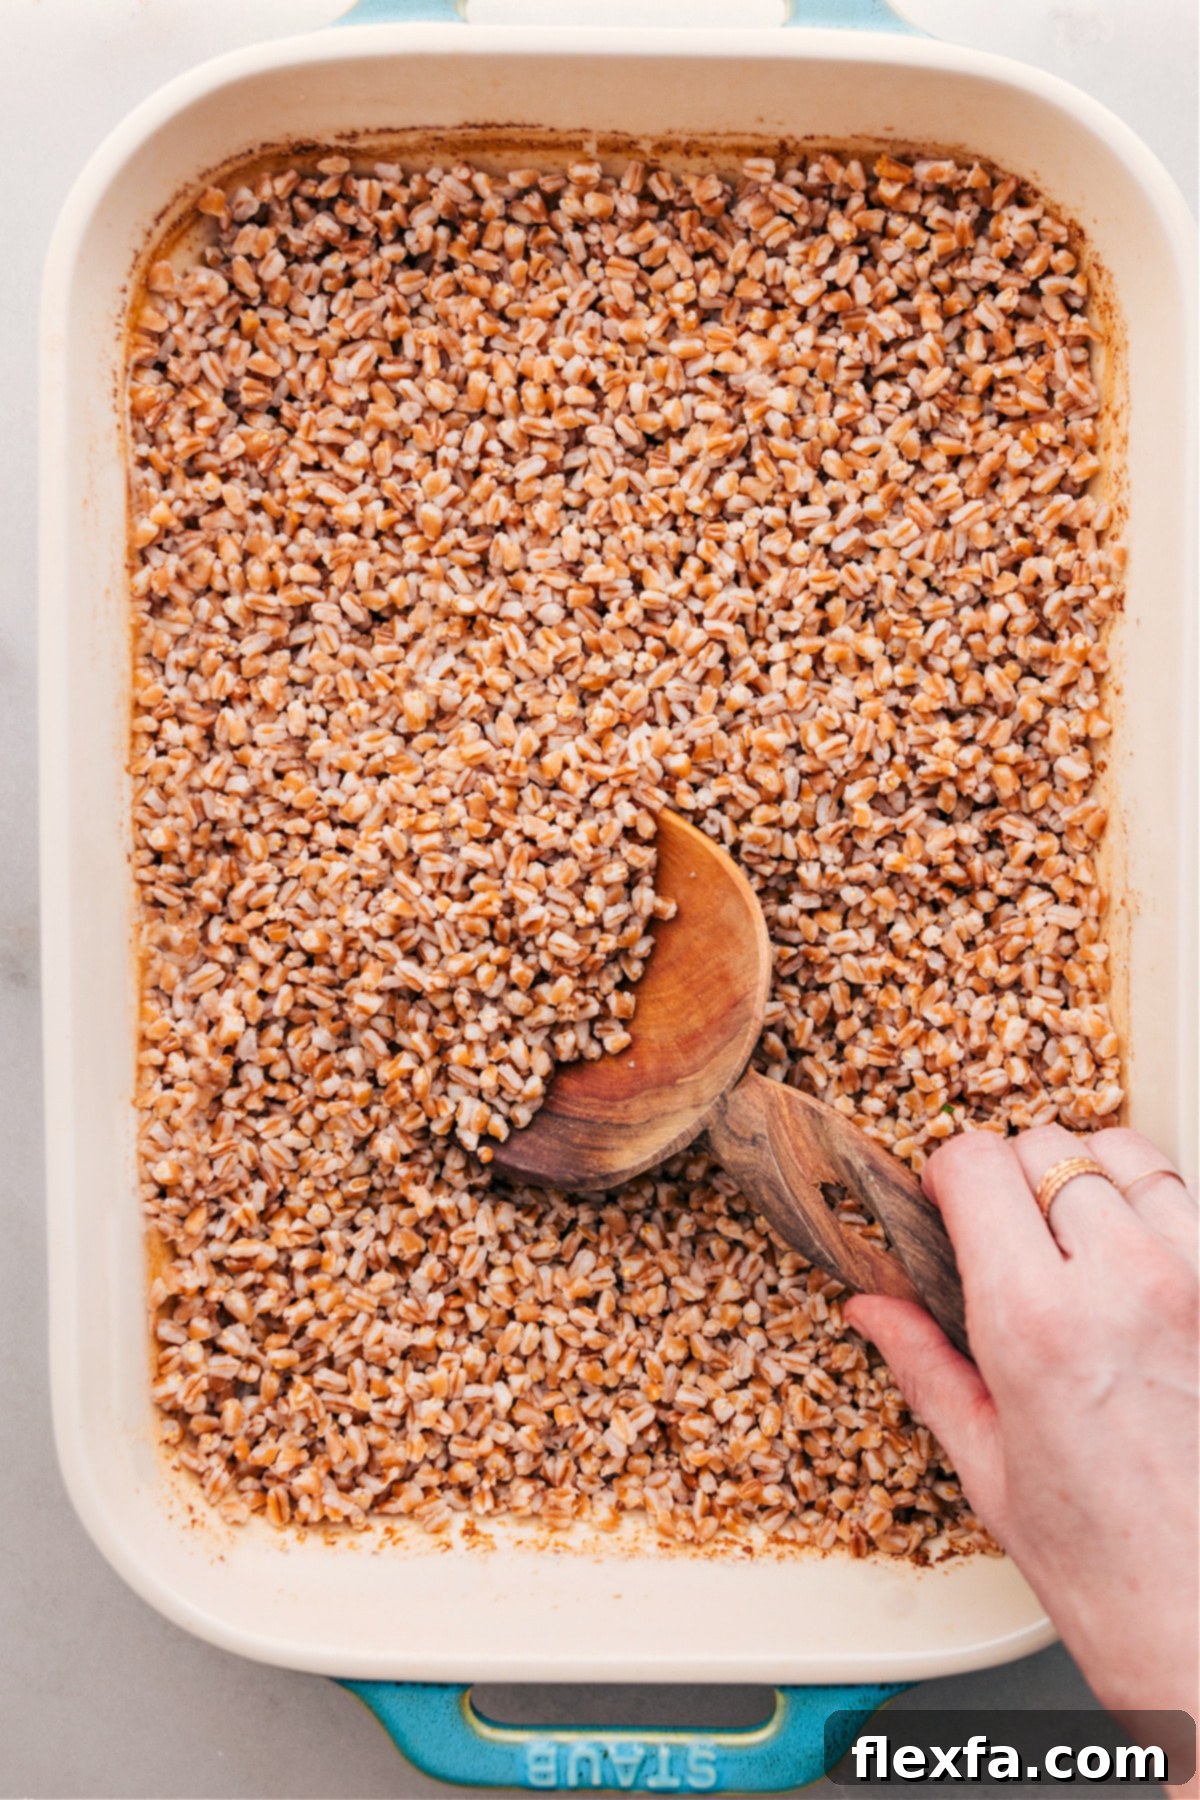
Transform your cooking routine with perfectly baked farro! This effortless method requires just a few simple ingredients and your oven, yielding deliciously nutty, chewy grains every single time. Say goodbye to guesswork and hello to a versatile, wholesome grain that enhances any meal.
Quick Tip: Embrace Ancient Grains!
Farro is an ancient grain celebrated for its rich, nutty flavor and satisfyingly chewy texture. It’s an excellent source of fiber and protein, making it a nutritious alternative to rice or pasta in countless dishes.
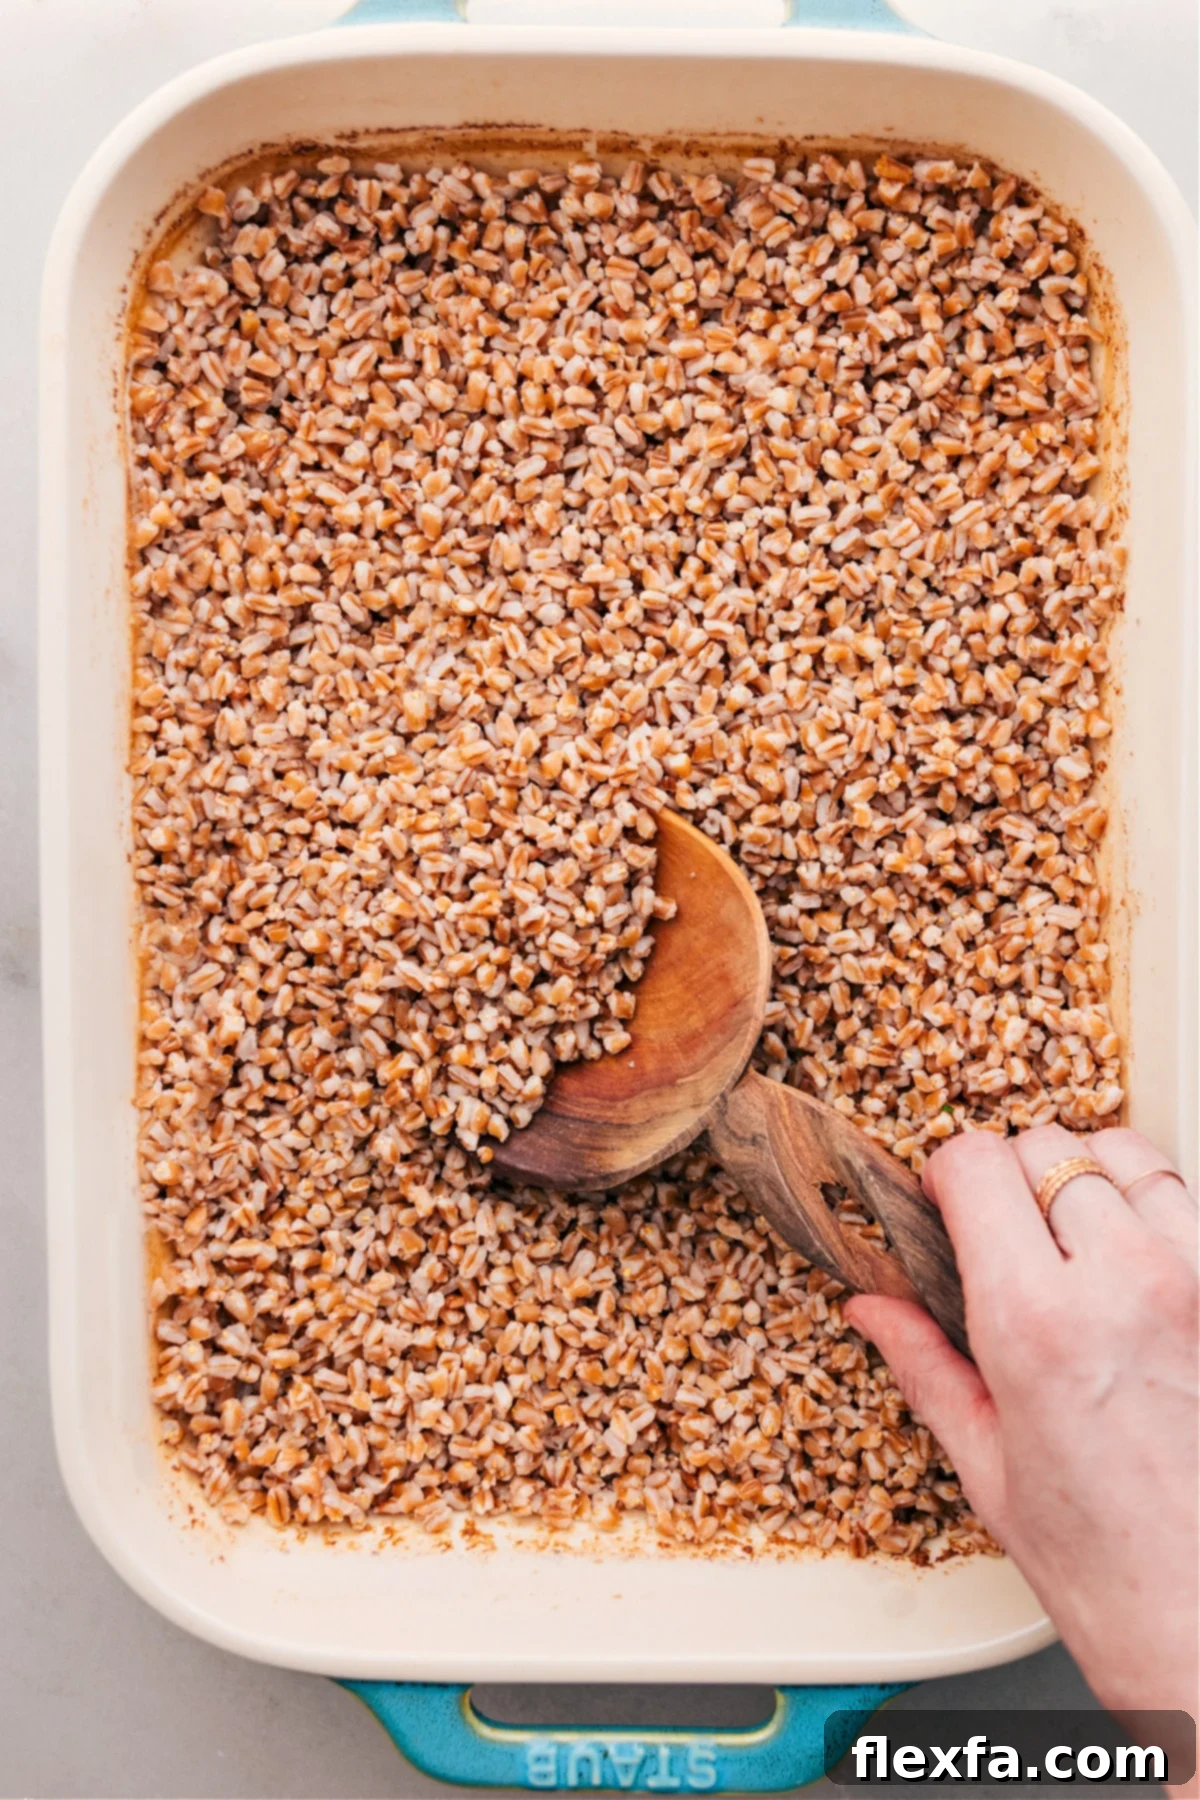
The Ultimate Method: How to Cook Farro by Baking It!
If you’re looking for the absolute best and simplest way to prepare farro, baking is the answer! This hands-off approach eliminates the need for constant monitoring, allowing the oven to work its magic. The result? Fluffy, distinct, and perfectly chewy farro grains that are never mushy or undercooked.
My journey to perfecting baked grains began with discovering the ease of baking white rice and brown rice. Naturally, I wondered if this same magic could be applied to farro. After some dedicated experimentation, I honed a foolproof method that consistently delivers exceptional results. Since then, it’s become my exclusive way of preparing this delicious ancient grain.
Why Baked Farro is a Game-Changer for Busy Kitchens
This baking method isn’t just easy; it’s superior for several compelling reasons:
- Effortless Preparation: No more standing over a hot stove, stirring, or worrying about boil-overs. Simply combine the ingredients, cover, and let your oven do all the heavy lifting.
- Consistently Perfect Texture: The controlled heat of the oven ensures even cooking throughout, resulting in uniformly tender yet chewy grains that are never sticky or clumped together.
- Minimal Hands-On Time: Once the farro is in the oven, you’re free to focus on other aspects of your meal prep or simply relax. It’s truly a “set it and forget it” recipe.
- Ideal for Larger Batches: Whether you’re feeding a family or preparing for a gathering, this method scales beautifully. A 9×13 inch baking dish can easily handle a generous quantity without any added complexity.
- Excellent for Meal Prepping: Cook a large batch at the start of the week, and you’ll have a healthy, versatile grain ready to add to salads, bowls, or side dishes, significantly simplifying your weekly meal planning.
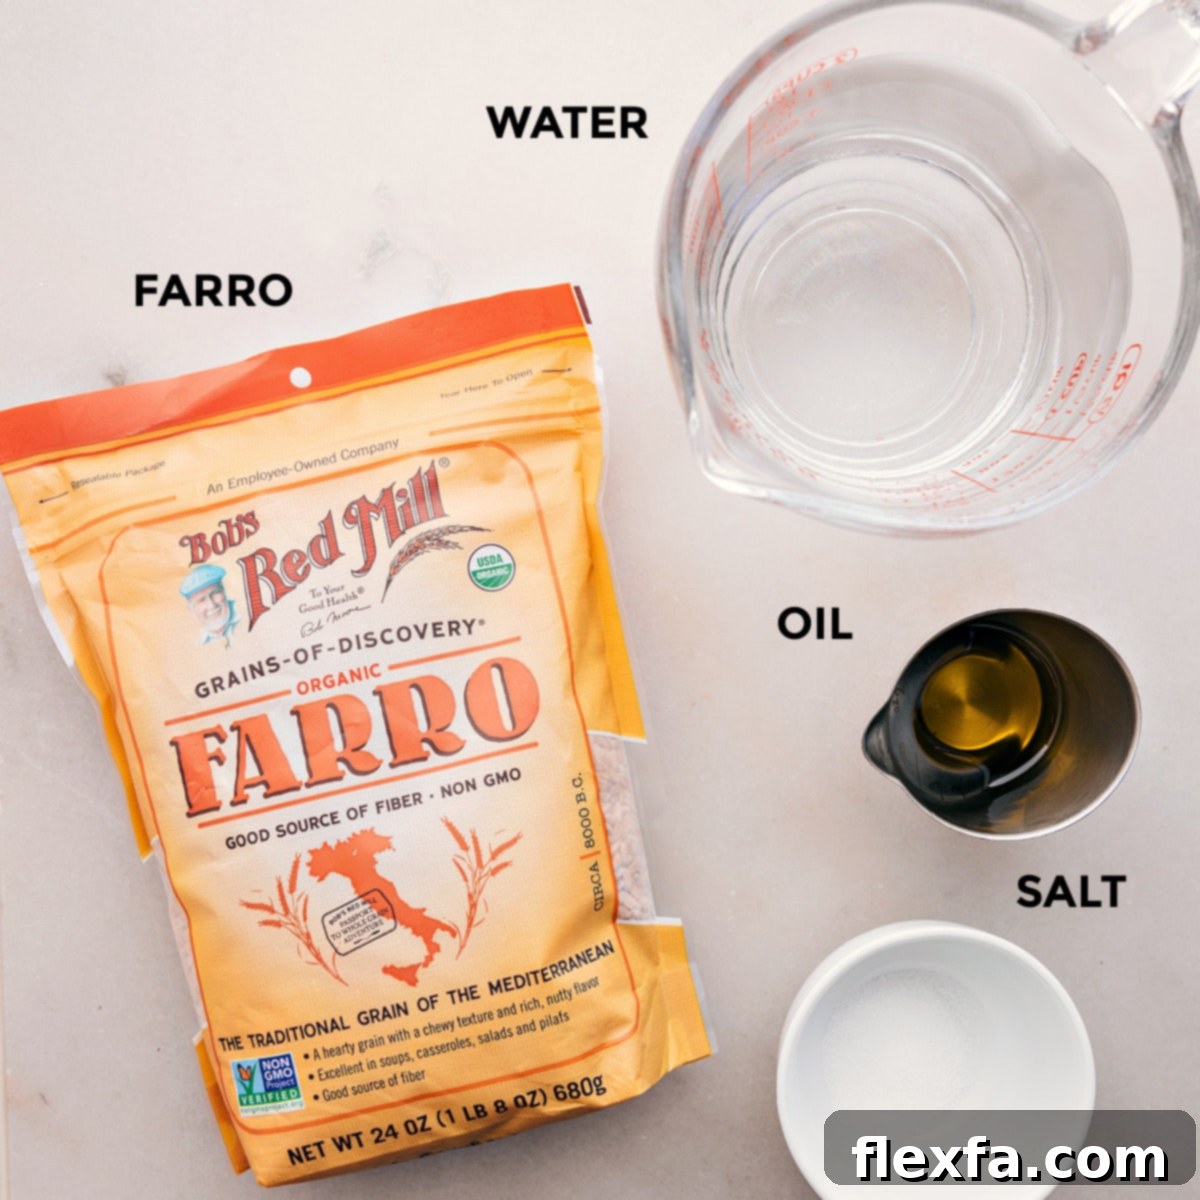
Essential Ingredients for Flawless Baked Farro
Creating delicious baked farro only requires a handful of pantry staples. The key is using quality ingredients and understanding their role in achieving the desired texture and flavor.
| Ingredient | Key Notes for Best Results |
|---|---|
| Pearled Farro | This recipe specifically calls for pearled farro, which has most of its bran removed, allowing it to cook more quickly and absorb liquid efficiently. Avoid whole farro, as it requires more liquid and a longer cooking time, leading to different results. You can find excellent brands like this one or this brand online or in well-stocked grocery stores. |
| Olive Oil | A tablespoon of good quality olive oil adds a subtle depth of flavor and, more importantly, helps prevent the farro grains from sticking together, ensuring a fluffy texture. You can substitute with another neutral oil like avocado oil or even a pat of butter for a richer taste. |
| Boiling Water | Starting with boiling water significantly jumpstarts the cooking process, contributing to the oven’s consistent temperature and reducing overall baking time. Always measure out 4 cups after the water has come to a rolling boil, as some evaporation occurs during the boiling process itself. Using broth (vegetable or chicken) instead of water can add even more flavor. |
| Salt | A teaspoon of salt is crucial for enhancing the natural, nutty flavor of the farro. Without it, the grains can taste bland. Adjust the amount to your personal preference, or add a pinch of freshly ground black pepper for an extra kick. |
| Cooking Spray (or Butter/Oil for greasing) | Essential for preventing the farro from sticking to the baking dish, making cleanup a breeze. |
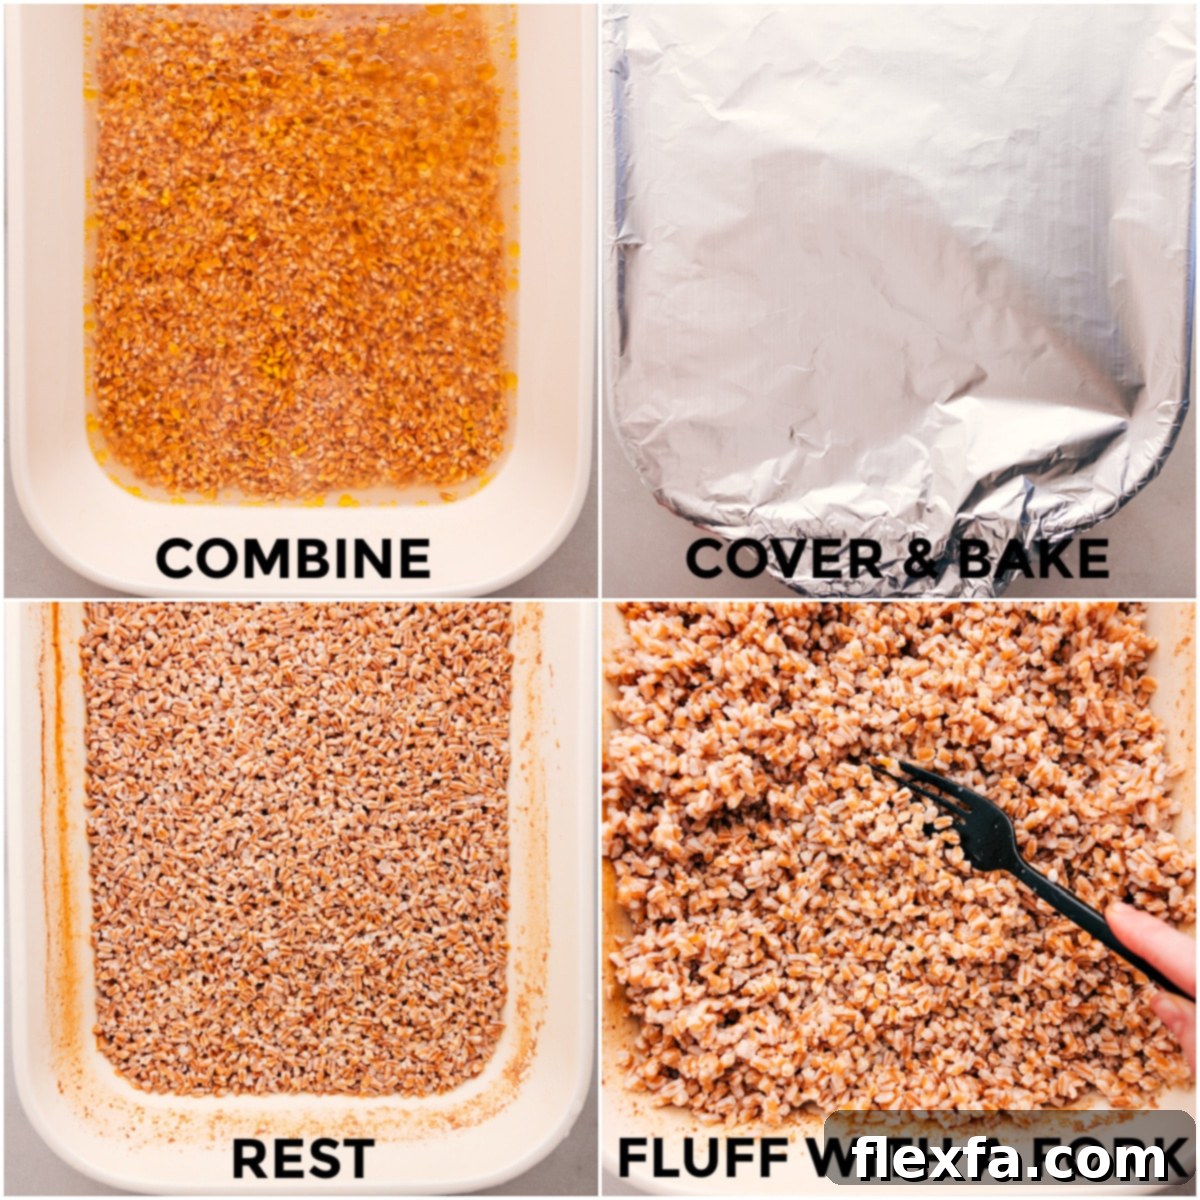
Step-by-Step Guide: How to Cook Farro in the Oven
Follow these straightforward steps to achieve perfectly cooked farro with minimal effort:
- Prepare Your Baking Environment: Preheat your oven to 400°F (200°C). While the oven heats, grease a 9×13-inch baking dish thoroughly with cooking spray or a light layer of butter/oil. This prevents sticking and ensures easy removal. Simultaneously, bring at least 5 cups of water to a rolling boil in a kettle or large pot.
- Rinse the Farro Thoroughly: Place the 2 cups of pearled farro in a fine-mesh sieve and rinse it well under cold running water for about 30-60 seconds. This step is important for removing excess starch and any potential debris, which contributes to a cleaner, fluffier final product. Shake the sieve vigorously to drain off as much excess water as possible.
- Combine Ingredients in Baking Dish: Transfer the rinsed farro to the prepared baking dish. Add the 1 tablespoon of olive oil and 1 teaspoon of salt. Carefully pour in exactly 4 cups of the boiling water. Stir all the ingredients gently to ensure they are well combined and the farro is spread evenly across the bottom of the dish.
- Cover and Bake: This is a crucial step for steam cooking. Cover the baking dish tightly with two layers of aluminum foil. A tight seal is essential to trap the steam, which cooks the farro evenly and thoroughly. Place the covered dish in the center of your preheated oven and bake for 60 minutes. Resist the urge to peek during this time, as releasing the steam will affect the cooking process.
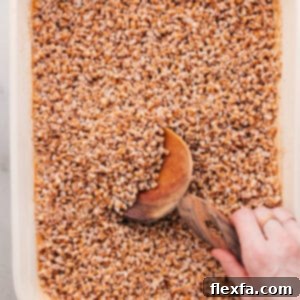
- Rest and Fluff for Perfection: Once the baking time is complete, carefully remove the dish from the oven. Keep it covered with the foil and let it rest on a heat-safe surface for an additional 10-15 minutes. This resting period allows the farro to absorb any remaining moisture, fully plump up, and achieve its signature chewy, fluffy texture. Finally, remove the foil and gently fluff the farro with a fork before serving.
Pro Tips for Flawless Farro Every Time
Even with an easy method, a few extra pointers can elevate your baked farro:
- Don’t Skimp on Rinsing: While pearled farro is less starchy than some grains, rinsing still makes a noticeable difference in texture, preventing stickiness.
- Tight Foil Seal: The double layer of foil is not optional. It creates a steamy environment that cooks the farro through perfectly. Any leaks will result in dry or unevenly cooked grains.
- Accurate Water Measurement: Too much water can lead to mushy farro, while too little will leave it crunchy. Ensure you measure 4 cups of boiling water precisely.
- The Importance of Resting: This step is critical. It allows the farro to steam further off the heat and reabsorb any surface moisture, leading to perfectly distinct, fluffy grains. Skipping it can leave you with wet, less desirable results.
- Flavor Boosters: Instead of water, consider using vegetable or chicken broth for a richer flavor profile. You can also add a bay leaf or a garlic clove to the baking dish for subtle aroma.
Storage and Meal Prep
- Store: Cooked farro is excellent for meal prep. Keep it in an airtight container in the refrigerator for 4–5 days.
- Reheat: When ready to enjoy, add a splash of water or broth (about 1-2 tablespoons per cup of farro) to rehydrate the grains. Warm gently on the stovetop over low heat for about 5 minutes, stirring occasionally, or microwave for 1–2 minutes, until heated through.
- Freeze: For longer storage, spread cooled farro in a single layer on a baking sheet and freeze for about 1 hour until individual grains are frozen. Then, transfer to a freezer-safe bag or container. It will keep well for up to 6 months. Thaw in the refrigerator overnight before reheating.
Versatile Ways to Enjoy Your Perfectly Cooked Farro
Once you’ve mastered baked farro, a world of culinary possibilities opens up! Its hearty texture and nutty flavor make it an incredibly adaptable ingredient for a wide array of dishes.
Salads
Sweet Potato Farro Salad
A hearty and flavorful salad combining the sweetness of roasted sweet potatoes with the chewiness of farro, perfect for a light lunch or side dish.
Dinner
Nourishing Harvest Bowl
Build a satisfying and nutritious meal with farro as the base, topped with seasonal roasted vegetables, protein, and a delicious dressing.
Dinner
Hearty Black Bean Burger
Utilize farro in your homemade black bean burgers for added texture, nutritional value, and a delightful nutty undertone.
Dinner
Flavorful Italian Stuffed Peppers
Farro makes an excellent, wholesome filling for stuffed peppers, providing a satisfying bite and absorbing all the delicious Italian flavors.
Print Recipe
Baked Farro Recipe
Chelsea Lords
Learn How to Cook Farro like a pro with an easy mix-and-bake method for perfect, nutty, and fluffy grains every time! This recipe is a game-changer for quick, healthy sides and meal prep.
Our favorite 9×13-inch baking dish is featured in these photos and highly recommended for its versatility.
10 minutes
1 hour
10 minutes
1 hour 20 minutes
12 servings (approximately 6 cups cooked farro)
Equipment
-
9 x 13-inch baking pan
-
Fine-mesh sieve
-
Aluminum foil
Ingredients
- Cooking spray (for greasing the dish)
- 2 cups pearled farro (see Note 1)
- 1 tablespoon olive oil (see Note 2)
- 4 cups boiling water (see Note 3, or use broth for more flavor)
- 1 teaspoon salt
Instructions
-
Preheat & Prepare: Preheat your oven to 400°F (200°C). Grease a 9×13-inch baking dish with cooking spray to prevent sticking. Bring at least 5 cups of water to a rolling boil in a kettle or large pot (you will need 4 cups for the recipe).
-
Rinse Farro: Place the pearled farro in a fine-mesh sieve and thoroughly rinse it under cold running water for about 30-60 seconds. Shake the sieve well to remove as much excess water as possible.
-
Combine Ingredients: Add the rinsed farro, olive oil, and salt to the greased baking dish. Pour in exactly 4 cups of the boiling water and stir gently to combine all ingredients. Spread the mixture evenly across the bottom of the dish.
-
Cover & Bake: Cover the baking dish tightly with two layers of aluminum foil. This creates a seal that traps steam, which is essential for even cooking. Bake in the center of the preheated oven for 60 minutes. Avoid removing the foil during baking to maintain the steaming environment.
-
Rest & Fluff: Once baked, carefully remove the dish from the oven. Keep it covered with the foil and let it rest undisturbed for 10–15 minutes. This crucial resting period allows the farro to absorb any remaining moisture and become perfectly fluffy and chewy. Finally, remove the foil and gently fluff the farro with a fork before serving.
Recipe Notes
Note 2: Oil Options: While olive oil adds a lovely flavor, you can swap it with any preferred cooking oil like avocado oil, or even use a tablespoon of unsalted butter for a richer taste. The oil is important not just for flavor but also to prevent the grains from sticking together, ensuring a fluffy outcome. Don’t omit it!
Note 3: Accurate Liquid Measurement: It’s vital to measure exactly 4 cups of boiling water. Boil extra water initially to account for evaporation, ensuring you have the precise amount needed. Accurate liquid-to-grain ratio is the secret to perfectly cooked farro. Using vegetable or chicken broth instead of water can elevate the flavor even further.
Resting Time is Key: The 10-15 minute resting period after baking is non-negotiable for fluffy farro. It allows the grains to fully absorb any residual moisture and steam, preventing a mushy or overly wet texture. Resist the temptation to serve immediately!
Storage & Reheating: Cooked farro is a meal prep hero. Store leftovers in an airtight container in the refrigerator for 3–5 days. To reheat, add a small amount of water or broth and warm on the stovetop or in the microwave until heated through, stirring occasionally to prevent drying.
Nutrition Information
Calories: 128kcal |
Carbohydrates: 26g |
Protein: 3g |
Fat: 2g |
Sodium: 197mg |
Fiber: 5g |
Sugar: 0.3g
Nutrition information is automatically calculated and should only be used as an approximation. It may vary based on specific ingredient brands and preparation methods.
Frequently Asked Questions About Cooking Farro
Using this baking method, farro takes approximately 60 minutes to cook in a preheated 400°F (200°C) oven, followed by a crucial 10-15 minute resting period.
Absolutely! Cooked farro is perfect for meal prepping. You can store it in the refrigerator in a sealed container for 3–5 days. When you’re ready to use it, simply reheat it with a little added liquid (water or broth) on the stovetop or in the microwave until warm.
Properly cooked farro should be tender to the bite but still retain a pleasant chewiness. It should not be hard or crunchy, nor should it be mushy. The best way to tell is to taste a small bite after the resting period.
If your farro is mushy, it likely had too much liquid or was covered too loosely, leading to over-absorption. If it’s too hard, it may not have had enough liquid, the foil wasn’t sealed tightly enough, or it didn’t rest long enough. Ensure accurate liquid measurement and a tight foil seal for best results.
Yes, absolutely! Using vegetable or chicken broth instead of water is an excellent way to infuse more flavor into your farro. Simply substitute the 4 cups of boiling water with 4 cups of boiling broth.
Flavorful Variations to Elevate Your Farro
Farro’s neutral, nutty base makes it incredibly adaptable to various flavor profiles. Don’t hesitate to customize your cooked farro to suit your taste or complement your main dish:
Creative Ways to Add Flavor to Farro
- Pesto Perfection: For a vibrant and herbaceous dish, toss warm farro with your favorite homemade pesto, toasted pine nuts, and a generous sprinkle of grated Parmesan cheese. A squeeze of fresh lemon juice can brighten it further.
- Earthy Mushroom & Thyme: Sauté sliced mushrooms (cremini, shiitake, or a mix) with fresh thyme and a touch of garlic until tender. Mix this savory blend into the cooked farro, perhaps using chicken or vegetable broth during the initial cooking for an even deeper flavor.
- Warm & Aromatic Curried Farro: Transform your farro into an exotic side dish by preparing it with the warm spices found in a classic Curry Rice recipe. Add a pinch of turmeric, cumin, and coriander to the cooking liquid, or stir in a tablespoon of curry paste after cooking.
- Sweet & Savory Cranberry & Pecan Farro: Create a delightful side dish or salad by folding in dried cranberries, toasted pecans, and fresh chopped parsley into the cooked farro. Dress it with a light vinaigrette, similar to the one used in a Wild Rice Pilaf, for a perfect balance of flavors.
- Endless Customization: The possibilities are truly limitless! Experiment with other additions like toasted nuts (walnuts, almonds), various seeds (pumpkin, sunflower), dried fruits (apricots, raisins), or finely diced cooked vegetables (spinach, bell peppers). You can find even more ideas here to inspire your culinary creations.
Love this recipe? Leave a comment below and share your thoughts!