
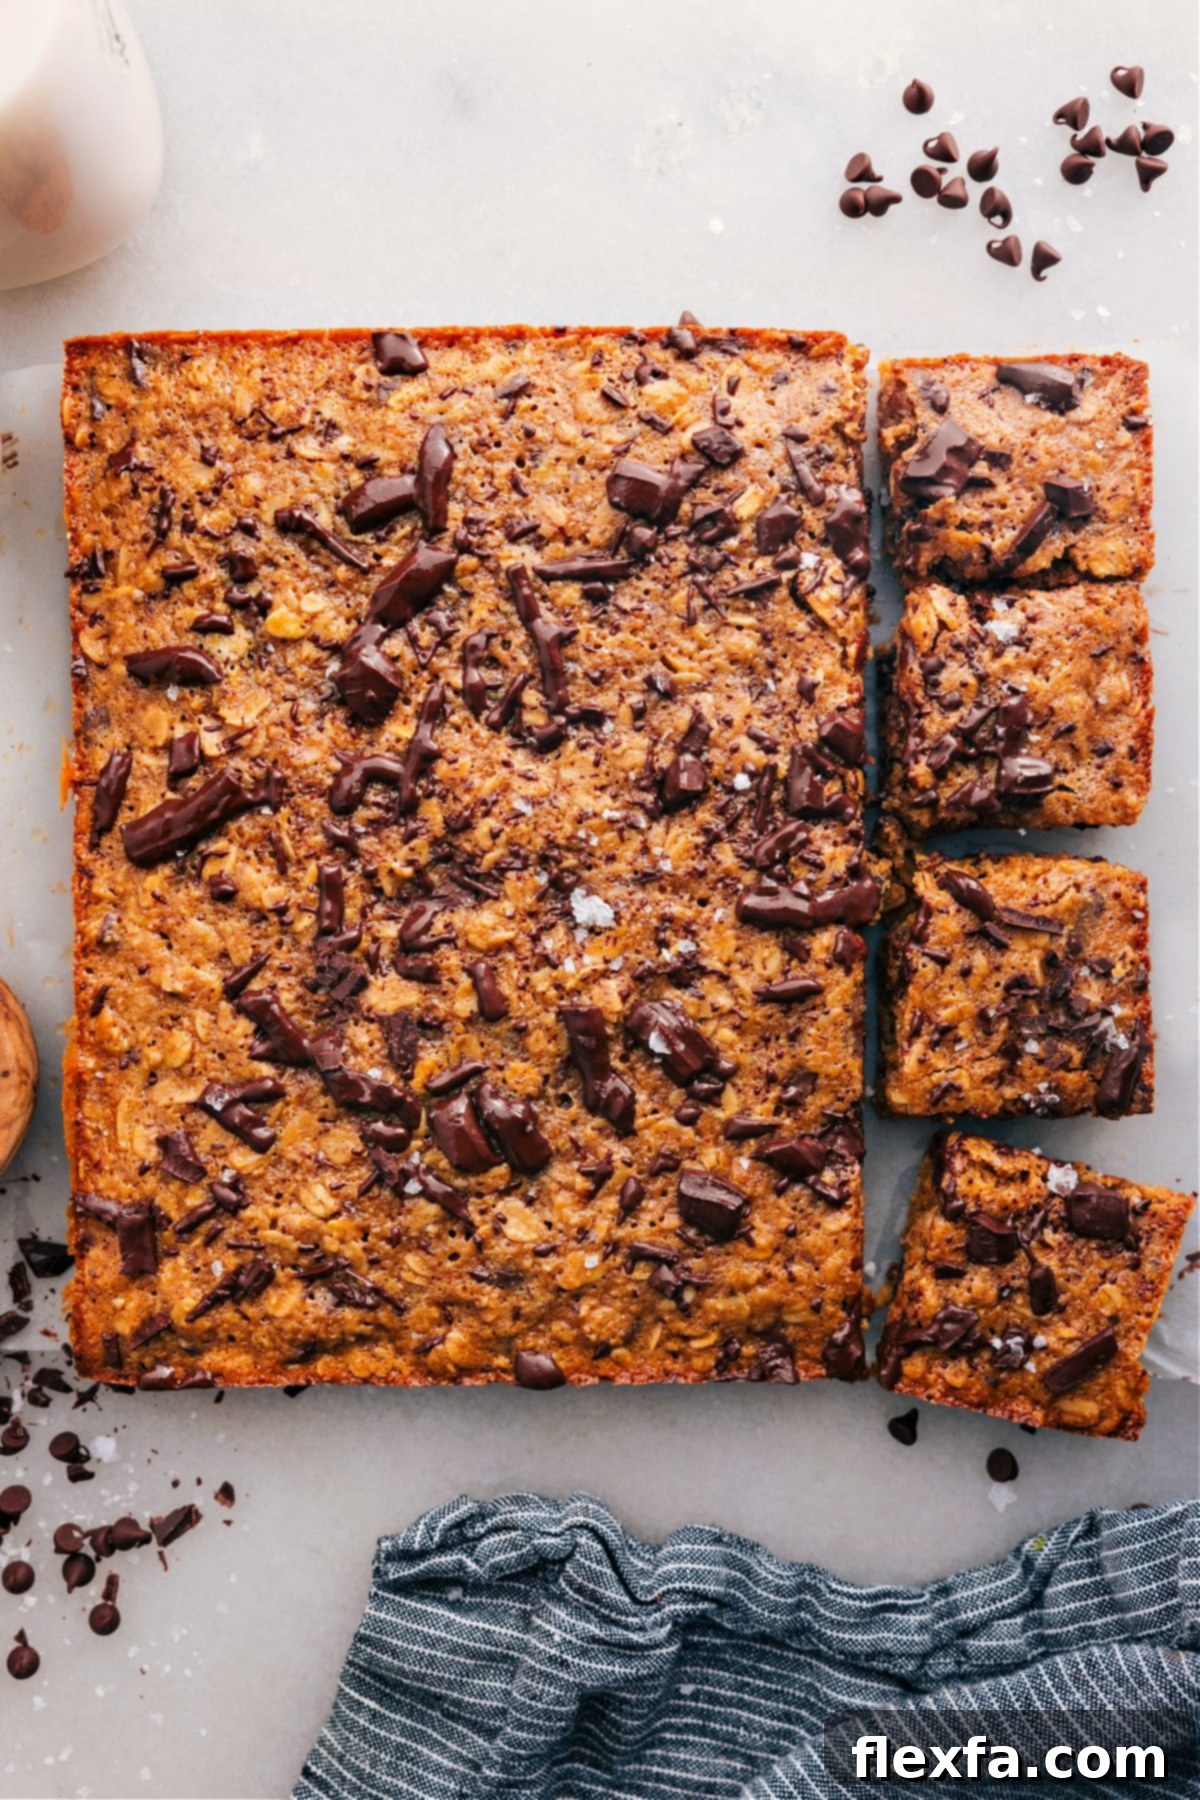
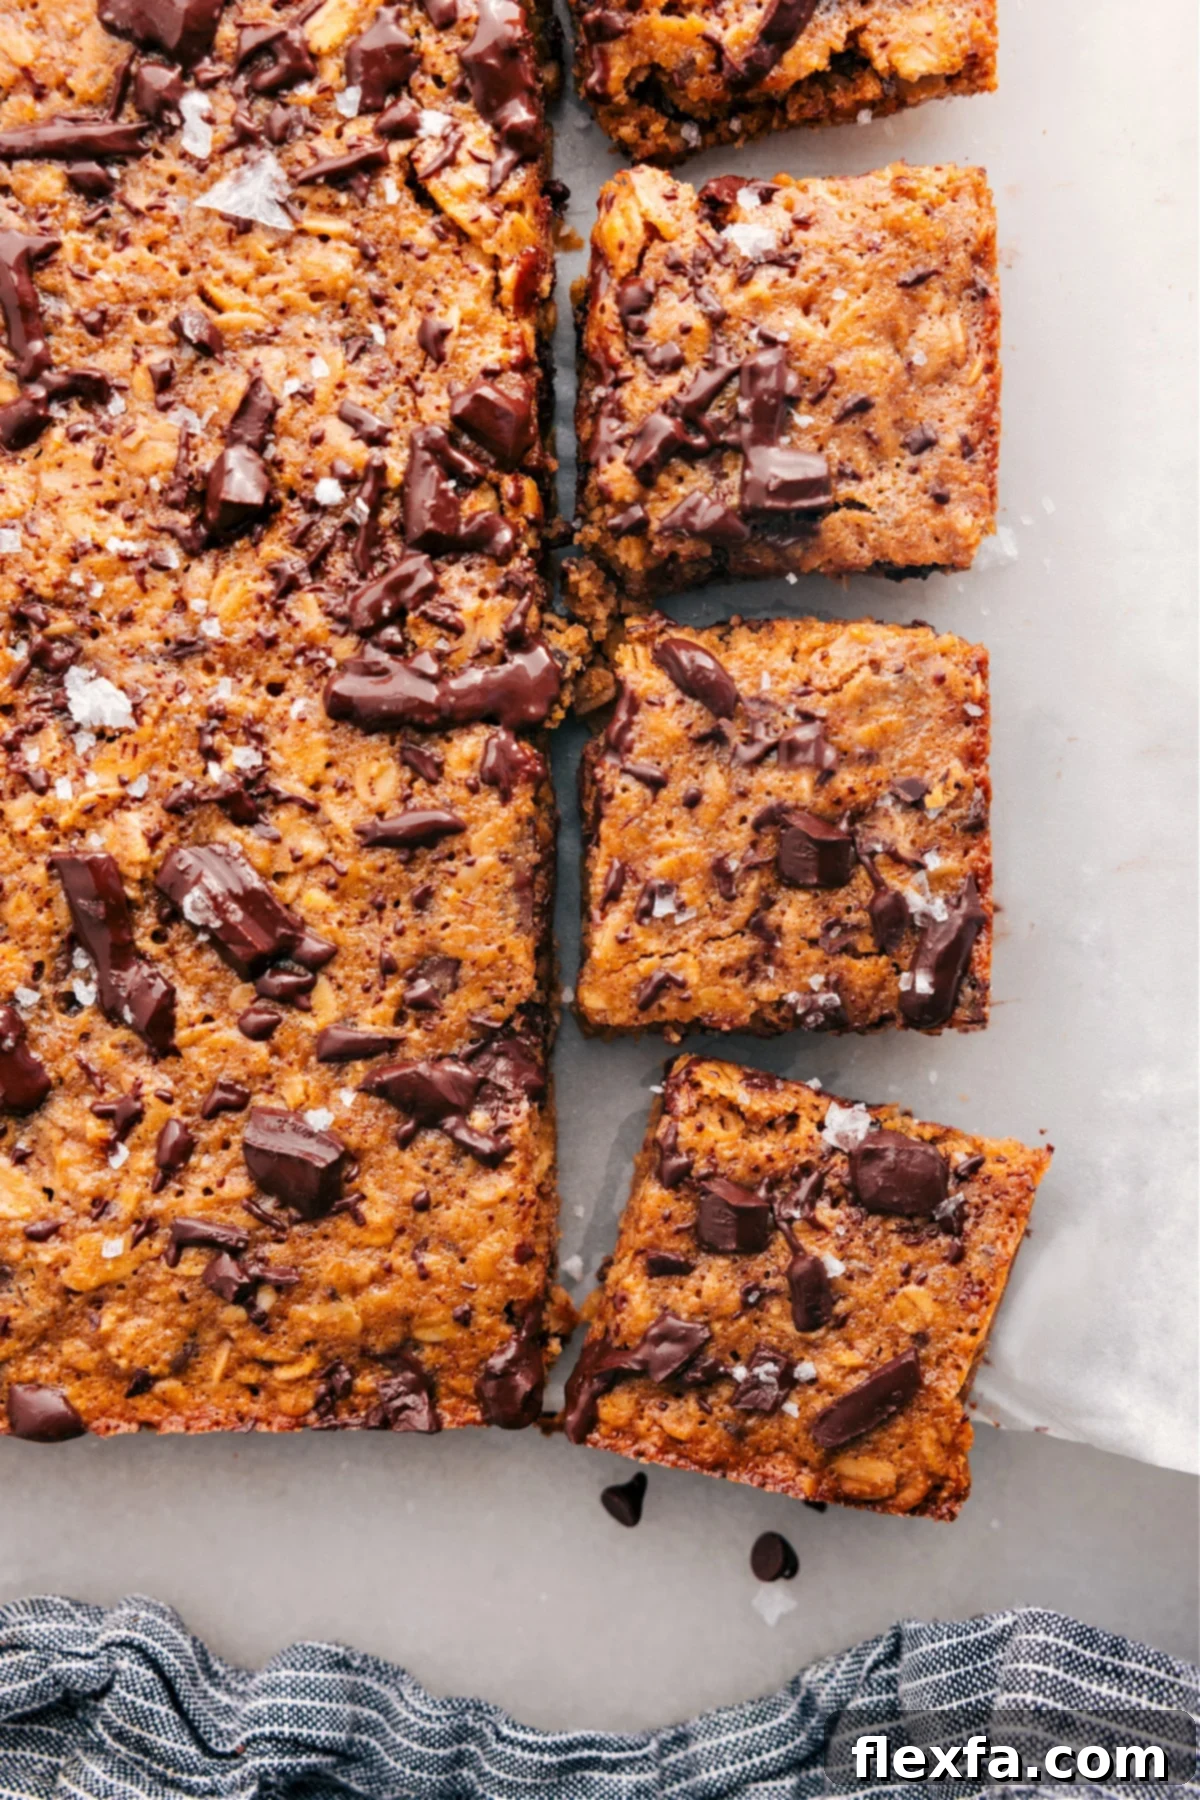
Welcome to your new favorite breakfast solution: these incredibly chewy and flavorful Gluten-Free Soft-Baked Oatmeal Breakfast Bars. Crafted with a blend of wholesome ingredients like hearty oats, rich nut butter, and decadent dark chocolate, these bars are not only delicious but also a fantastic better-for-you option. They are perfectly designed for busy mornings when you need a quick, satisfying, and nutritious grab-and-go meal or a healthy snack to keep you energized throughout the day.
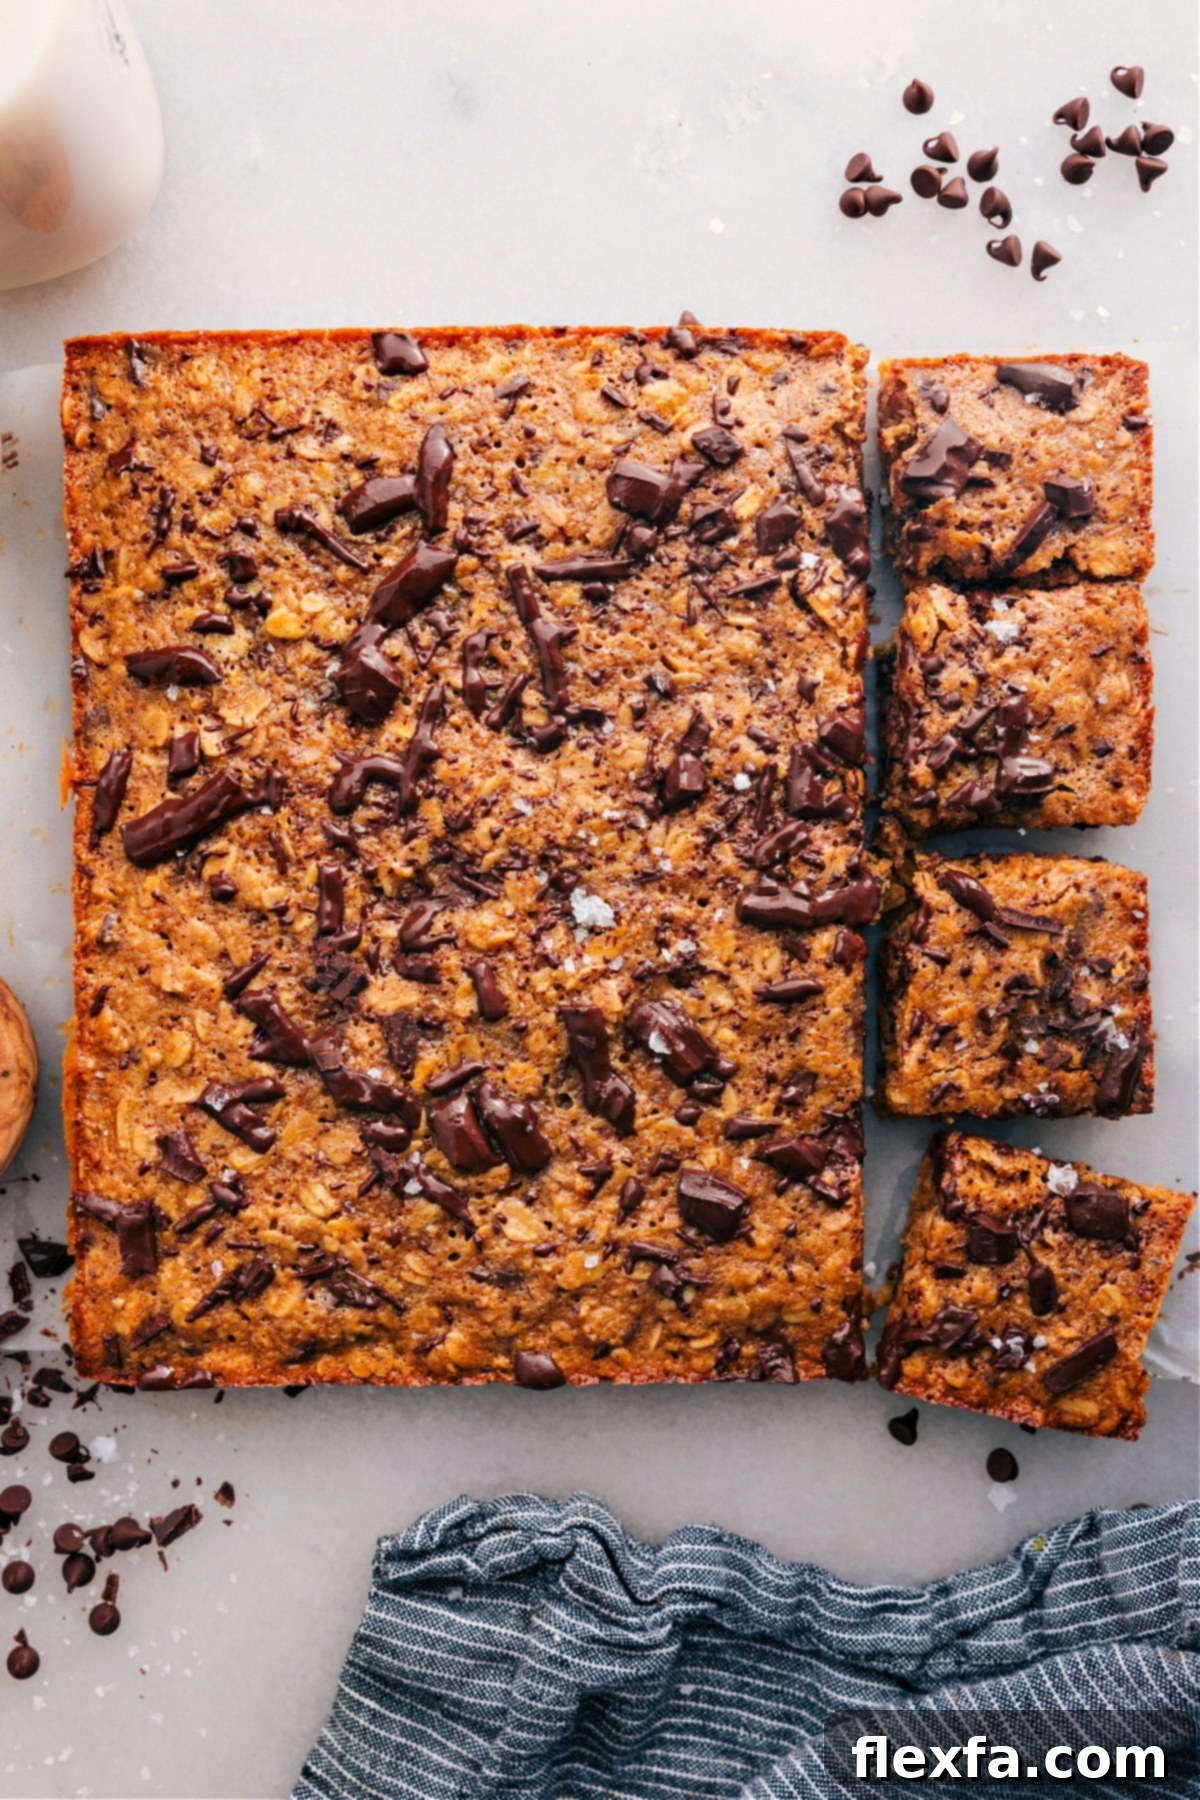
Your Ultimate Delicious On-The-Go Breakfast Solution
There’s a reason these Soft-Baked Oatmeal Breakfast Bars have become a beloved staple in my family – they are simply unparalleled for convenient breakfasts or quick, energy-boosting snacks. Each bar offers a delightful combination of tenderness, softness, and an ultra-chewy texture that truly sets them apart. Imagine the best qualities of a soft granola bar meeting the comforting essence of a warm bowl of oatmeal, all in one surprisingly filling and wholesome package.
What makes these oatmeal bars truly special is their substantial nutritional profile. Thanks to the generous inclusion of nut butter and an abundance of oats, these bars are naturally rich in protein and dietary fiber. This powerful duo is essential for promoting satiety, helping you feel fuller for longer, and keeping those mid-morning cravings at bay. They are a smart choice for anyone seeking a wholesome start to their day that actually sustains them.
Effortlessly Crafting Your Soft-Baked Oatmeal Breakfast Bars
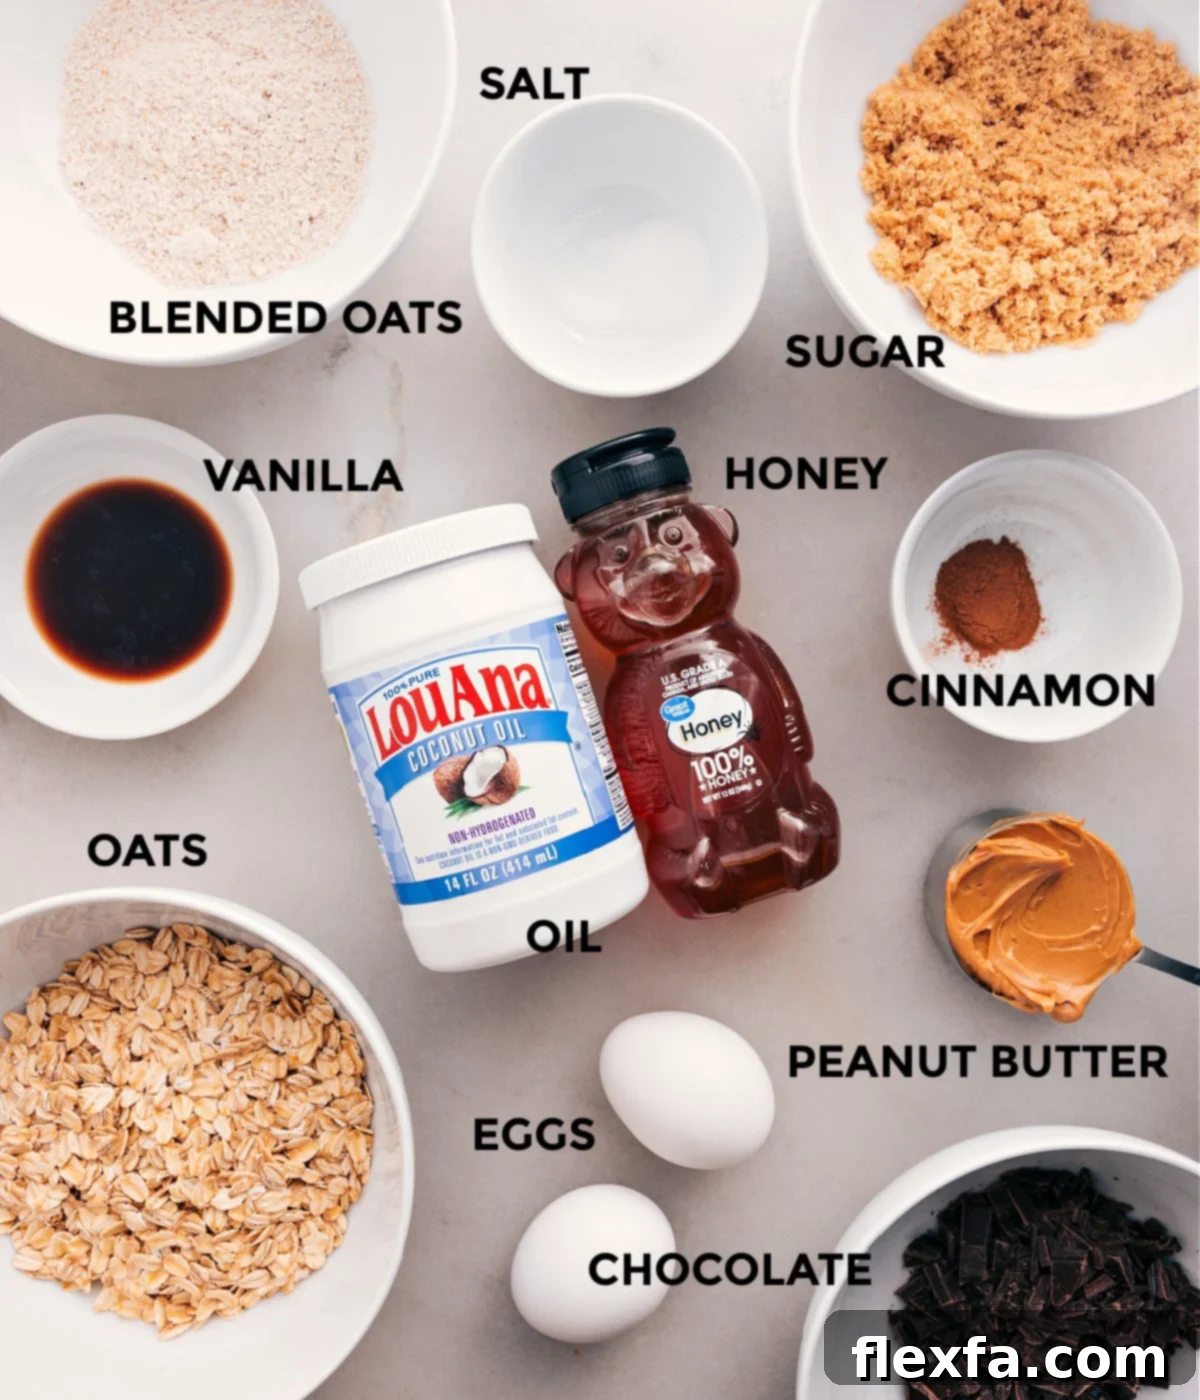
Preparing these delicious bars is remarkably simple, making it one of the easiest recipes you’ll ever encounter. The entire process can be completed in a single bowl, allowing you to whip up the batter in just minutes. This streamlined approach means less cleanup and more time to enjoy your perfectly baked treats.
- Prepare Your Pan & Oven: Begin by preheating your oven to 325°F (160°C). Line an 8×8-inch baking pan with parchment paper, ensuring there’s an overhang on two sides. This is a crucial step that will make removing the sticky bars incredibly easy once they’ve cooled.
- Combine Wet & Dry Ingredients: In a large mixing bowl, combine all the core ingredients except for the dark chocolate. This includes your old-fashioned oats, oat flour, cinnamon, salt, peanut butter, melted coconut oil, honey, brown sugar, vanilla extract, and the egg and egg yolk. Mix everything thoroughly until a smooth, well-combined batter forms.
- Add the Chocolate: Coarsely chop your dark chocolate (or chosen chocolate chips). The goal is to have substantial pieces throughout the bars, ensuring a delightful chocolatey burst in every single bite. Fold the chopped chocolate into the batter gently until it’s evenly distributed.
- Bake to Perfection: Transfer the prepared batter into your lined 8×8-inch pan. Spread it evenly. Bake for approximately 23-26 minutes, or until the edges appear lightly golden brown and the center is firm when gently pressed. The center might still look slightly moist, but don’t overbake! They will continue to firm up as they cool.
This straightforward method ensures that even novice bakers can achieve perfect, chewy oatmeal bars with minimal effort.
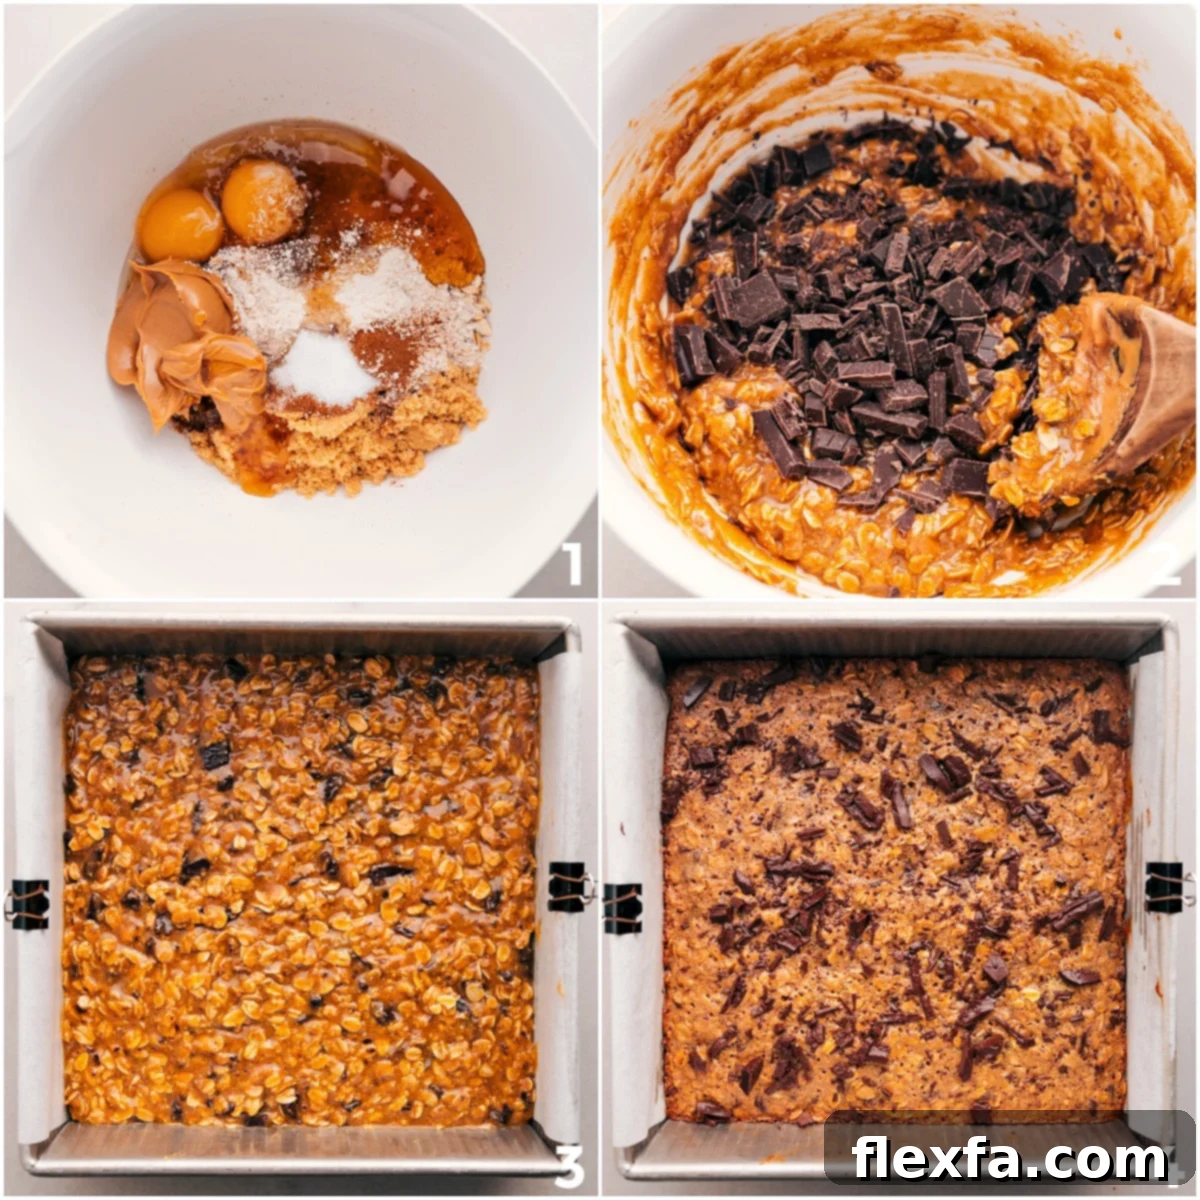
Key Ingredients for Irresistible Soft-Baked Oatmeal Breakfast Bars
Each ingredient in this recipe plays a vital role in achieving the perfect texture, flavor, and nutritional balance of these delightful bars. Understanding their purpose can also help you make informed substitutions if needed.
- Old-Fashioned Oats: These form the foundational base of our bars, delivering that quintessential soft and hearty chewiness. It’s crucial to use old-fashioned (rolled) oats. Quick oats are typically more processed and can result in overly dry and crumbly bars, while steel-cut oats won’t soften sufficiently during baking, leading to a much tougher texture.
- Oat Flour: This ingredient contributes to the bar’s structure and binds everything together beautifully without adding gluten. There’s absolutely no need to purchase specialty flour for this recipe; you can easily make your own oat flour from either quick or old-fashioned oats right at home. We’ll show you how below!
- Ground Cinnamon: A touch of cinnamon wonderfully complements the natural sweetness of the oats, adding a warm, inviting aroma and flavor. While highly recommended for its cozy notes, it’s entirely optional. If cinnamon isn’t your preference, feel free to omit it without compromising the core recipe.
- Salt: A small amount of salt is essential for balancing and enhancing all the sweet and savory flavors in these Soft-Baked Oatmeal Breakfast Bars, preventing them from tasting flat. Don’t skip it!
- Creamy Peanut Butter: Beyond adding a delicious nutty flavor, peanut butter is key for providing structure, stability, and a rich moistness to the bars. It also significantly boosts the protein content, contributing to the bars’ satisfying nature. You can experiment with other nut butters like almond or cashew for different flavor profiles.
- Melted Coconut Oil: Coconut oil not only imbues the bars with a subtle, pleasant flavor but also ensures they remain wonderfully moist and tender. Its unique fatty acid composition contributes to the soft-baked texture.
- Honey: We primarily sweeten these bars with natural honey, a wholesome and natural alternative to refined sugars. Honey also helps with binding and gives the bars a lovely golden hue.
- Light Brown Sugar: While honey provides a good base sweetness, a small amount of light brown sugar (just 1/3 cup) was added to strike the perfect balance. Using only honey can sometimes make the batter too wet, affecting the final texture, whereas brown sugar adds a deep, caramel-like note and helps achieve that ideal soft chewiness.
- Vanilla Extract: A teaspoon of vanilla extract brings a subtle yet significant depth of flavor, rounding out the sweetness and complementing the other ingredients beautifully.
- Egg + Egg Yolk: The large egg acts as a crucial binder, providing structure and stability to the batter, while also adding richness and a small protein boost. The addition of a second egg yolk further enhances the bar’s structure, richness, and overall flavor, resulting in a perfectly tender crumb. Don’t let the leftover egg whites go to waste – they’re perfect for an egg wrap or another recipe!
- Dark Chocolate Chips: Dark chocolate isn’t just for indulgence; it’s also a source of beneficial antioxidants. We recommend coarsely chopping the chips to ensure a distribution of chocolate in every bite. If dark chocolate isn’t your favorite, feel free to substitute with milk or semi-sweet chocolate, though this will slightly reduce the “healthier” aspect. Alternatively, chopped nuts like walnuts or pecans can be added for extra crunch and healthy fats, either instead of or in addition to the chocolate.
Your Guide to Homemade Oat Flour
Making your own oat flour is incredibly simple and cost-effective, eliminating the need to buy specialty flours. If you have quick oats or old-fashioned oats on hand, you can transform them into fine oat flour in a flash, ready for this recipe and many others.
- Select Your Oats: Choose either old-fashioned (rolled) oats or quick oats. It’s important to avoid instant oats, as their ultra-fine texture can make the flour too dense, and steel-cut oats, which are too hard to grind effectively in standard kitchen equipment.
- Grind the Oats: Place the selected oats into the bowl of a food processor or a small, high-speed blender. Ensure the container is dry and clean to prevent clumping.
- Pulse Until Fine: Begin to pulse the oats in short bursts. Continue pulsing until the oats are finely ground into a powdery consistency that closely resembles regular wheat flour. Scrape down the sides of the bowl as needed to ensure all oats are processed evenly.
- Check Consistency: Occasionally stir the oats around with a spoon or spatula if needed, ensuring all larger pieces are finely ground. You want a consistent, fine powder without any whole or large oat fragments remaining.
- Measure Accurately: This is a critical step! Always measure your oat flour after you have blended it. The volume of oats changes significantly once ground, so measuring before blending will result in an incorrect amount for the recipe.
With these simple steps, you’ll have fresh, homemade oat flour ready to go, ensuring the best possible texture for your breakfast bars.
Essential Tips for Perfect Soft-Baked Oatmeal Breakfast Bars
Achieving the perfect soft-baked texture and ensuring easy enjoyment involves a few key techniques. Follow these tips for the best possible results:
- Always Line Your Pan for Easy Removal: This batter is wonderfully sticky, which contributes to the bars’ chewiness, but can make them a nightmare to remove without proper preparation. Always line your 8×8-inch pan with parchment paper, leaving a generous overhang on two sides. This creates “handles” that allow you to lift the entire slab of baked bars out of the pan with ease. If you absolutely don’t have parchment paper, grease the pan exceptionally well, though removal will still be trickier.
- Patience is Key: Let the Bars Cool Completely: We know how tempting it is to dive into these warm, fragrant bars straight from the oven! While you’re certainly welcome to enjoy a gooey bite, please be aware that the bars are quite crumbly and very soft while hot. As they cool to room temperature, they firm up considerably, making them much easier to slice cleanly and serve without falling apart. Allow at least 1-2 hours for cooling before attempting to cut them.
- Do NOT Overbake – Trust the Jiggle Test: Overbaking is the quickest way to turn your perfectly soft and chewy bars into dry, hard hockey pucks. Take the bars out of the oven when the edges appear lightly golden brown. The center and top might still look a bit moist or even slightly gooey, and that’s exactly what you want! A good indicator that they’re done is if the bars do not visibly jiggle when you gently shake the pan. They will continue to set as they cool. Err on the side of slightly underbaked for maximum softness and chewiness.
- Customize Your Bars: Don’t hesitate to personalize your bars! Besides dark chocolate, consider adding dried fruits like cranberries or raisins, a handful of chopped nuts (walnuts, pecans, almonds), or even a sprinkle of shredded coconut for added flavor and texture. Just be mindful of the moisture balance if adding a lot of wet ingredients.
Quick Tip: Ensuring Your Bars Are Truly Gluten-Free
If you or someone you’re baking for has gluten intolerance or celiac disease, it’s paramount to ensure all ingredients are certified gluten-free. While many of the core components like oats, nut butter, and honey are naturally gluten-free, cross-contamination can occur during processing. Always check the labels of all packaged products (especially oats, oat flour, and chocolate chips) for a “certified gluten-free” seal or clear indication that they are processed in a dedicated gluten-free facility. This small step guarantees your delicious breakfast bars are safe for everyone to enjoy.
Storage Solutions for Your Oatmeal Bars
Keeping Your Soft-Baked Oatmeal Bars Fresh
To maintain their optimal freshness and chewiness, store your Soft-Baked Oatmeal Breakfast Bars in an airtight container at room temperature. They are best enjoyed within 2-3 days of baking. If you prefer them warm, simply pop an individual bar into the microwave for 5-10 seconds – it’s like a freshly baked treat all over again!
To freeze for longer enjoyment: For extended freshness, individual bars can be wrapped tightly in plastic wrap (or beeswax wrap for an eco-friendly option) and then placed in an airtight, freezer-safe container or bag. They will keep well in the freezer for up to 3 months. To enjoy, simply thaw individual bars at room temperature for an hour or two. If desired, you can warm them through in the microwave for 5-10 seconds to restore that soft, just-baked feel.
Explore More Wholesome Breakfast Recipes
If you loved these Soft-Baked Oatmeal Breakfast Bars, you’ll be thrilled to discover other healthy and delicious options to start your day right. Here are some of our family favorites:
- Healthy Breakfast Cookies: Perfect for when you need a quick treat with no baking required!
- How to Make Oatmeal: A comprehensive guide with four delicious flavor variations to revolutionize your morning bowl.
- Yogurt Bowl: Discover eight fantastic flavor combinations to elevate your yogurt experience.
- Peanut Butter Overnight Oats: A highly-rated reader favorite that’s creamy, delicious, and incredibly convenient.
- Acai Bowl: Four tasty recipes to create your own vibrant and nutritious acai bowls at home.
Save
Pin
Soft-Baked Oatmeal Breakfast Bars
Chelsea Lords
20 minutes
20 minutes
40 minutes
12
bars
Video
Equipment
-
8 x 8-inch baking pan
-
Parchment paper
Ingredients
- 1 cup old-fashioned oats
- 1/3 cup oat flour finely ground oats
- 1/2 teaspoon ground cinnamon
- 1/2 teaspoon salt
- 1/3 cup creamy peanut butter
- 1/4 cup melted coconut oil
- 1/4 cup honey
- 1/3 cup light brown sugar lightly packed
- 1 teaspoon vanilla extract
- 1 large egg
- 1 large egg yolk save the whites for another recipe or discard them
- 1/2 cup dark chocolate chips coarsely chopped
Instructions
-
1. Prepare Oven and Pan: Preheat your oven to 325°F (160°C). Line an 8×8-inch baking pan with parchment paper, ensuring a generous overhang on two sides. This is essential for easy removal of the baked bars.
-
2. Make Oat Flour (if needed): If you don’t have oat flour, place old-fashioned or quick oats in a blender or food processor. Pulse until they are finely ground and resemble flour. Be sure to measure the oat flour after blending to get the correct amount.
-
3. Mix Ingredients: In a large bowl, combine all the ingredients except for the dark chocolate chips. Stir vigorously until the mixture is smooth and thoroughly combined. Coarsely chop the dark chocolate chips and fold them into the batter until evenly distributed.
-
4. Bake: Transfer the batter to the prepared pan and spread it evenly. Bake for 23–26 minutes, or until the edges are set and lightly browned. The center may still appear slightly moist, but as long as it doesn’t jiggle when gently shaken, it’s done. The bars will firm up considerably as they cool. Avoid overbaking to keep them soft and chewy.
Recipe Notes
Storage: Store these delicious bars in an airtight bag or container at room temperature. For optimal freshness, consume them within 2–3 days. To freeze, wrap individual bars tightly in plastic wrap, then place them in an airtight, freezer-safe container. Thaw frozen bars at room temperature before enjoying.
Nutrition
Calories: 211kcal |
Carbohydrates: 25.1g |
Protein: 4.1g |
Fat: 10.8g |
Cholesterol: 23.3mg |
Sodium: 41.5mg |
Fiber: 1.6g |
Sugar: 16.6g
Nutrition information is automatically calculated, so should only be used as an approximation.
Love This Recipe? Share Your Thoughts Below!