
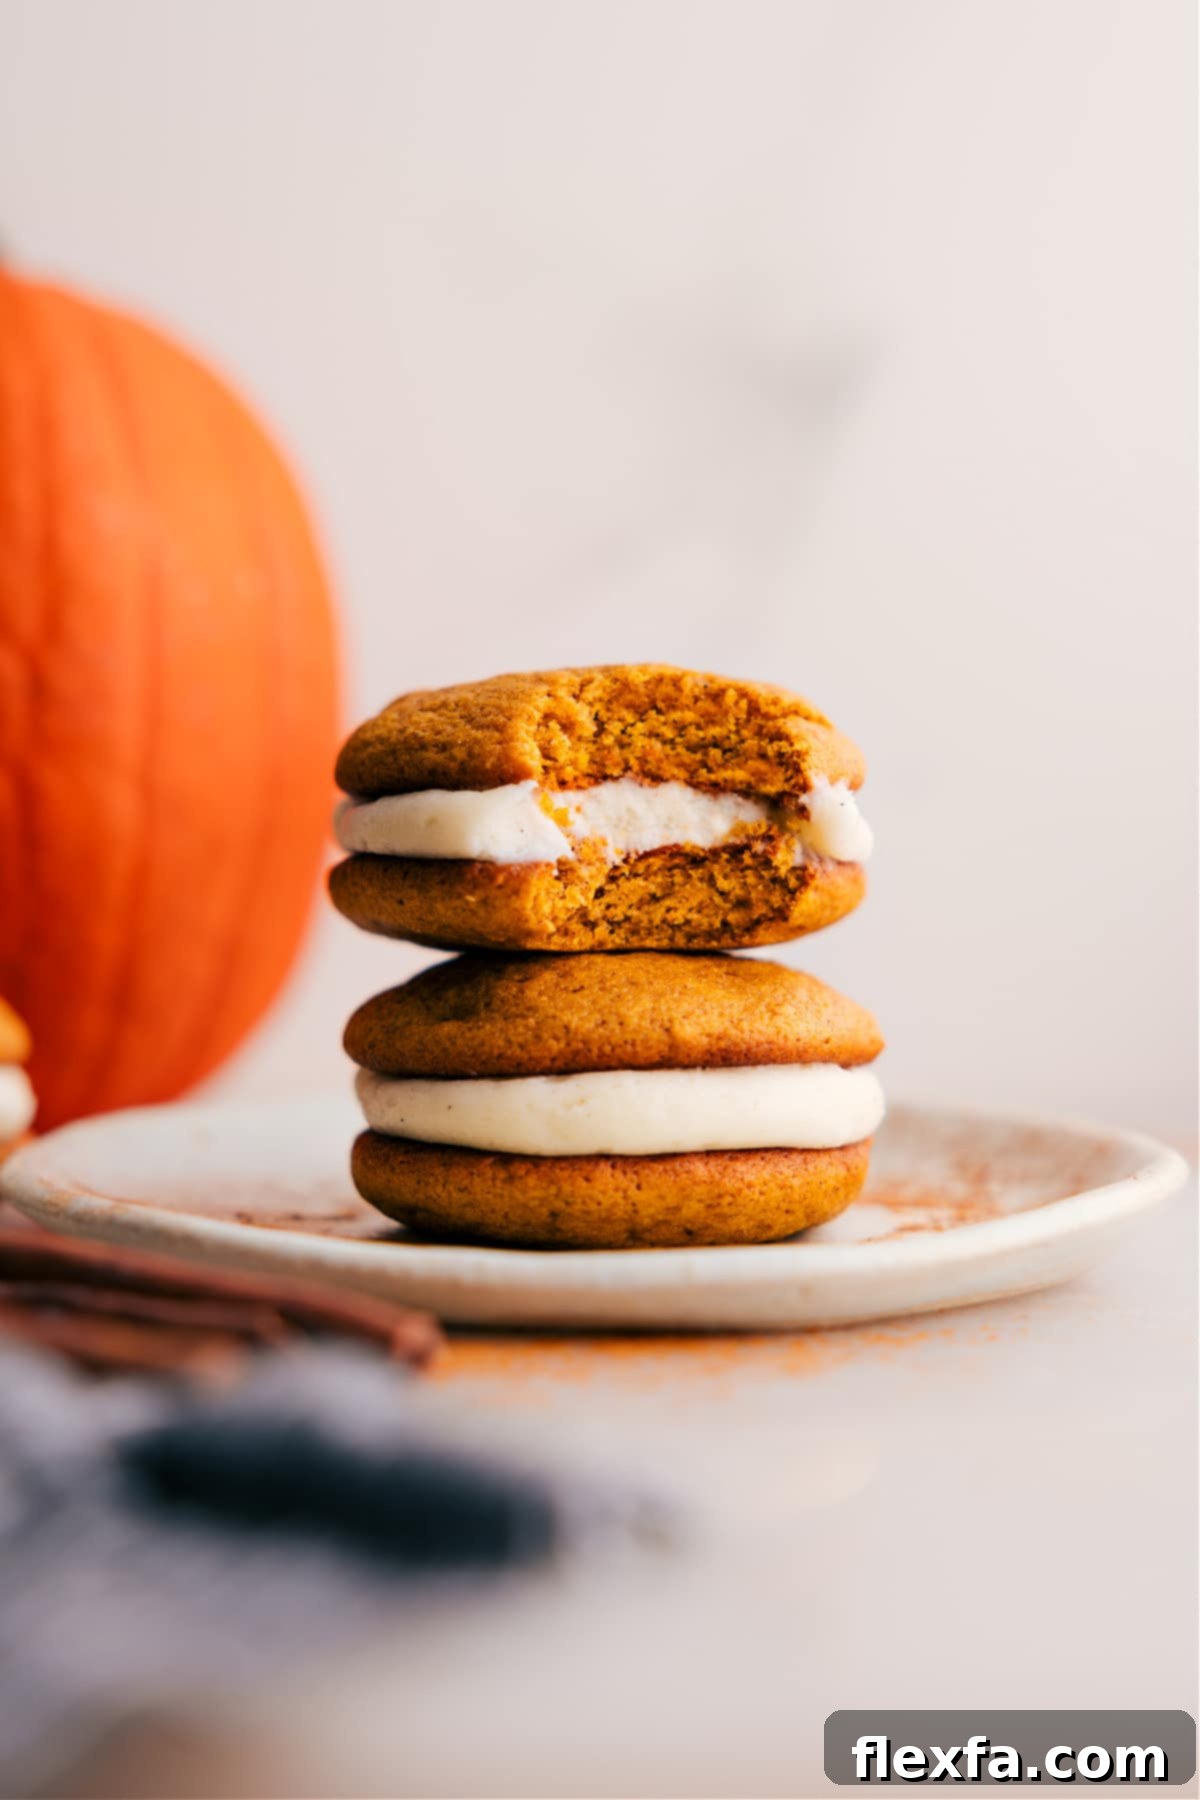
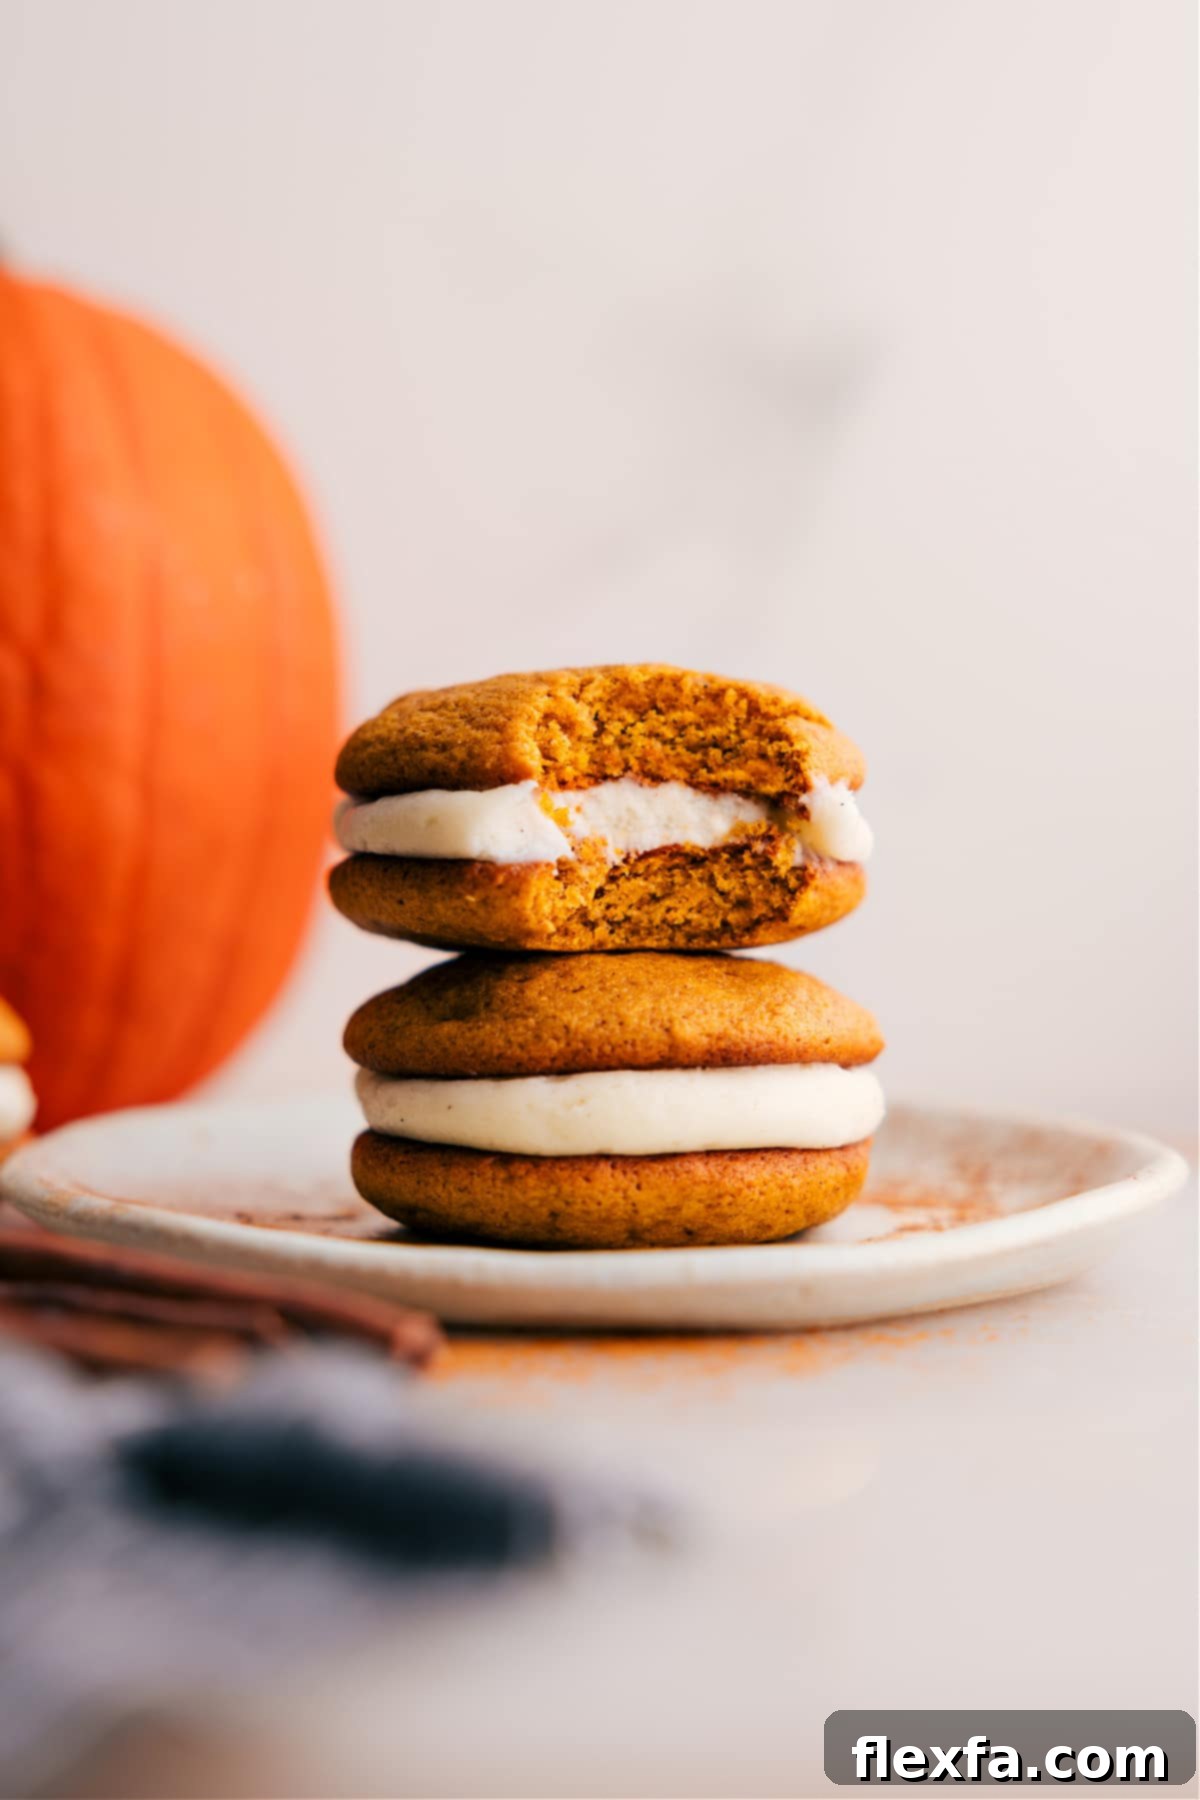
The Ultimate Pumpkin Whoopie Pie Recipe: A Delectable Fall Favorite delivers thick, perfectly spiced pumpkin cookies generously sandwiched with a rich, creamy, and tangy cream cheese frosting, creating the ultimate flavor combination for the autumn season. These irresistible treats are more than just a dessert; they’re a celebration of fall, capturing all the cozy, comforting flavors you love in one delightful bite.

Author’s Note
I Wasn’t Ready for How Good These Are!
It’s genuinely hard to believe that it took me this long to venture into the wonderful world of whoopie pies. The inspiration for these incredible pumpkin delights actually came from a happy accident: a partial can of leftover pumpkin puree from another recipe, combined with an undeniable craving for something exceptionally soft, wonderfully sweet, and utterly infused with the cozy flavors of fall. I embarked on a series of baking experiments, testing various pumpkin cookie formulations to achieve that perfect, pillowy texture. Once I hit that sweet spot – soft, fluffy, and moist pumpkin cookies – I knew exactly what they needed: a luxurious, tangy cream cheese frosting to complete the magic. And that, my friends, is how my journey to these spectacular cream cheese frosting-filled Pumpkin Whoopie Pies began.
The very first time I presented these Pumpkin Whoopie Pies to my family, their reaction was nothing short of astonishing. They vanished from the plate faster than any other baked good I’ve ever made. My children were absolutely obsessed, their eyes lighting up with every bite. My husband, ever the discerning critic, declared they tasted even better than a classic pumpkin roll. Since that moment, they’ve become my trusted, go-to recipe for an easy fall dessert that consistently impresses everyone. They’re perfect for holiday gatherings, cozy weeknights, or simply when you need a comforting taste of autumn.
This recipe truly opened a new door for me in the baking world. I’ve already started brainstorming ideas for exciting future variations, including indulgent chocolate whoopie pies, vibrant red velvet versions, and spicy gingerbread whoopie pies. But it’s this delightful pumpkin recipe that started it all – a true masterpiece that encapsulates the essence of fall in every single bite. You’re in for a real treat!
Essential Ingredients for Perfect Pumpkin Whoopie Pies
Crafting the perfect Pumpkin Whoopie Pies starts with selecting the right ingredients. Each component plays a vital role in achieving that signature soft cookie and dreamy frosting. Here’s a breakdown of what you’ll need and some helpful tips for each.
| Ingredient | Swaps or Tips for Best Results |
|---|---|
| Pumpkin Puree | Absolutely crucial: use only canned pure pumpkin, not pumpkin pie filling. Pie filling contains added spices and sugar, which will alter the flavor and consistency of your cookies. Brands like Libby’s typically deliver the most consistent results for baking. |
| Brown Sugar | Both light and dark brown sugar work beautifully in this recipe. Dark brown sugar will lend a slightly deeper, more robust molasses flavor, enhancing the overall warmth of the pumpkin and spices. Ensure it’s lightly packed for accurate measurement. |
| Butter (for cookies & frosting) | Always use unsalted butter for better control over the salt content in your baking. It’s imperative that your butter is softened to room temperature, but not melted. Softened butter creams beautifully with sugar, creating a light, airy base for your cookies and a smooth, lump-free frosting. |
| Pumpkin Pie Spice | This spice blend is the heart of your pumpkin flavor! If you don’t have a pre-made blend, you can easily make your own by combining cinnamon, nutmeg, ginger, and cloves. This allows you to customize the intensity to your preference. |
| Egg | The egg provides structure, richness, and moisture to your cookies. There isn’t a good substitute for a large egg in this recipe; don’t skip it. Ensure it’s at room temperature for better emulsification with other ingredients. |
| All-Purpose Flour | Accurate flour measurement is key! Too much flour can lead to dry, dense, and crumbly cookies, while too little can make them spread too much. We recommend spooning the flour into your measuring cup and then leveling it off. |
| Cream Cheese (for frosting) | For the best, firm, and tangy cream cheese frosting, opt for full-fat block cream cheese. Avoid using whipped or spreadable cream cheese from a tub, as these have a higher water content and won’t give you the desired thick, pipeable consistency. Ensure it’s softened to room temperature. |
| Powdered Sugar (Confectioners’ Sugar) | To achieve an ultra-smooth, lump-free cream cheese frosting, it’s highly recommended to sift your powdered sugar before adding it to the mixture. This step ensures a velvety texture that melts in your mouth. |
| Vanilla Extract | Always use pure vanilla extract for the best, most authentic flavor. Imitation vanilla can leave an artificial aftertaste that detracts from the overall quality of your whoopie pies. It enhances both the cookies and the frosting. |
Crafting Your Pumpkin Whoopie Pies: A Step-by-Step Guide
Making these delightful Pumpkin Whoopie Pies is a straightforward process, broken down into simple, manageable steps. From mixing the spiced pumpkin cookies to whipping up the luscious cream cheese frosting, you’ll find joy in every stage of this recipe. Follow these instructions carefully for whoopie pies that are sure to impress.
- Prepare Your Baking Station: Start by preheating your oven to 350°F (175°C). Line two large baking sheets with parchment paper or a silicone baking mat. This crucial step prevents the cookie bottoms from burning and ensures even baking, making for easy removal and cleanup.
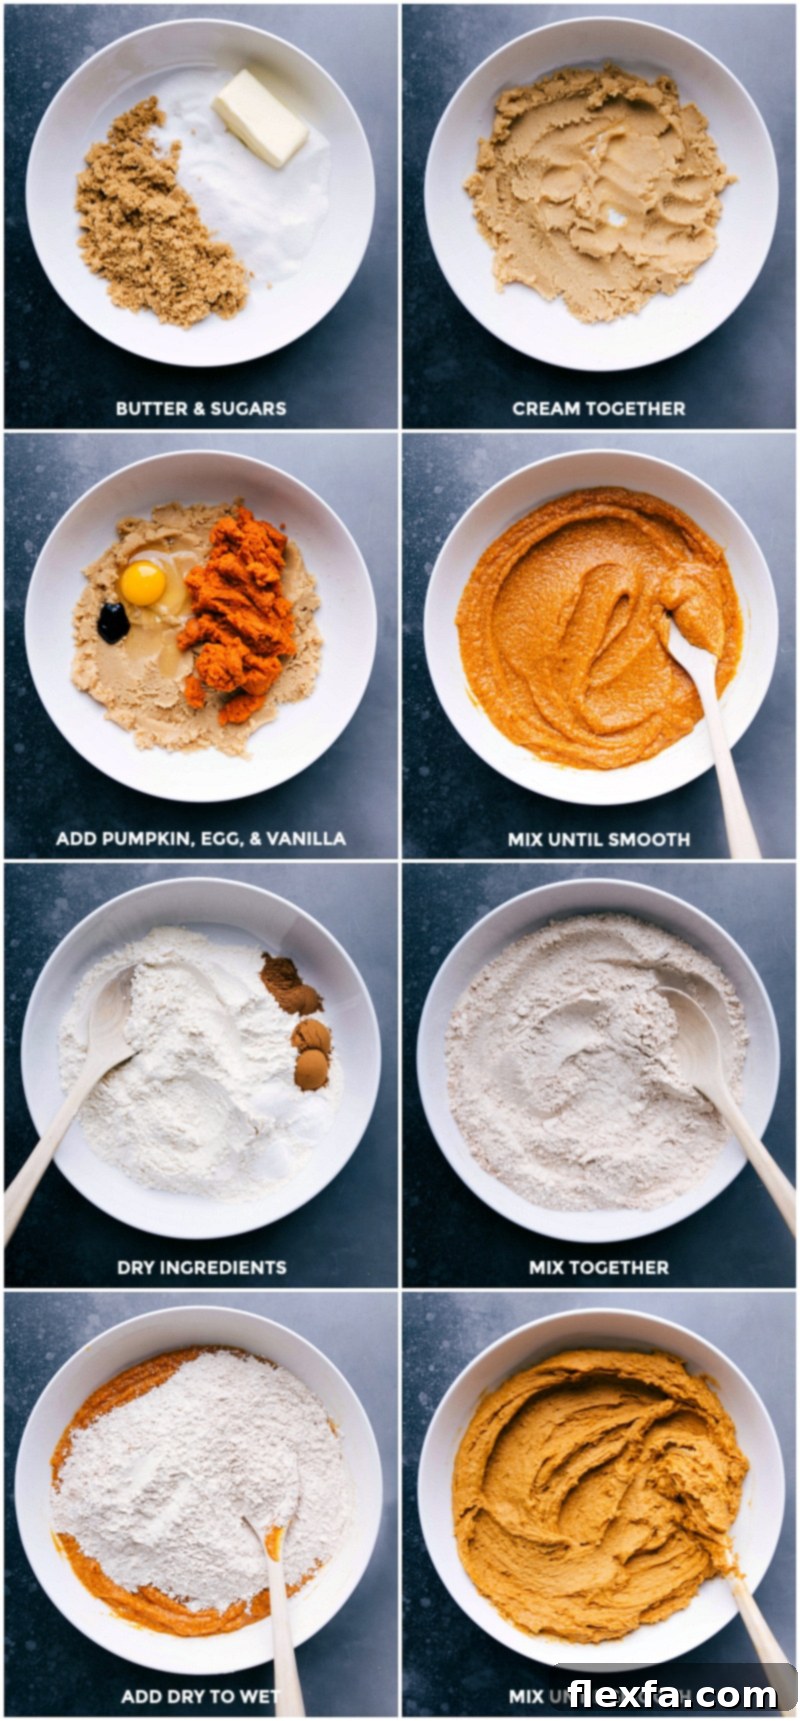
- Combine Dry and Wet Ingredients Separately: In a large mixing bowl, whisk together all your dry ingredients: flour, baking soda, baking powder, ground cinnamon, pumpkin pie spice, and salt. Ensure they are thoroughly combined to distribute the leavening agents and spices evenly. In a separate, medium-sized bowl, cream together the softened butter with both granulated and brown sugars until the mixture is light, fluffy, and smooth. This typically takes about 2-3 minutes with an electric mixer.
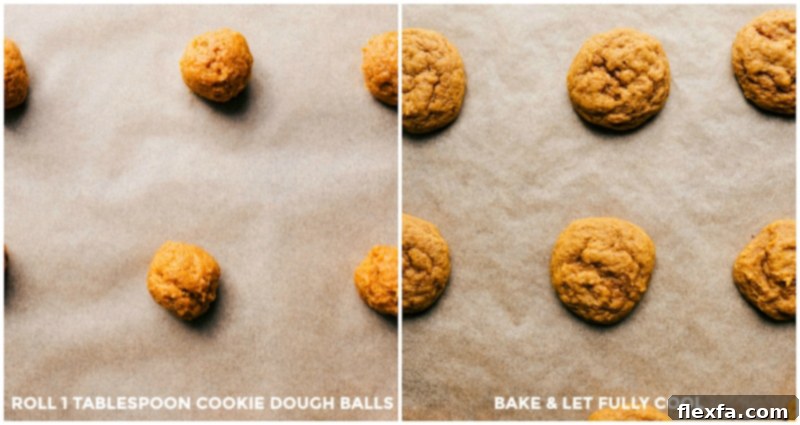
- Integrate Wet into Dry, Then Scoop and Bake: To the creamed butter and sugar mixture, add the pumpkin puree, large egg, and vanilla extract. Beat until well combined and creamy. Gradually add the dry ingredients to the wet mixture, mixing on low speed until just combined. Be careful not to overmix, as this can develop the gluten in the flour, leading to tough cookies. Using a 1-tablespoon cookie scoop, drop rounded balls of dough onto your prepared baking sheets, leaving about 2 inches between each to allow for spreading. Gently flatten the tops of each dough ball slightly. Bake for 8-13 minutes, or until the edges are set but the centers still look slightly soft and no longer shiny.
- Cool Cookies Completely: Once baked, remove the cookies from the oven and let them cool on the baking sheets for 3-5 minutes. This allows them to firm up slightly before you transfer them to a wire rack to cool completely. It is absolutely essential that the cookies are completely cool before you attempt to frost them; otherwise, your cream cheese frosting will melt and slide off.
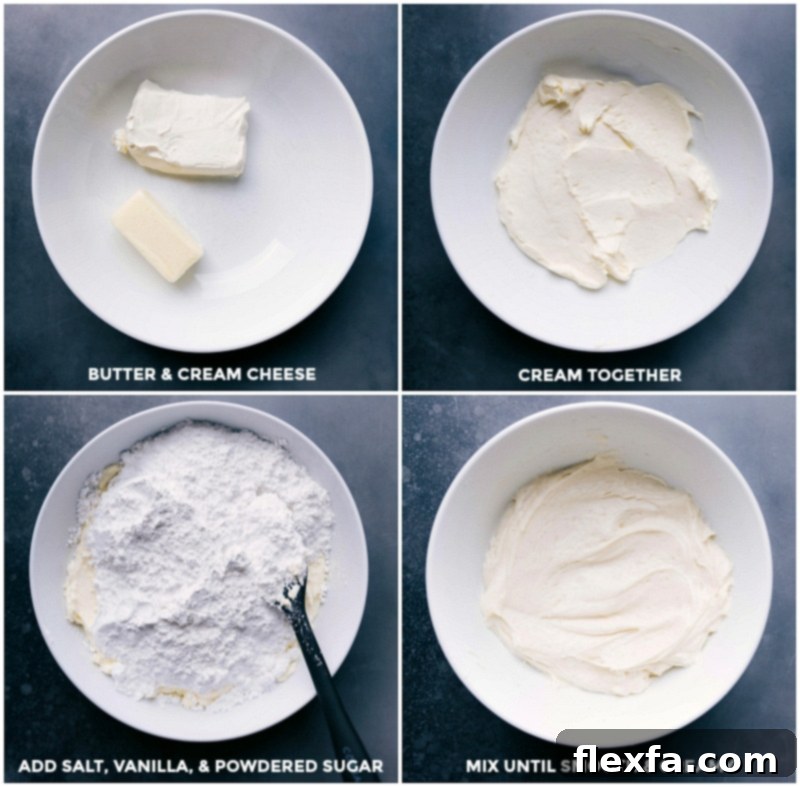
- Whip Up the Dreamy Cream Cheese Frosting: While the cookies are cooling, prepare your rich cream cheese frosting. In a stand mixer fitted with the whisk attachment (or using a large bowl and a hand mixer), beat the softened cream cheese and softened unsalted butter together on medium-high speed for about 2 minutes until the mixture is smooth, creamy, and free of lumps. Gradually add the sifted powdered sugar, salt, and vanilla extract. Beat until the frosting is light, fluffy, and perfectly smooth. Again, be mindful not to over-beat, as this can incorporate too much air and make the frosting too thin.
- Assemble Your Whoopie Pies: Once the cookies are entirely cool, it’s time for the best part: assembly! Take half of the cooled pumpkin cookies and turn them flat-side up. Using a knife, offset spatula, or a piping bag, generously spread or pipe a dollop of cream cheese frosting onto the flat side of each cookie. Then, gently place another cookie on top, flat-side down, to create a perfect sandwich. Lightly press them together until the frosting reaches the edges. Your beautiful Pumpkin Whoopie Pies are now ready to be enjoyed!
Expert Tips for Irresistible Pumpkin Whoopie Pies
Achieving bakery-quality Pumpkin Whoopie Pies is easier than you think with a few simple tricks. These tips will help ensure your cookies are perfectly moist, your frosting is wonderfully creamy, and your overall baking experience is a success.
- Mastering Baking Time for Softness: The secret to truly soft and moist whoopie pie cookies lies in slightly underbaking them. You want the edges to be set, but the centers should still look slightly soft and puffy. The tops should no longer be wet or shiny. This ensures they remain tender and chewy rather than dry and crumbly. Keep a close eye on your oven, as baking times can vary slightly.
- Choosing the Right Pumpkin: Always, and we mean always, use pure canned pumpkin puree. Do not confuse it with pumpkin pie filling, which already contains sugar and spices. Using pie filling will throw off the carefully balanced flavors and sweetness in this recipe. Brands like Libby’s® are consistently reliable for their texture and moisture content.
- Precision in Flour Measurement: Accurate flour measurement is paramount for cookie texture. The best method is the “spoon and level” technique: gently spoon the flour into your measuring cup until it overflows, then use a straight edge (like the back of a knife) to level off the excess. Never scoop directly from the bag with your measuring cup, as this compacts the flour and can add up to 25% more than needed, resulting in dense, dry cookies.
- Optimal Baking Surface: For even baking and to prevent the bottoms of your cookies from getting too dark or burnt, use a high-quality silicone baking mat (like Silpat®) or parchment paper to line your baking sheets. Avoid using aluminum foil, as it can sometimes lead to uneven heat distribution and stickiness.
- Room Temperature Ingredients are Key: Ensure your butter, cream cheese, and egg are all at true room temperature before you begin. This allows them to emulsify properly, creating a smooth, homogenous batter and frosting. Cold ingredients can result in lumpy mixtures and affect the texture of your final product.
- Avoid Overmixing the Dough: After adding the dry ingredients to the wet, mix only until just combined. Overmixing develops the gluten in the flour, which can lead to tough, chewy cookies instead of the soft, cake-like texture characteristic of whoopie pies. A few streaks of flour are better than an overmixed batter.
- Chill Your Dough (Optional, but Recommended): While not strictly necessary, chilling the cookie dough for at least 30 minutes (or up to 10 hours) can make it much easier to handle and scoop. More importantly, it allows the flavors to meld and deepen, resulting in a more pronounced pumpkin spice taste.
- Cool Cookies Completely Before Frosting: This cannot be stressed enough! If your cookies are even slightly warm, the cream cheese frosting will melt, creating a messy situation and compromising the structure of your whoopie pies. Patience is a virtue here!
Storage Solutions
How to Store and Freeze Pumpkin Whoopie Pies
Proper storage is essential to maintain the freshness and delightful texture of your pumpkin whoopie pies. Here’s how to keep them at their best:
- Frosted Whoopie Pies: Due to the cream cheese frosting, assembled whoopie pies should always be stored in the refrigerator. Place them on a plate and cover loosely with foil or plastic wrap. Avoid storing them in airtight plastic containers for extended periods, as this can make the cookies overly soft and sticky. They are best enjoyed the same day they are made or within 1-2 days for optimal texture and flavor. Beyond that, the cookies can become too soft, and the texture may degrade slightly.
- Unfrosted Cookies: If you bake the cookies ahead of time and plan to assemble later, store unfrosted cookies at room temperature in an airtight container for up to 2-3 days. This prevents them from becoming stale.
- Freezing Unbaked Cookie Dough: This is a fantastic option for future baking! Scoop the cookie dough balls onto a baking sheet and flash freeze them for about an hour until firm. Once frozen, transfer the dough balls to an airtight freezer-safe container or bag with parchment paper between layers to prevent sticking. They can be stored for up to three months. When ready to bake, you can bake them directly from frozen, adding an extra 1-3 minutes to the baking time, or thaw them in the fridge overnight before baking.
- Important Note on Freezing Frosting: Cream cheese frosting does not freeze well. Freezing and thawing can cause the frosting to separate and become watery, leading to soggy cookies. It’s always best to prepare the frosting fresh when you’re ready to assemble and serve.
Delicious Ideas for Leftover Pumpkin Puree: Don’t Let It Go to Waste!
Don’t let that extra pumpkin puree sit in your fridge! Pumpkin is a versatile ingredient that can be used in a variety of sweet and savory dishes. Here are some fantastic recipes to use up any remaining puree after making your whoopie pies.
Desserts
Pumpkin Snickerdoodle Cookie Recipe
Desserts
Healthy Pumpkin Bread
Beverages
Pumpkin Spice Latte Steamer
Cakes And Cupcakes
Pumpkin Poke Cake

Pumpkin Whoopie Pies
Chelsea Lords
30
10
30
1
10
25
whoopie pies
Video
Equipment
-
Large sheet pan (15″ x 21″)
-
Parchment paper or a silicone baking mat
-
Stand mixer or hand mixer
Ingredients
- 2-1/2 cups all-purpose flour (see note on measuring flour below)
- 1 teaspoon baking soda
- 1 teaspoon baking powder
- 2 teaspoons ground cinnamon
- 1-1/2 teaspoons pumpkin pie spice
- 1/2 teaspoon salt
- 3/4 cup granulated sugar
- 3/4 cup light brown sugar (lightly packed)
- 8 tablespoons unsalted butter (softened, not melted)
- 1 cup canned pumpkin puree (ensure it’s pure pumpkin, not pie filling)
- 1 large egg
- 1 teaspoon vanilla extract
- 4 ounces cream cheese (full-fat block cream cheese, softened, not melted)
- 4 tablespoons unsalted butter (softened, not melted)
- 2 cups powdered sugar (sifted for best results)
- 1/8 teaspoon salt
- 1 teaspoon vanilla extract
Instructions
-
Prepare for Baking: Preheat your oven to 350°F (175°C). Line two large baking sheets with parchment paper or a silicone baking mat to prevent sticking and ensure even cooking. This step is crucial for achieving perfectly soft whoopie pie bottoms.
-
Combine Dry Ingredients: In a large mixing bowl, whisk together the flour, baking soda, baking powder, ground cinnamon, pumpkin pie spice, and salt. Make sure all dry ingredients are thoroughly combined and no lumps remain, setting this mixture aside.
-
Mix Wet Ingredients & Form Dough: In a separate medium bowl, using an electric mixer (stand or hand mixer), cream together the softened unsalted butter, granulated sugar, and light brown sugar until the mixture is light, fluffy, and smooth, about 2-3 minutes. Next, add the 1 cup of pumpkin puree, the large egg, and the vanilla extract. Beat until the mixture is fully incorporated and creamy. Gradually add the whisked dry ingredients to the wet mixture, mixing on low speed until just combined. Be careful not to overmix the dough, as overmixing can lead to dense, tough cookies.
-
Optional Dough Chilling: For enhanced flavor and easier handling, you can optionally cover the cookie dough tightly and chill it in the refrigerator for 30 minutes up to 10 hours. While not strictly necessary, chilling helps the dough firm up and allows the flavors to deepen. If chilling for an extended period, allow it to sit at room temperature for a few minutes before scooping.
-
Scoop and Prepare Cookies: Use a 1-tablespoon measuring spoon or small cookie scoop to portion out balls of dough onto your lined baking sheets. Aim for uniform size to ensure even baking. You can gently smooth or slightly round the balls, but a bit of bumpiness is perfectly fine. Leave at least 2 inches of space between each cookie (it’s best to bake 8-10 cookies per sheet to avoid overcrowding) and gently flatten each ball of dough slightly with the back of the spoon or your fingers. If the dough is too sticky, a quick chill in the fridge can help make scooping easier.
-
Bake to Perfection: Bake the cookies for 8-13 minutes. The ideal baking time for my oven is usually 9-10 minutes. Watch them carefully to avoid over-baking. You want the cookies to be slightly under-baked for that soft, moist whoopie pie texture; the tops should be set and no longer shiny or wet-looking. Remove the baking sheets from the oven and allow the cookies to stand on the pan for 3-5 minutes to firm up before carefully transferring them to a wire cooling rack to cool completely.
-
Prepare the Cream Cheese Frosting: While the cookies are cooling, begin making your delicious frosting. In the bowl of a stand mixer fitted with the whisk attachment (or using a large bowl and a hand mixer), beat the softened cream cheese and softened unsalted butter together until smooth and creamy. This should take about 2 minutes on medium-high speed. Gradually add the sifted powdered sugar, salt, and vanilla extract. Beat until all ingredients are well combined and the frosting is soft, fluffy, and perfectly smooth. Be careful not to over-beat, as this can make the frosting too thin or “whipped.”
-
Assemble Your Whoopie Pies: Once the pumpkin cookies are completely cooled, it’s time to assemble! Take one cookie and spread a generous amount of the cream cheese frosting onto its flat bottom side. Place another cooled cookie on top, flat side down, creating a sandwich. Gently press them together until the frosting just begins to reach the edges. Repeat with the remaining cookies and frosting. Your homemade Pumpkin Whoopie Pies are now ready to be savored!
Recipe Notes
Storage Tips: To maintain their best texture and flavor, do not store assembled whoopie pies in airtight plastic containers for prolonged periods, as this can make them excessively soft and sticky. It is recommended to store them on plates, loosely covered with foil or plastic wrap, in the refrigerator. They are best enjoyed on the same day they are baked or within 1–2 days. Beyond that, the cookies may become too soft, and the overall texture can degrade. Unbaked cookie dough balls can be frozen for up to 3 months; bake them directly from frozen for an additional 1–3 minutes, or thaw in the refrigerator before baking as usual.
Nutrition
Nutrition information is automatically calculated, so should only be used as an approximation. Actual nutritional values may vary based on ingredients used and preparation methods.
Love this recipe? Share your thoughts below!
Your feedback helps us create more delicious content.