
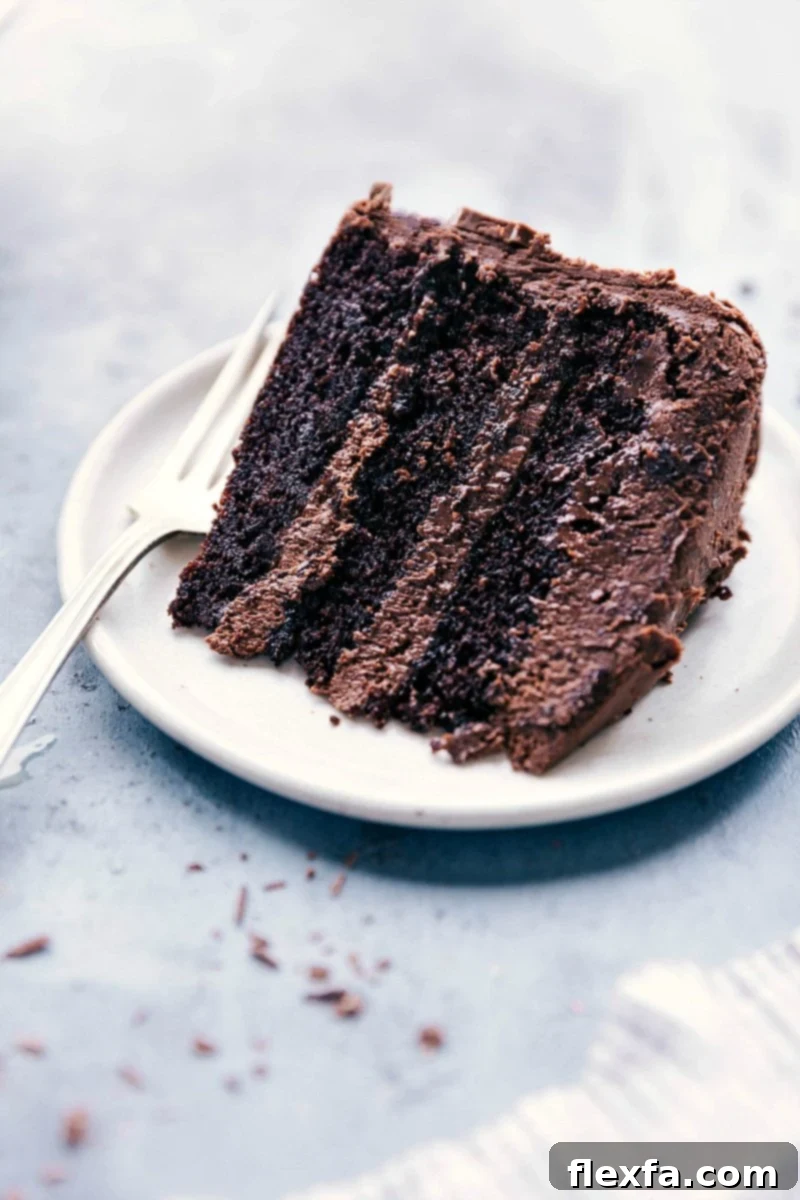
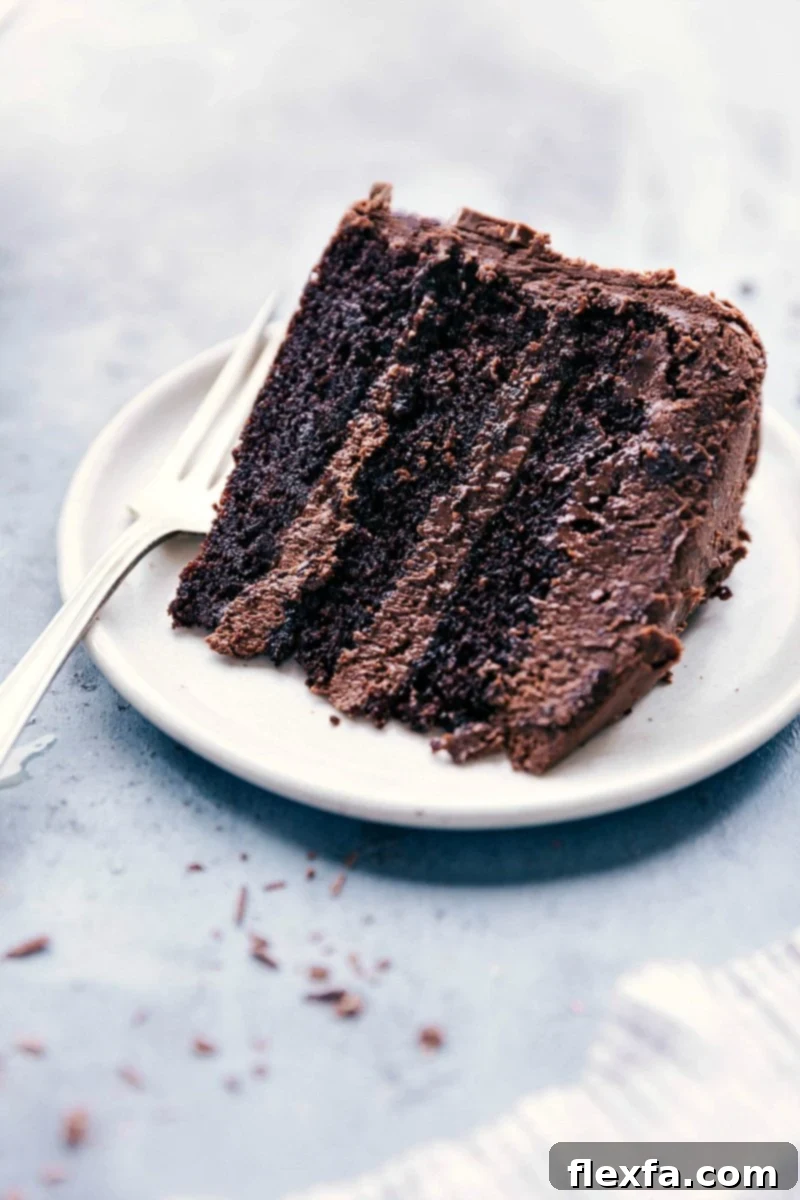
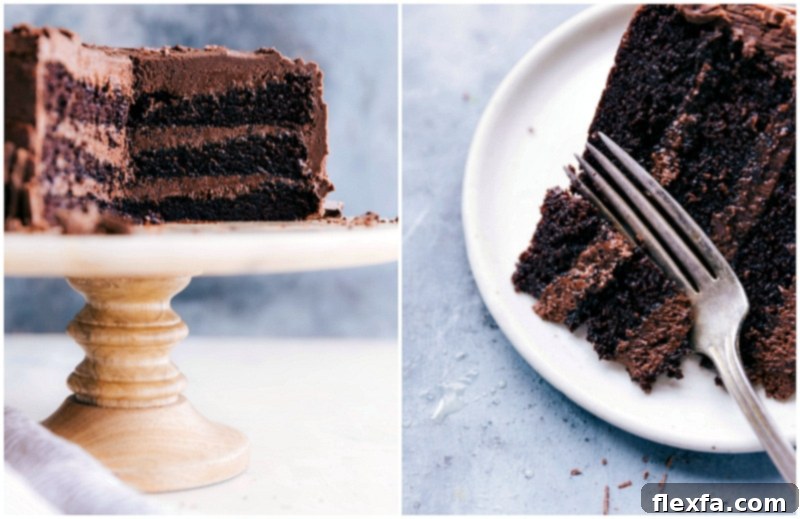
Welcome to the epitome of chocolate indulgence! This Chocolate Cake Recipe is every chocolate lover’s dream brought to life, featuring three incredibly moist, intensely rich layers of cake generously frosted with a luxurious triple-chocolate buttercream icing. Prepare to impress with this show-stopping dessert that promises an unforgettable experience.

author’s note
This Chocolate Cake Deserves Its Own Holiday!
Chocolate holds a special place in my heart, and certainly in my home! Over the years, I’ve had the pleasure of sharing countless chocolate-loaded recipes with you, from reader favorites like Oreo Balls to my classic Icebox Cake. Yet, I always felt there was a void—a truly classic, utterly decadent, from-scratch chocolate cake that stood above the rest. Until now.
This is the chocolate cake recipe I’ve been eagerly waiting to perfect and share. It’s not just rich and moist; it’s profoundly irresistible, the kind of deeply flavorful chocolate cake that you’ll find yourself dreaming about long after the last glorious bite has vanished. It’s designed to be the centerpiece of any celebration, from birthdays to holidays, or simply a luxurious treat for a Tuesday evening.
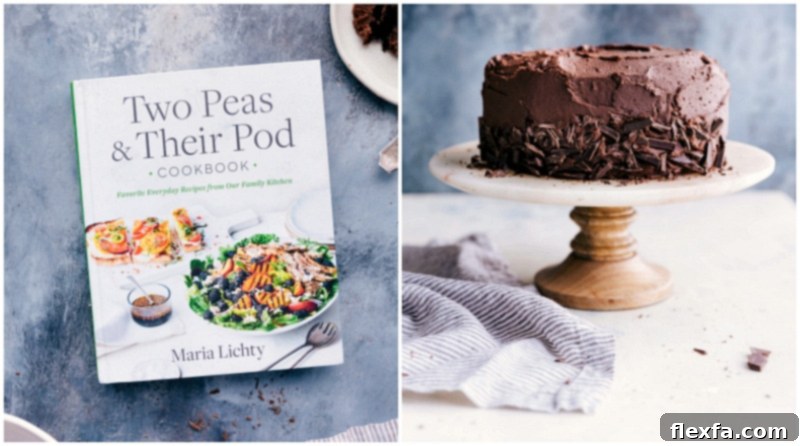
And I can’t take all the credit for this masterpiece! This exceptional recipe is a true gem inspired by my wonderful friends Maria and Josh, the creative minds behind Two Peas and Their Pod. Their cookbook, Two Peas & Their Pod Cookbook, is a treasure trove of incredible recipes, and this chocolate cake is a shining example. If you haven’t added a copy to your kitchen yet, trust me, you absolutely need this cookbook in your life!
The Unsung Hero: Why Dutch-Process Cocoa Powder is Essential
When it comes to baking a truly exceptional chocolate cake, the quality and type of your cocoa powder can make or break the recipe. For this particular Chocolate Cake Recipe, high-quality Dutch-process cocoa powder isn’t just recommended; it’s absolutely crucial. The deeper the flavor profile of your cocoa, the more profound and delicious your cake will be.
Dutch-process cocoa powder has been treated with an alkali solution to neutralize its acidity. This process results in a darker color, a mellower, less bitter flavor, and a richer, more profound chocolate taste compared to natural cocoa. Natural cocoa powder is acidic and reacts with baking soda to create lift. Dutch-process cocoa, being neutral, typically requires baking powder (or a combination with baking soda if there are other acidic ingredients like buttermilk) for leavening. Using the wrong type can significantly impact the cake’s texture, color, and flavor.
This is my favorite Dutch-process cocoa powder, and it’s precisely what I use to achieve the unparalleled depth of flavor in this chocolate cake recipe. Don’t underestimate its power!
Quick Tip: Dutch-Process vs. Natural Cocoa
Dutch-process cocoa is known for its darker hue, richer taste, and is typically paired with baking powder as its leavening agent. Natural cocoa is lighter in color, more acidic, and reacts with baking soda. Using the correct cocoa powder is paramount for the success of this recipe, ensuring optimal flavor and texture!
Achieving Perfection: The Right Pans for Your Chocolate Cake
Selecting the appropriate cake pans is another critical step in achieving beautifully baked layers for your chocolate cake. I meticulously tested this recipe in both 8-inch and 9-inch round cake pans. My findings clearly showed that while a 9-inch pan might seem like a good idea for a larger cake, it consistently led to a sunken center, indicating an uneven bake and structural weakness. To ensure the best possible results—perfectly risen, moist, and even layers—I strongly recommend sticking to three 8-inch round cake pans. These are the exact pans I use and trust for this recipe.
Given that this chocolate cake recipe yields an extra fudgy and moist crumb, it’s imperative to properly prepare your pans to prevent any sticking. Lining the bottom of your pans with parchment paper creates a non-stick barrier that guarantees easy release and intact cake layers. Here’s a simple, foolproof method to cut a perfect circle of parchment paper for your chocolate cake pans:
- Tear off a sheet of parchment paper slightly larger than your cake pan.
- Fold the parchment sheet in half, then fold it in half again.
- Now, fold the resulting square into a triangle shape.
- Fold the triangle one more time to create a thinner, longer triangle.
- Place the pointed end of this triangle at the very center of your cake pan.
- Using scissors, trim the parchment paper precisely where its edge meets the rim of your cake pan, following the curve.
- Unfold the parchment paper, and you will have a perfect circle ready to press into the bottom of your prepared pan.
- After placing the parchment, spray it again lightly with cooking spray for extra insurance.
Precision Baking: How To Get Even Cake Layers Every Time
Achieving perfectly even, uniformly baked layers is key to a professional-looking and structurally sound layered cake. An uneven distribution of batter can lead to some layers being overbaked and dry, while others are underbaked and dense. The secret to flawless layers lies in dividing your batter equally among your prepared pans.
The easiest and most accurate way to ensure even cake layers? A simple kitchen scale! Place each prepared cake pan on your scale, tare it to zero, and then carefully pour your chocolate cake batter into each pan. Adjust the amount as needed until each pan contains precisely the same weight of batter. This small step guarantees that all your chocolate cake layers will bake consistently, resulting in a stunning, level cake ready for frosting.
If you don’t have a kitchen scale, you can try to divide the batter visually. Eyeball it, then gently tap each pan on the counter a few times to help the batter settle and self-level, pushing any air bubbles to the surface.
Featured Comment
“This was the absolute best chocolate cake I’ve ever had and the best cake I’ve ever made, hands down. I made this one for my step-dad’s birthday recently and it was a huge hit. People said it was the best cake they’ve ever had. The flavor, the texture and the buttercream are absolutely divine. Amazing recipe. Thank you!”
– Emily
Pro Tips for the Best Chocolate Cake Recipe
- Invest in Quality Chocolate: The flavor of your chocolate cake is directly proportional to the quality of chocolate you use. For the buttercream, I highly recommend Ghirardelli® or Guittard® for their rich, smooth melt. For optional toppings or ganache drizzles, Lindt® dark chocolate with sea salt adds a delightful complexity.
- Measure Flour Accurately: This is crucial for avoiding a dense, dry cake. To measure flour correctly, lightly spoon flour into your measuring cup until it’s overflowing, then use the flat side of a knife or straight edge to level it off. Never scoop directly from the bag, as this compacts the flour and can add up to 25% more than needed. Here’s a helpful video guide on how to measure flour accurately.
- Don’t Overbake: Overbaking is the arch-nemesis of a moist chocolate cake. Keep a close eye on your cakes during the last few minutes of baking. A cake is done when a wooden skewer or cake tester inserted into the center comes out clean or with a few moist crumbs attached. The edges should just begin to pull away from the pan. Even a few extra minutes in the oven can transform a perfectly moist cake into a dry one.
- Cool Completely: Patience is a virtue in baking! Allow your cakes to cool in their pans on a wire rack for at least 30 minutes. This allows them to firm up slightly and prevents breakage. After 30 minutes, gently invert them onto cooling racks to cool completely. This means *completely* cool, to room temperature, which can take a couple of hours. Frosting a warm cake will cause your beautiful buttercream to melt and slide off, leading to a messy disaster.
- Room Temperature Ingredients: Ensure your buttermilk, eggs, and butter are at room temperature. This allows them to emulsify properly, creating a smooth, uniform batter and a light, airy buttercream. Cold ingredients can lead to a lumpy batter and a denser cake.
- Don’t Overmix the Batter: Once you add the dry ingredients to the wet, mix only until just combined. Overmixing develops the gluten in the flour, resulting in a tough, chewy cake rather than a tender, moist one. A few lumps are perfectly fine!
Storage and Make-Ahead Tips
- Finished Cake: This decadent chocolate cake recipe, once frosted, can be kept at room temperature. To maintain its freshness and moisture, wrap it tightly in plastic wrap or store it under a cake dome for up to 3 days. Unfortunately, frosted cake does not freeze well, as the buttercream’s texture can change upon thawing.
- Make Ahead/Freezing Unfrosted Layers: To get a head start, you can bake the cake layers in advance. Once they are completely cooled, wrap each individual layer tightly in plastic wrap. Refrigerate these unfrosted layers for up to 2 days, or freeze them for up to 1 month. Thaw frozen layers in the refrigerator overnight before bringing them to room temperature and frosting.
More Delicious Desserts to Satisfy Your Sweet Tooth:
Desserts
Chocolate Pudding Pie
Desserts
Chocolate Muffin Recipe
Desserts
Chewy Chocolate Chip Cookie Recipe
Desserts
Pumpkin Coffee Cake Recipe
Triple Chocolate Dream Cake
Chelsea Lords
This three-layer Chocolate Cake is unbelievably moist, intensely rich, and features a delectable chocolate buttercream frosting crafted with three types of chocolate for ultimate indulgence!
Recipe generously shared from the Two Peas & Their Pod cookbook, by Maria and Josh of Two Peas & Their Pod.
45
24
1 9
14 slices
Video
Equipment
-
3 cake pans 8-inch
-
Parchment paper
-
Stand mixer
-
Cooling rack
-
Cake stand
-
Kitchen scale (optional, for even layers)
Ingredients
- Cooking spray
- 1 cup buttermilk at room temperature
- 1/2 cup vegetable oil or canola oil
- 1 tablespoon vanilla extract
- 1-3/4 cups all-purpose flour
- 2 cups granulated sugar
- 3/4 cup Dutch process cocoa powder see note 1
- 2 teaspoons baking soda
- 1 teaspoon baking powder
- 1 teaspoon salt
- 2 large eggs at room temperature
- 1 cup hot water see note 2
- 32 tablespoons unsalted butter at room temperature, 2 cups
- 7 cups powdered sugar sifted
- 1 cup Dutch process cocoa powder
- 1/4 cup + 2 tablespoons full-fat chocolate milk or regular milk or heavy cream, at room temperature
- 2 teaspoons vanilla extract
- 1/4 teaspoon salt
- 2/3 cup semi-sweet chocolate chips melted and slightly cooled
- Decoration toppings as desired see note 3
Instructions
-
Step 1: Prepare Pans & Preheat Oven. Preheat your oven to 350°F (175°C). Generously grease three 8-inch round cake pans with cooking spray. Line the bottom of each pan with a parchment paper circle (refer to note 4 for detailed instructions), then spray the parchment paper with cooking spray as well. Set the prepared pans aside.
-
Step 2: Combine Wet Ingredients. In a medium-sized bowl, whisk together the room temperature buttermilk, vegetable (or canola) oil, and vanilla extract until well combined.
-
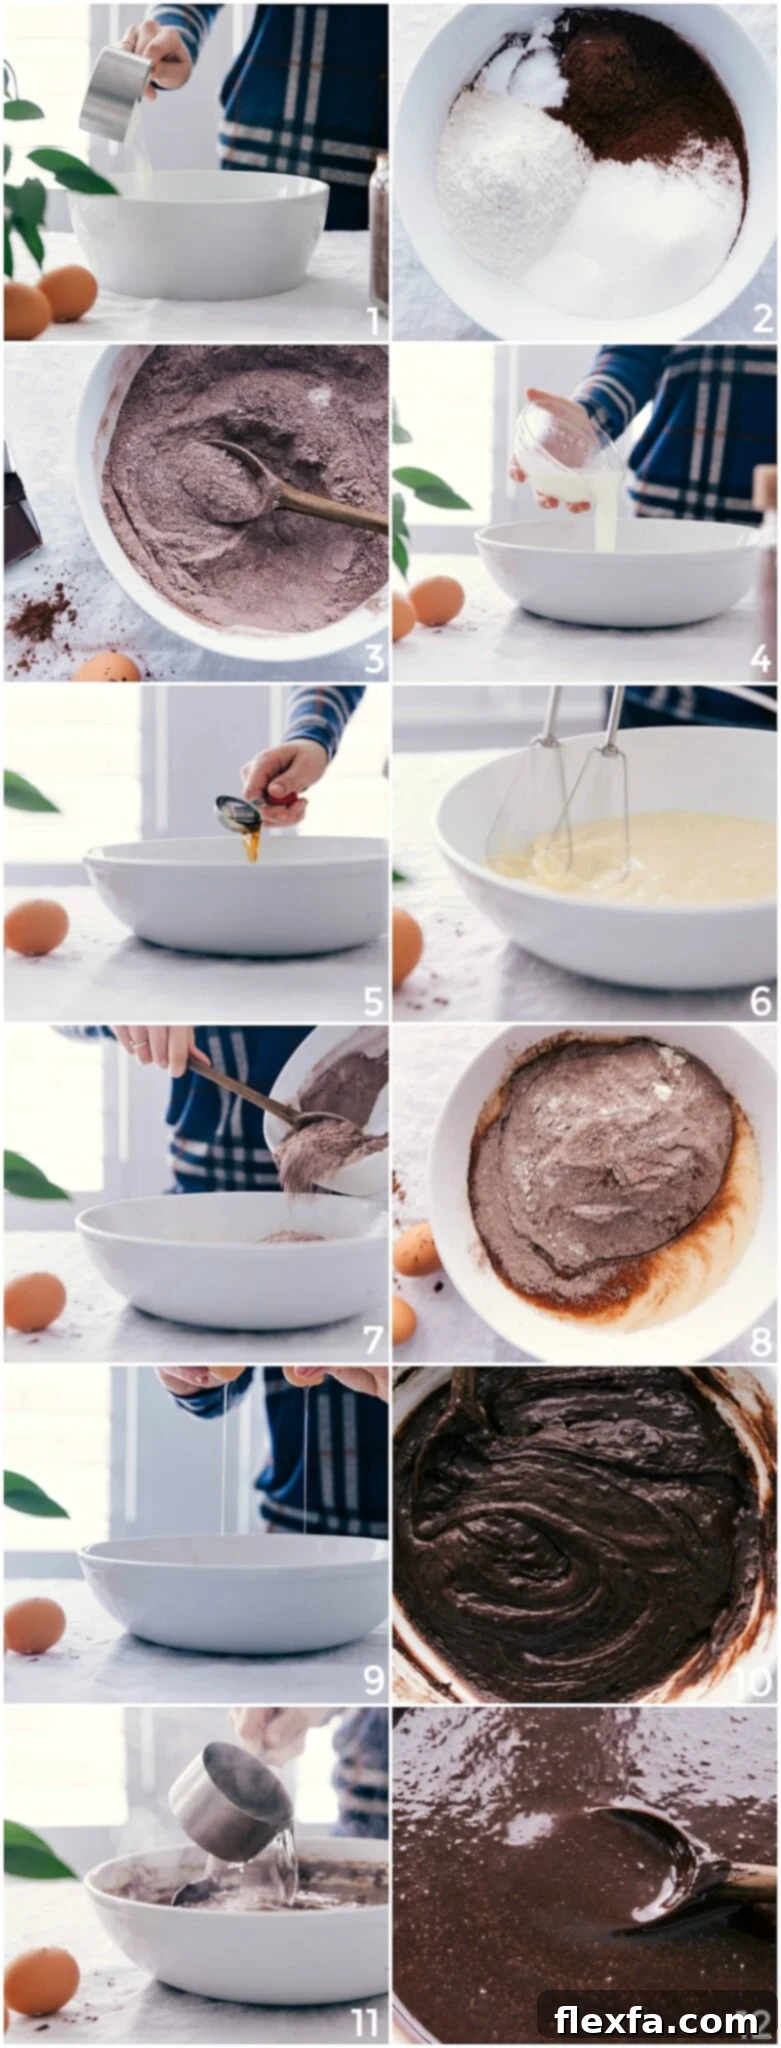
Step 3: Mix Dry & Wet Ingredients. In the bowl of a stand mixer fitted with the paddle attachment (or a large bowl with a hand mixer), combine the all-purpose flour, granulated sugar, Dutch-process cocoa powder (see note 1), baking soda, baking powder, and salt. Mix on low speed until the dry ingredients are just combined. Gradually add the buttermilk/oil mixture to the dry ingredients, continuing to mix on low speed. Next, add the eggs, one at a time, mixing until each is just incorporated. Slowly pour in the hot water (this enhances the chocolate flavor significantly) and mix just until combined. Be sure to scrape down the sides of the bowl as necessary. It’s crucial not to overmix the batter, as this can lead to a dense, tough cake.
-
Step 4: Bake the Cake Layers. Divide the batter evenly among the three prepared 8-inch pans. For precise results, use a kitchen scale to ensure equal weight in each pan. Bake for 24–28 minutes, or until a cake tester (like a toothpick or wooden skewer) inserted into the centers of the cakes comes out clean. In my oven, the cakes are consistently done at the 24-minute mark.
-
Step 5: Cool the Cakes. Once baked, transfer the cake pans to wire cooling racks and allow the cakes to cool in their pans for 30 minutes. After 30 minutes, carefully invert the cakes onto the wire racks to cool completely. This means they should reach room temperature before you even think about frosting them. (At this stage, cooled cakes can be wrapped and refrigerated or frozen for later use – see storage tips).
-
Step 6: Prepare the Triple Chocolate Buttercream. In the clean bowl of a stand mixer fitted with the paddle attachment, beat the unsalted butter (at room temperature) on medium speed until it’s creamy and light in color, which usually takes about 3 minutes. Scrape down the bowl halfway through. Gradually add the sifted powdered sugar, about 2 cups at a time, mixing on low speed until just incorporated. Then, add the Dutch-process cocoa powder and mix on low. Pour in the full-fat chocolate milk (or regular milk/heavy cream), vanilla extract, and salt. Continue mixing on low speed, then add the melted and slightly cooled semi-sweet chocolate chips. Increase the mixer speed to medium-high and beat for an additional 2–3 minutes, until the buttercream is light, fluffy, and perfectly smooth.
-
Step 7: Assemble and Frost. If your cake layers have slightly domed tops, carefully level them off using a sharp serrated knife or a specialized cake leveler for a professional finish. To begin assembling, place a small dollop of frosting in the center of your cake stand or serving plate – this acts as “glue” to prevent the cake from sliding. Place the first cake layer, bottom side up, onto the frosting. Using an offset spatula or knife, spread an even layer of buttercream over the top. Place the second layer on top, this time top side up, and spread another even layer of buttercream. Repeat with the third and final layer. Frost the top and sides of the entire cake, smoothing the buttercream as desired. For a decorative touch, garnish with chocolate shavings, sprinkles, or mini chocolate chips (see note 3). Slice and serve immediately to eager guests!
Recipe Notes
Note 1: Dutch-Process Cocoa is Key. For this specific chocolate cake recipe, it is absolutely essential to use Dutch-process cocoa powder, not natural cocoa powder. Using natural cocoa will result in a cake that is disappointingly dry and bland, and it will affect the leavening. I personally use Cacao Barry Extra Brute Cocoa Powder in this recipe for its superior flavor and color.
Note 2: Coffee Alternative. If you prefer to deepen the chocolate flavor even further, you can substitute hot brewed coffee (strong or espresso works wonderfully) in place of the hot water in the cake batter. The coffee enhances the chocolate without making the cake taste like coffee.
Note 3: Decoration Ideas. Get creative with your decorations! You can adorn your finished chocolate cake with elegant chocolate shavings, colorful sprinkles for a festive look, or simply more mini chocolate chips for an extra chocolatey crunch.
Note 4: Perfect Parchment Paper Rounds. To create a flawless parchment paper liner for the bottom of your cake pans, follow these detailed steps:
- Tear off a sheet of parchment paper that is slightly larger in diameter than your cake pan.
- Fold the parchment sheet in half.
- Then, fold the parchment in half again, creating a smaller square.
- Fold this square diagonally into a triangle.
- Fold the triangle in half once more, resulting in a thin, elongated triangle.
- Place the pointed tip of this folded triangle at the very center of the bottom of your cake pan.
- Using scissors, cut the parchment paper precisely where it meets the edge of the cake pan, following the pan’s curve.
- Unfold the parchment paper, and you will have a perfect circle to place at the bottom of your prepared cake pan.
Storage: Store the frosted Chocolate Cake at room temperature, ensuring it is tightly wrapped with plastic wrap or kept under a cake dome. It will stay fresh and delicious for up to 3 days. For unfrosted layers, refer to the “Make Ahead/Freezing” tips above.
Nutrition
Calories: 684kcal |
Carbohydrates: 91.6g |
Protein: 5.5g |
Fat: 36.9g |
Cholesterol: 86.1mg |
Sodium: 33.5mg |
Fiber: 4.8g |
Sugar: 78.2g
Nutrition information is automatically calculated, so should only be used as an approximation.
Loved this recipe? Leave a comment below!
Frequently Asked Questions (FAQ) About This Chocolate Cake Recipe
Here are some common questions and helpful answers to ensure your chocolate cake baking experience is smooth and successful:
- Can I use regular cocoa powder instead of Dutch-process?
No, for this specific recipe, Dutch-process cocoa powder is mandatory. Regular (natural) cocoa powder is acidic and reacts differently with the leavening agents, resulting in a drier cake with less vibrant color and flavor. Please refer to “Note 1” in the recipe for more details and a recommended brand. - What if I don’t have buttermilk? How can I substitute it?
If you don’t have buttermilk, you can easily make a substitute at home! For 1 cup of buttermilk, pour 1 tablespoon of white vinegar or lemon juice into a liquid measuring cup, then fill the rest of the cup with regular milk (dairy or non-dairy, but whole milk works best) until it reaches the 1-cup line. Stir gently and let it sit for 5-10 minutes until it slightly curdles. Use this homemade buttermilk as directed in the recipe. - Can I make this cake gluten-free?
While this recipe is developed for all-purpose flour, many readers have successfully substituted it with a 1:1 gluten-free baking flour blend that contains xanthan gum. Ensure your chosen blend is suitable for baking cakes. Results may vary slightly in texture. - Why did my cake sink in the middle?
Cake sinking can be due to several factors: overmixing the batter, opening the oven door too early, using pans that are too large (as discussed, 9-inch pans can cause sinking in this recipe), or an oven temperature that is too low. Ensure your oven is accurately calibrated with an oven thermometer, measure ingredients precisely, and avoid disturbing the cakes during baking. - My buttercream is grainy/too thin/too thick, what should I do?
- Grainy Buttercream: This usually means your powdered sugar wasn’t sifted or fully incorporated. Keep beating on medium-high for a few more minutes; the friction can help dissolve the sugar. Adding another tablespoon of milk might help.
- Too Thin: Gradually add more sifted powdered sugar, 1/4 cup at a time, beating after each addition until the desired consistency is reached.
- Too Thick: Slowly add more chocolate milk (or regular milk/cream), 1 teaspoon at a time, beating after each addition until it loosens up to a spreadable consistency.
We hope these tips help you bake the most incredible chocolate cake you’ve ever tasted! Enjoy the process and the delicious reward.