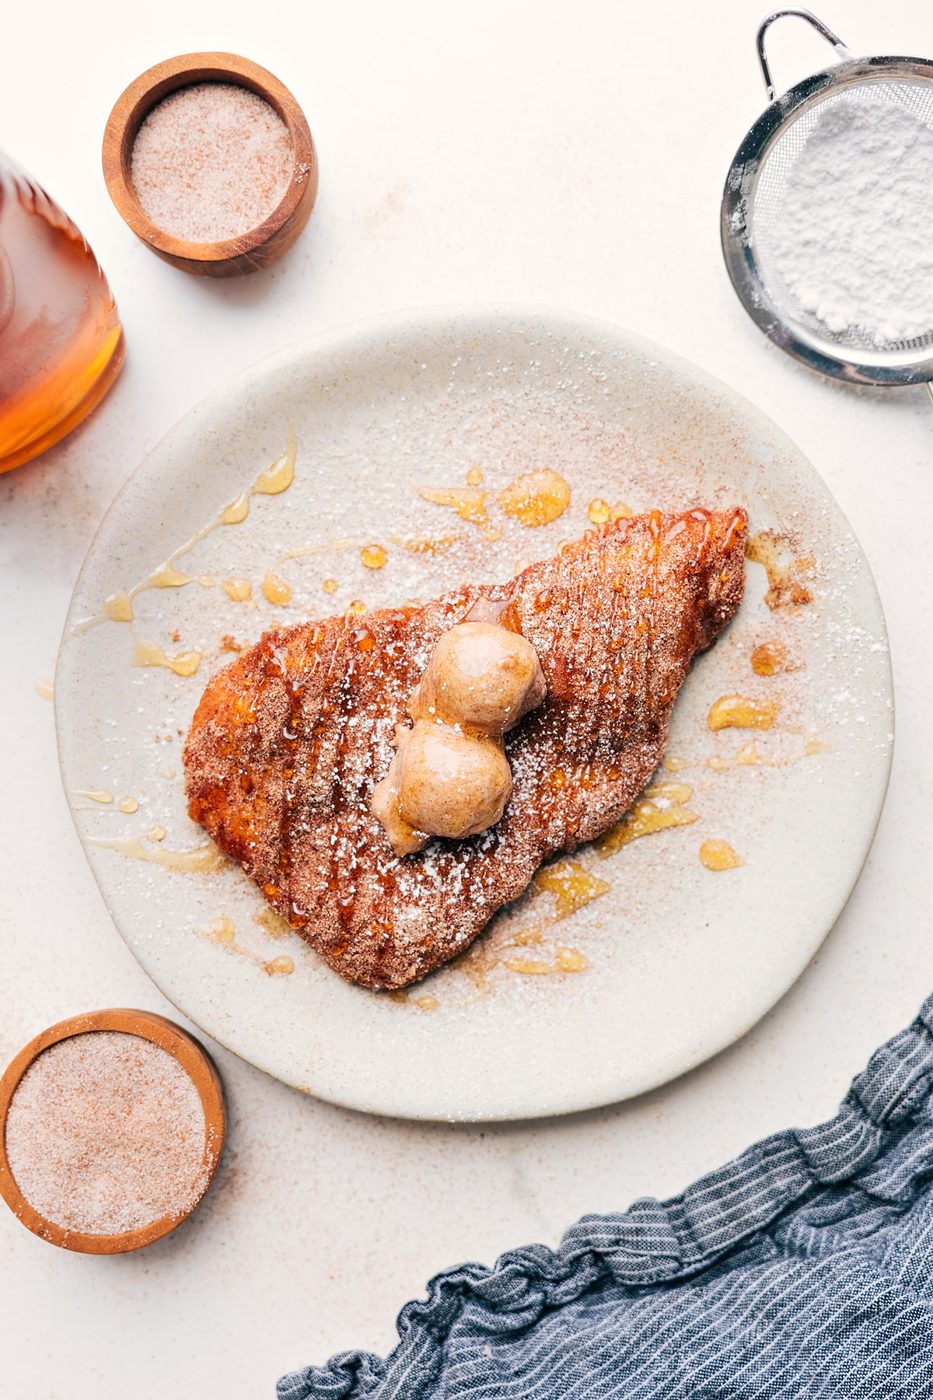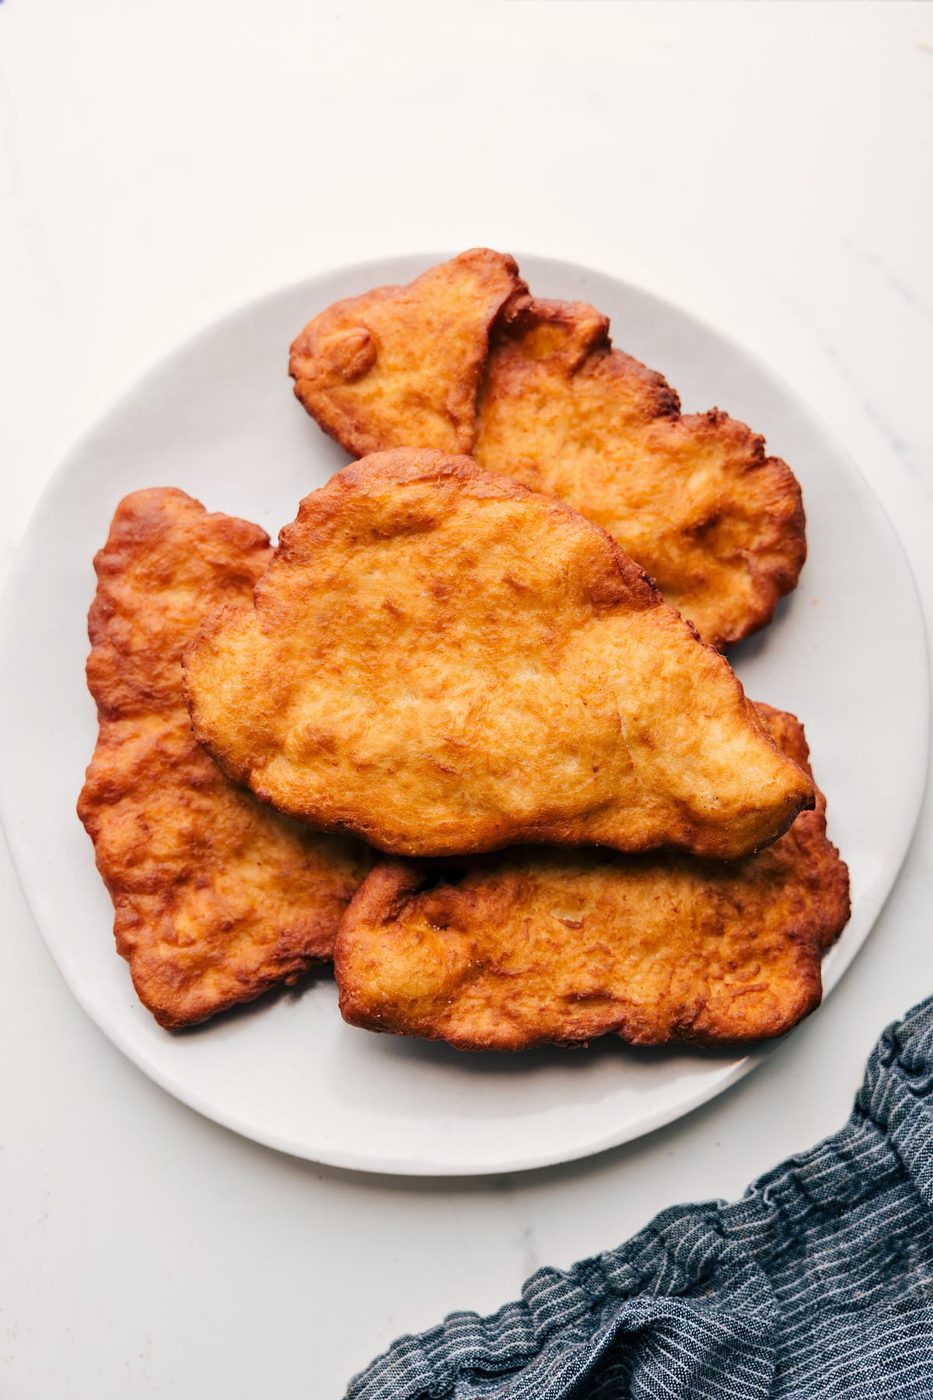
This Fry Bread Recipe is a flatbread made with simple pantry staples. Just mix the dough, fry it, and enjoy plain or with sweet or savory toppings.
author’s note
I’ve Been Obsessed Since Day 1!
Utah scones were a huge part of my childhood, and I learned very early that hot fry bread is truly one of the best things ever.
After years of testing, tasting, and chasing the reliable from-scratch version, I can finally say this is it. Or, at least in my very serious fry bread research, this is the best Fry Bread I’ve ever had. It fries up lightly crisp on the outside with a soft, chewy, flavorful center.
Another great thing? The dough comes together fast. No rising time like you’d need for white bread, honey whole wheat bread, or dinner rolls!
What Is Fry Bread?
Also known as Navajo or Indian Fry Bread, this flatbread is quick to make and fried until the edges turn golden. It puffs as it cooks, creating irresistible air pockets. Crispy on the outside, soft and chewy inside—it’s melt-in-your-mouth good.
There are so many ways to enjoy it:
- Plain: straight out of the fryer
- Sweet: drizzle with honey, honey butter, jam, syrup, apple butter, or powdered sugar
- Cinnamon sugar: dredge while warm for a dessert-style treat
- Savory: top with shredded beef, pork, chicken, or seasoned ground beef
- Soup dunker: pair with chili or any hearty soup
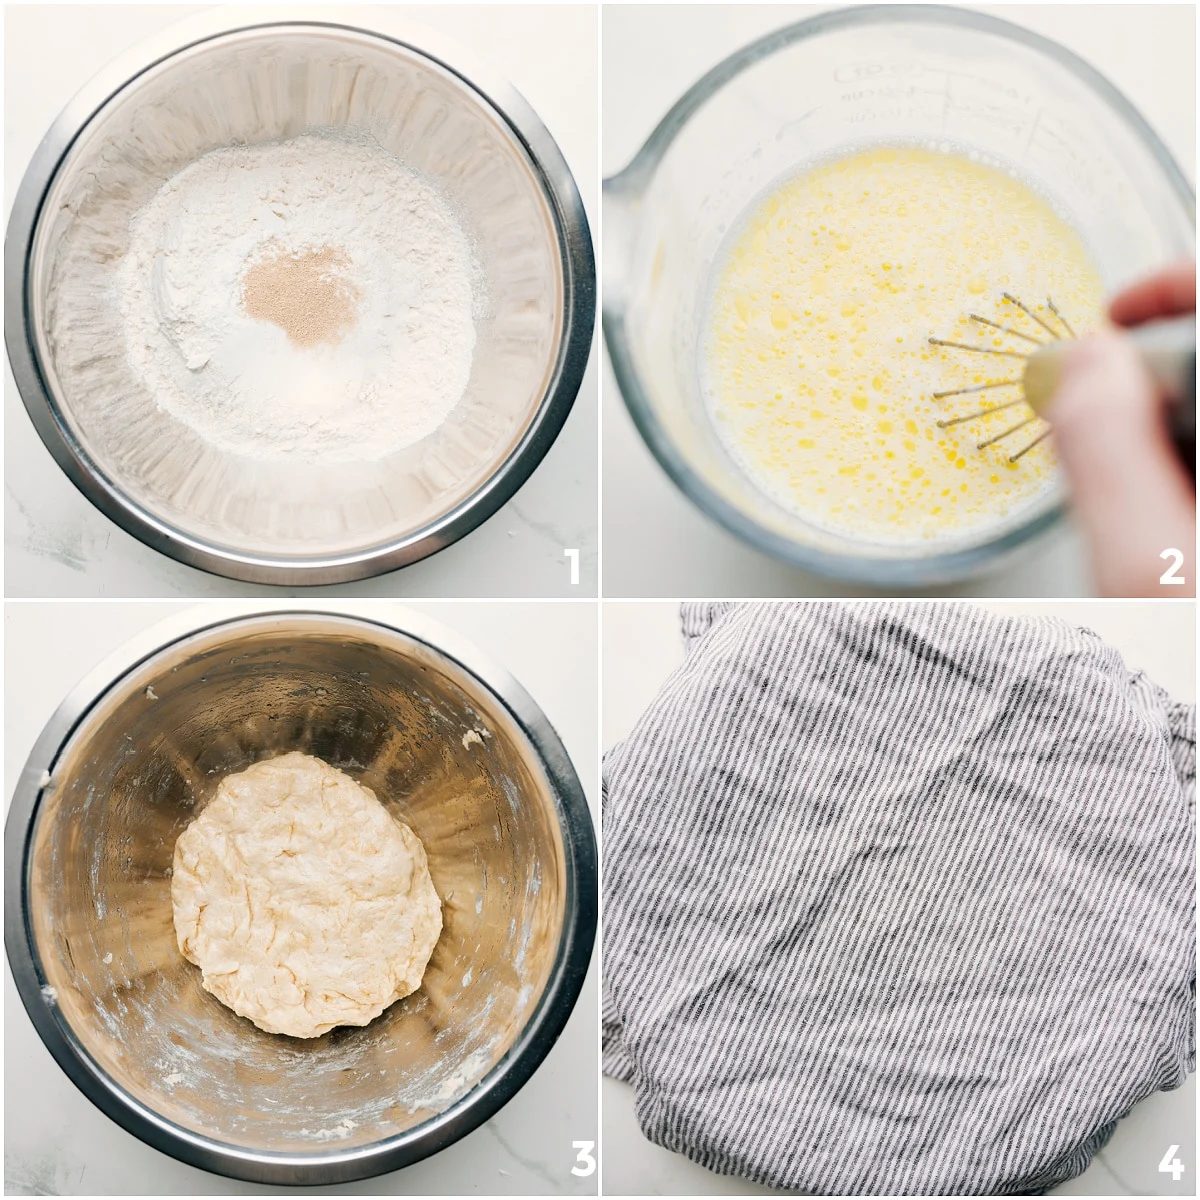
How To Make This Fry Bread Recipe
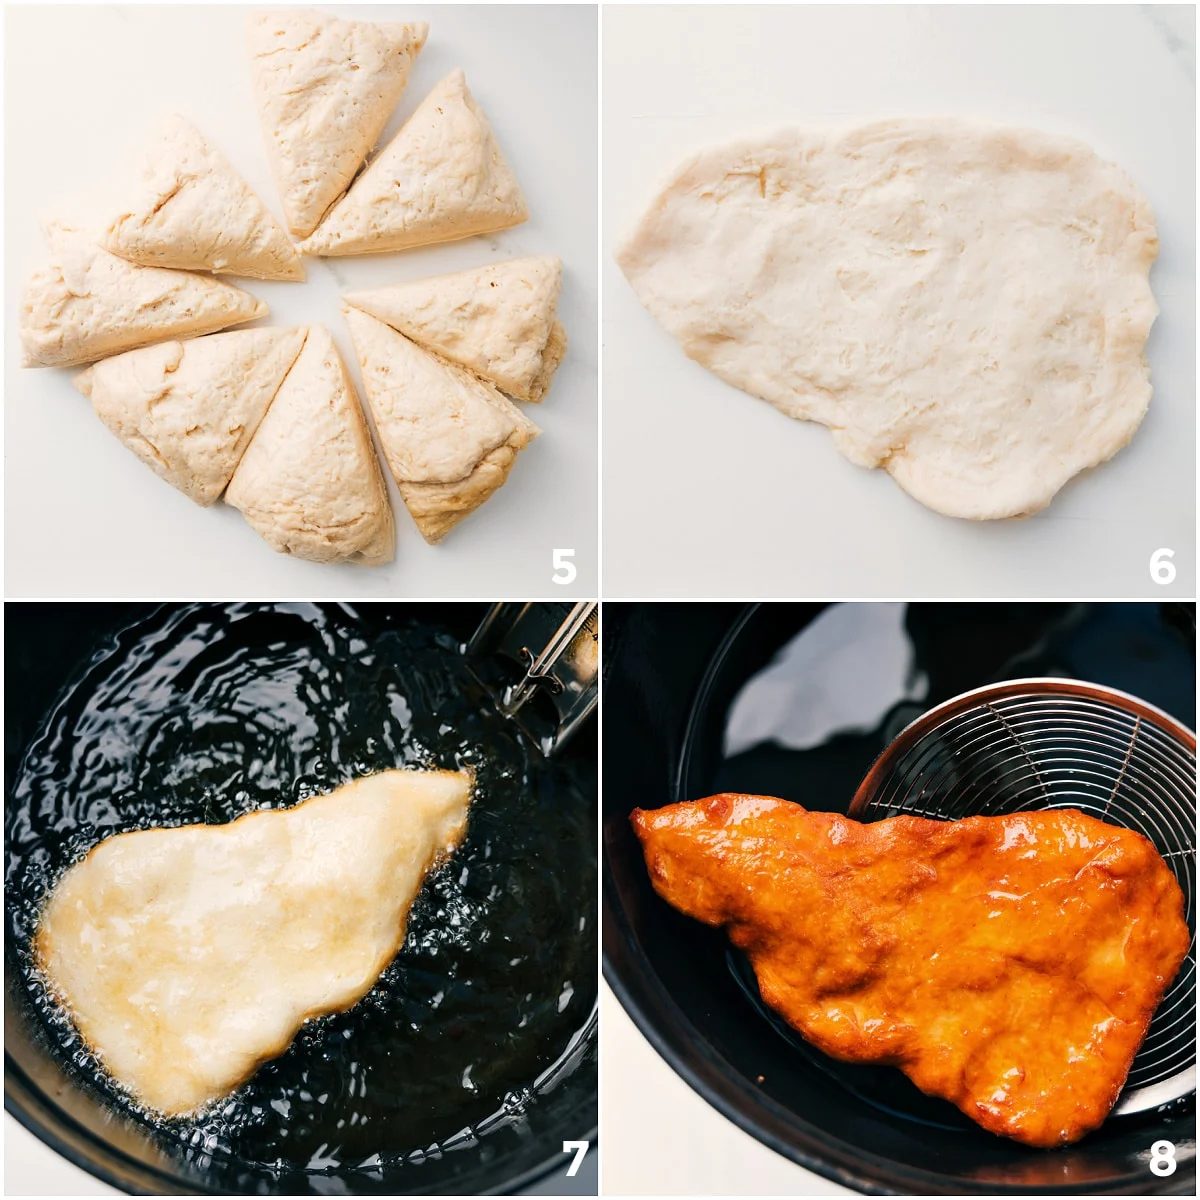
- Mix the dough: Stir flour, yeast, salt, and milk together until a shaggy dough forms.
- Rest: Cover and let sit 15–20 minutes. This makes it easier to shape.
- Shape: Gently press pieces of dough flat with your hands. No rolling pin needed!
- Fry: Heat oil in a heavy pot or deep fryer. Fry until the edges turn golden brown, flipping once.
- Drain & enjoy: Place on a cooling rack over a sheet pan. Eat warm with toppings.
chelsea’s recipe tip
What I’ve Learned Making This
- Kneading: Less is more. Don’t overwork the dough.
- Shape: Irregular is good. It makes lots of little nooks for toppings.
- Oil mess saver: Use a deep pot instead of a shallow skillet to avoid splatter.
Storage
- Best fresh: Fry bread is always best straight out of the fryer.
- Make-ahead dough: Cover and refrigerate up to 8 hours. Bring to room temp before frying.
- Store: Wrap loosely in plastic wrap for 1–2 days. Reheat in the oven for a few minutes to crisp back up.
More Comfort Food To Love:
Desserts
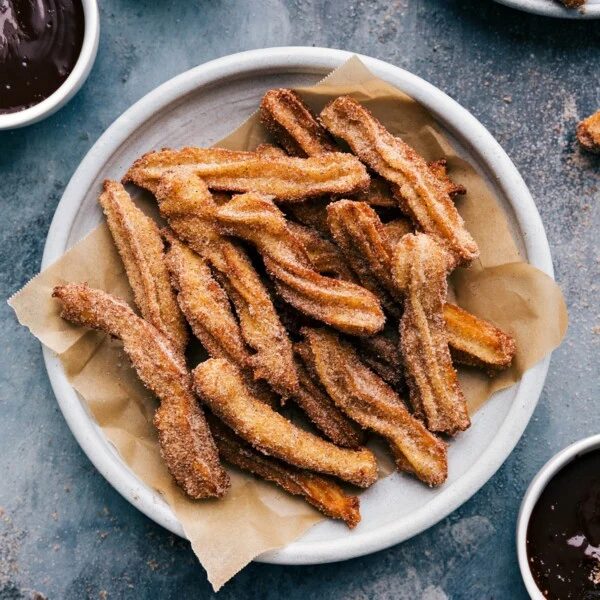
Churro Recipe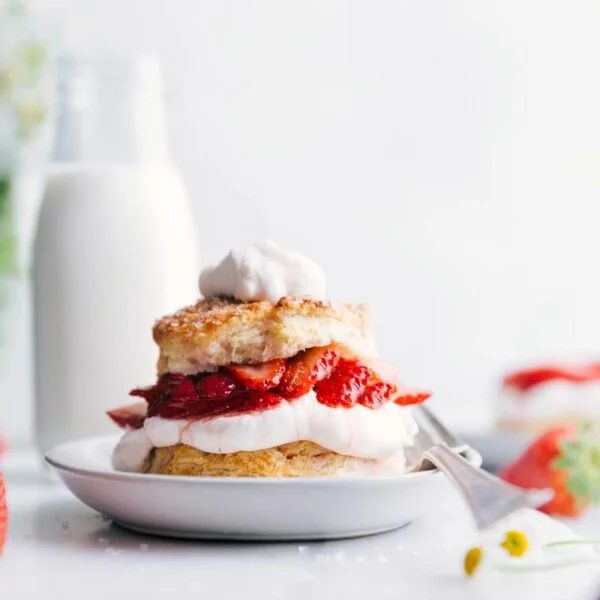
Desserts
Strawberry Shortcake Recipe
Desserts
Cronut Recipe
Desserts
Churro Ice Cream SandwichesTo fry this fry bread recipe, use one of these two methods:
- Deep Fryer: Easiest option. The lid controls splatter, and the set temperature keeps oil consistent.
- Heavy Pot: No fryer? Use a deep, heavy pot (like a 5-quart cast iron) with a thermometer to keep oil at the right temp.
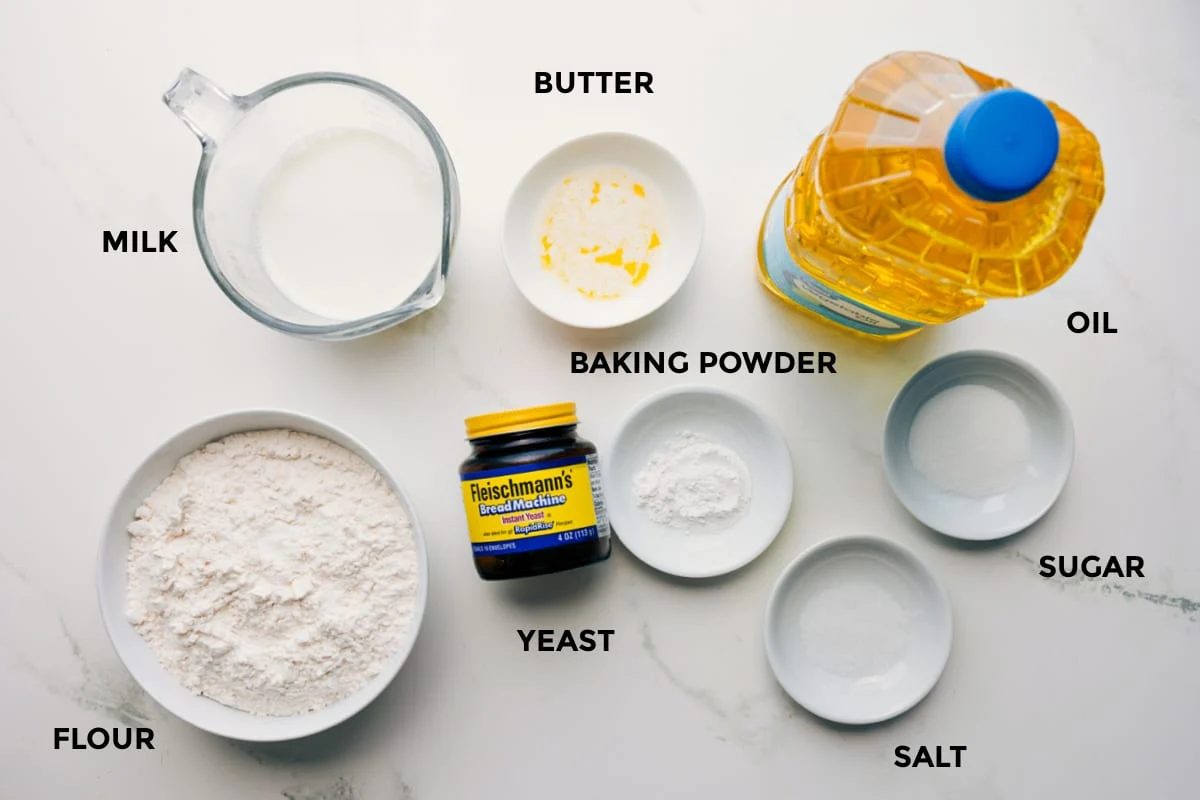
Ingredients
- 2 tablespoons unsalted butter (melted)
- 2-1/3 cup all-purpose flour
- 2 teaspoons baking powder (not baking soda!)
- 2 teaspoons granulated sugar
- 1/2 teaspoon instant yeast (or active dry yeast)
- 1/2 teaspoon salt
- 1 cup milk (I use whole)
- 1 tablespoon vegetable oil (plus more for frying)
Method
- Melt butter in the microwave. Let the butter cool back to room temperature (it’s important it’s not hot!). Microwave the milk until just warmed (see note 2) but not hot. Mix together melted butter and milk and keep nearby. In a large bowl, add the flour, sugar, baking powder, yeast, and salt. Whisk to combine. Add the milk mixture to the dry ingredients and stir with a wooden spoon until the dough comes together.
- Dough should be rough, shaggy, and fairly sticky, but not so sticky you can’t work with it. Lightly flour your hands and knead the dough just a few times to shape it into a ball, being careful not to overwork/overhandle the dough. In the same bowl used for mixing, drizzle a tablespoon of vegetable oil. Rub oil on the bottom of the bowl and slightly up the sides. Add the dough ball back into the bowl and turn it to coat in the oil. Cover the bowl with a damp kitchen towel. Let it rest for 15–20 minutes. We don’t need the dough to rise, just the gluten to relax!
- Add 1 inch of oil to a large, cast-iron pot and heat to 350°F. Divide the rested dough into 8 equal portions (cut the dough ball in half then half again to get 4 large triangle pieces. Cut each triangle into 2 pieces to get 8 equal triangles). Lightly flour your hands and work with 1 dough piece at a time (keep the rest covered). Holding the piece of dough with your hands, gently work the dough into a circle, pressing it out with your fingers. (Don’t roll it out with a rolling pin or flatten on the table.) The dough should make a thin 5- to 6-inch circle and doesn’t need to look pretty—it’s supposed to look rustic! The thinner the pieces, the better; keep working the dough outward, being careful to not rip it.
- Gently drop only one piece of dough at a time into the fully heated oil. Fry about 30 seconds to 1 minute per side (if not using cast-iron pot, it will be longer)—fry pieces to a dark golden brown color, flipping the dough with 2 forks (or tongs) halfway through. Use a large slotted spoon (or tongs) to remove it onto a paper-towel-lined plate. Repeat to fry the remaining dough.