
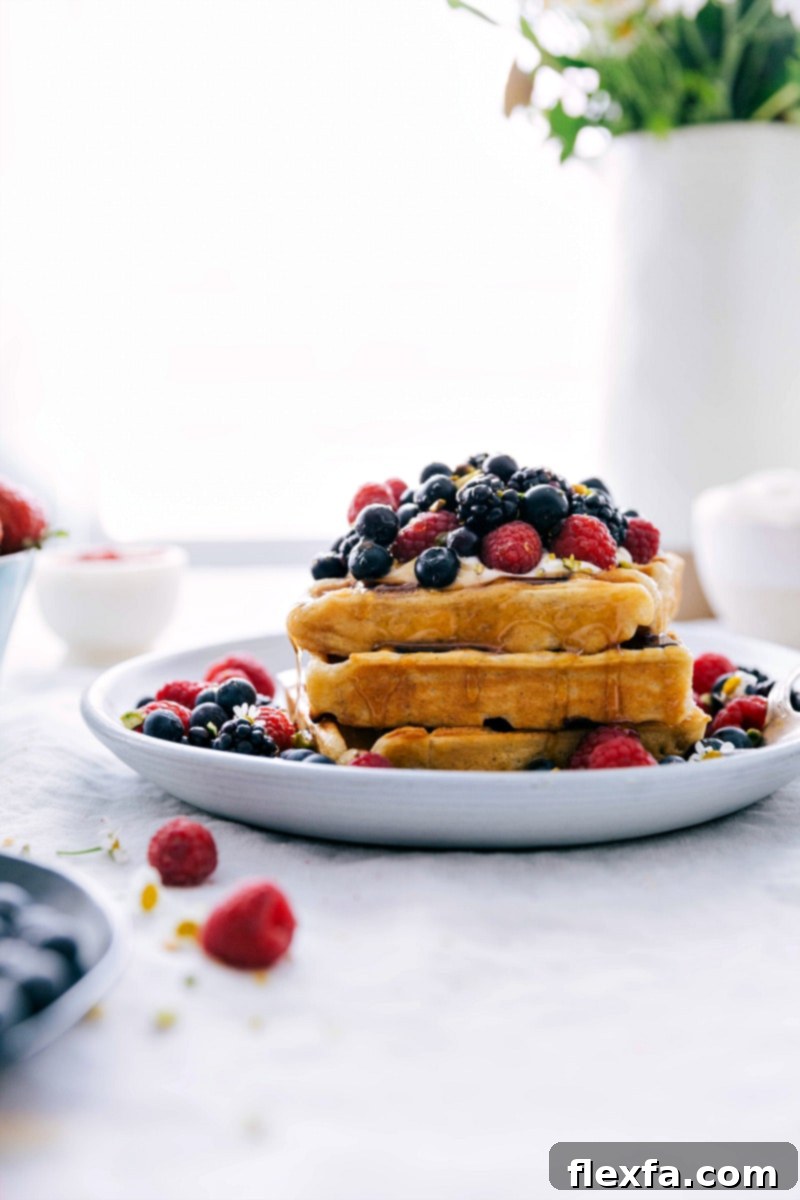
The Ultimate Homemade Waffle Recipe: Crispy, Fluffy, and Irresistible
Welcome to our kitchen’s secret to the perfect waffle recipe! This isn’t just any recipe; it’s a meticulously crafted guide to creating waffles that are truly a cut above the rest. Imagine a golden-brown exterior, wonderfully crisp with every bite, giving way to an incredibly soft, airy, and fluffy interior. These homemade waffles are an absolute dream, whether served simply with golden syrup and a scattering of fresh berries, or enjoyed entirely on their own. Get ready to elevate your breakfast game!
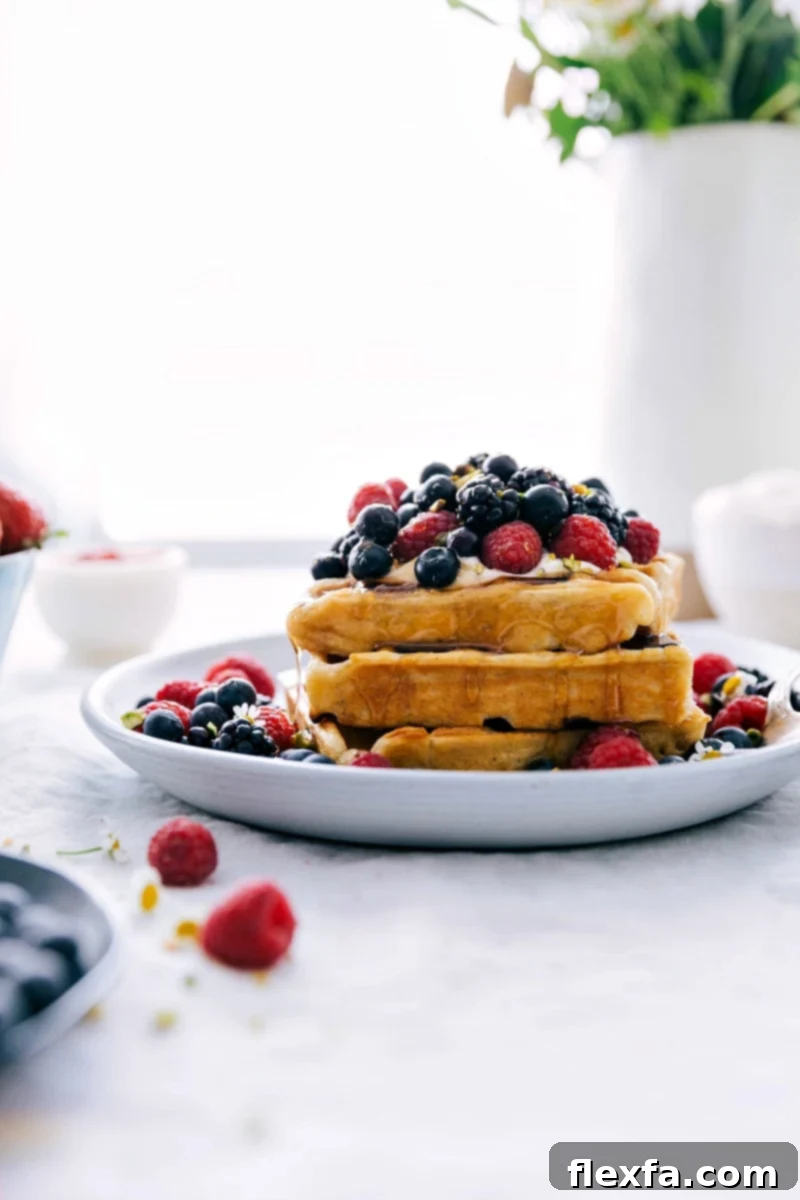
Why This Is Our Go-To Waffle Recipe
Over the years, we’ve experimented with countless waffle variations, but this particular recipe consistently comes out on top. It’s more than just a list of ingredients; it’s a culinary experience designed for success. Here’s why this homemade waffle recipe has become our absolute favorite:
- Unbelievably Easy to Make: Don’t let the thought of making waffles from scratch intimidate you. This recipe breaks down the process into clear, concise steps, making it incredibly approachable for cooks of all skill levels. You’ll achieve perfect results every time, even on your first attempt.
- Perfectly Tested and Proven: This isn’t a hastily thrown-together recipe. It has been rigorously tested and fine-tuned over countless batches to ensure the optimal balance of flavor, texture, and rise. We’ve perfected every detail so you don’t have to, guaranteeing the best waffles you’ve ever had from your own kitchen.
- The Ideal Crispy-Fluffy Texture: The magic of a great waffle lies in its texture. Our recipe masterfully delivers a shatteringly crisp exterior that gives way to a light, airy, and fluffy interior. This delightful contrast is what sets these waffles apart, making each bite a truly satisfying experience.
- Uses Readily Available Ingredients: You won’t need to hunt for exotic ingredients for this recipe. We’ve designed it to use common pantry staples that you likely already have on hand, making it convenient and accessible whenever a waffle craving strikes.
- Conveniently Freezer-Friendly: Batch cooking just got easier! These waffles are perfect for meal prepping. You can make a large batch, freeze the leftovers, and enjoy a quick, delicious breakfast anytime. Reheating brings them back to their original crispy, fluffy glory.
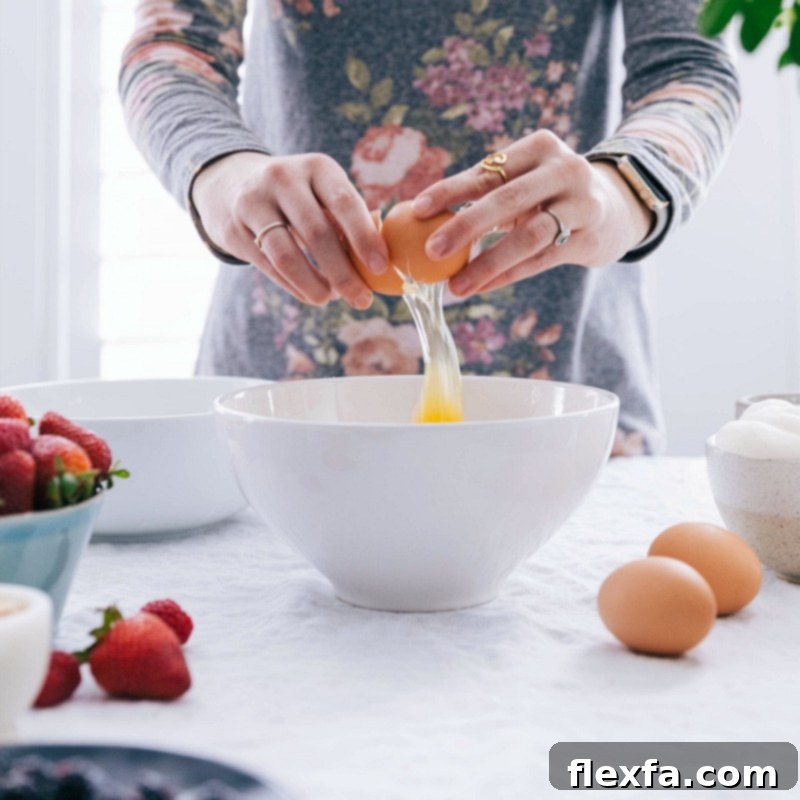
Essential Ingredients for Perfect Waffles
Each ingredient in this recipe plays a vital role in achieving that signature crispy-fluffy texture and rich flavor. Understanding their purpose will help you appreciate the science behind these amazing waffles:
- Unsalted Butter: More than just adding flavor, melted butter contributes to the luxurious richness and helps achieve that beautiful golden-brown, crispy crust. Using unsalted butter gives you control over the overall saltiness of the dish.
- Milk & White Vinegar: Together, these two simple ingredients create a quick homemade buttermilk substitute. Buttermilk is crucial for two reasons: its acidity reacts with the baking soda to promote a lighter, fluffier texture, and it adds a subtle tang that enhances the overall flavor profile.
- All-Purpose Flour: The foundation of our waffle structure. All-purpose flour provides the necessary framework for the batter, giving the waffles their shape and substance.
- Cornstarch: This is one of our secret weapons for crispiness! A touch of cornstarch in the dry mixture helps absorb moisture, preventing the waffles from becoming soggy and ensuring a delightful crunch.
- Baking Soda & Baking Powder: These dynamic duo are the leavening agents that give the waffles their impressive rise and airy fluffiness. Baking soda reacts with the acidity from the homemade buttermilk, while baking powder provides additional lift, creating those wonderful pockets of air.
- Light Brown Sugar: Adds a nuanced sweetness and a hint of caramel flavor that complements the other ingredients beautifully. Brown sugar also contributes to the golden color and helps keep the waffles moist.
- Eggs & Extra Egg Yolk: Eggs provide structure, bind the ingredients together, and add richness. The addition of an extra egg yolk boosts the fat content, contributing to a more tender crumb and a richer flavor.
- Vanilla Extract: A touch of pure vanilla extract enhances all the other flavors, adding a warm, aromatic depth that makes these waffles truly irresistible.
- Heavy Cream: This indulgent ingredient is another secret to achieving truly tender and rich waffles. The higher fat content of heavy cream contributes to a superior mouthfeel and a luxurious texture that elevates these waffles to gourmet status.
- Ground Cinnamon (Optional): While optional, a pinch of cinnamon adds a delightful warmth and aromatic spice that perfectly complements the sweet and savory notes of the waffle. Feel free to adjust to your preference.
- Salt: Essential for balancing the sweetness and enhancing all the other flavors, ensuring your waffles aren’t bland.
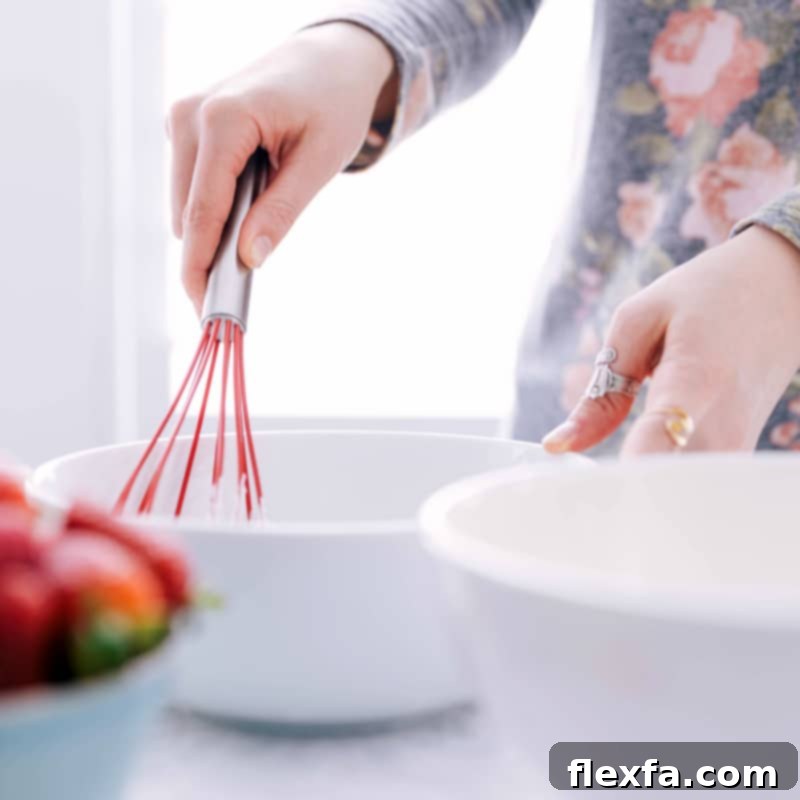
How To Make Our Incredible Homemade Waffles
Follow these straightforward steps to create fluffy, crispy waffles that will impress everyone at your breakfast table:
- Prepare Butter and Buttermilk: Begin by melting your unsalted butter in a small, microwave-safe bowl. Set it aside to cool to room temperature – this is important to prevent it from scrambling the eggs later. In a liquid measuring cup, pour 1 tablespoon of white vinegar, then fill the cup up to the 1-cup line with whole milk. Give it a gentle whisk and let it sit for 5 minutes. This creates a quick, effective buttermilk substitute.
- Whisk Dry Ingredients: In a large mixing bowl, combine the all-purpose flour, cornstarch, baking soda, baking powder, ground cinnamon (if using), and salt. Whisk them thoroughly to ensure all leavening agents and spices are evenly distributed. Then, stir in the light brown sugar until it’s fully incorporated. Create a “well” (a hollow space) in the center of the dry ingredients.
- Combine Wet Ingredients: In a separate, medium-sized bowl, lightly whisk the two large eggs and the extra egg yolk with a fork until just combined. Add the vanilla extract and heavy cream, then whisk again until everything is smoothly incorporated. Finally, pour in your prepared milk and vinegar mixture (the homemade buttermilk) and whisk until the wet ingredients are fully combined and homogenous.
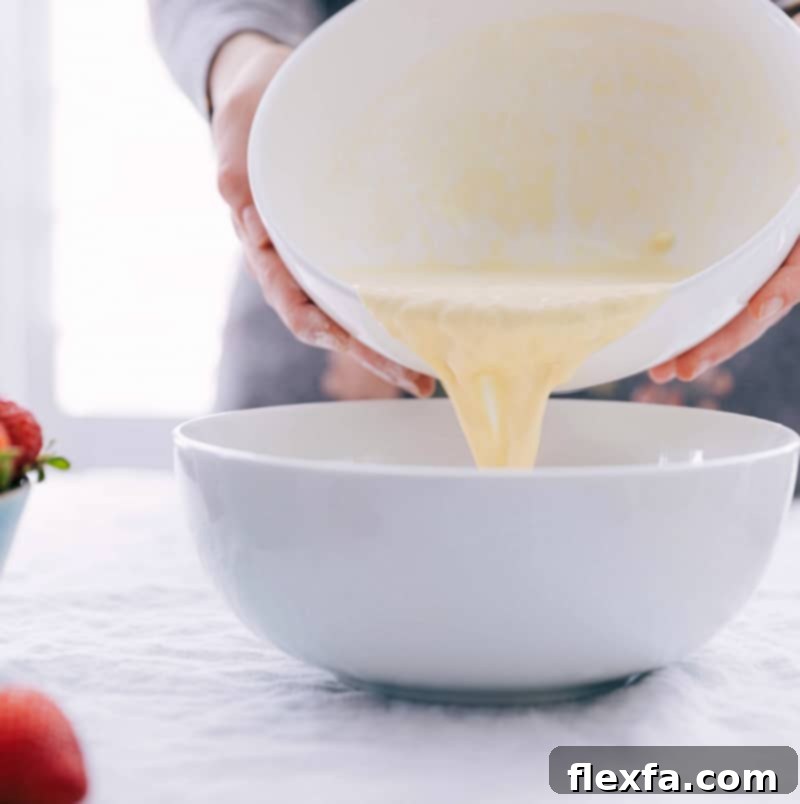
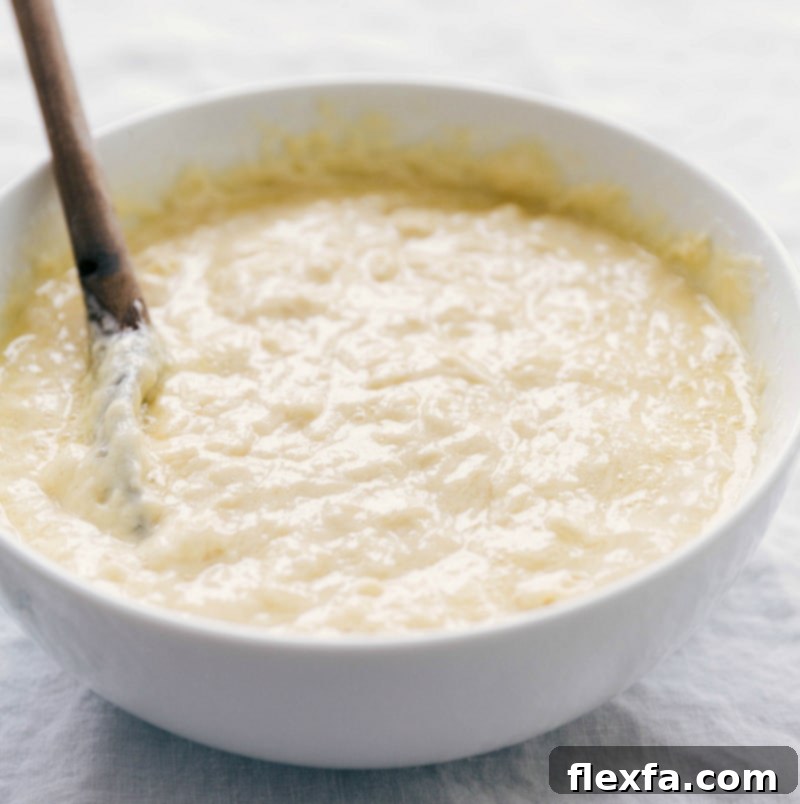
- Gently Combine Wet and Dry: Pour the complete wet ingredient mixture into the well you created in the dry ingredients. Using a wooden spoon or spatula, gently stir the batter until it is mostly combined. Stop when you still see a few streaks of flour – overmixing can lead to tough waffles. Now, add the melted butter (which should be at room temperature by now) and stir just until it’s incorporated. Again, be careful not to overmix! Lumps are perfectly fine and often indicate a tender waffle.
- Allow Batter to Rest: This step is often overlooked but is crucial for the best waffle texture. Let your batter sit at room temperature for at least 10 minutes (and up to 20 minutes). This allows the flour to fully hydrate, the gluten to relax, and the leavening agents to start working their magic, resulting in a lighter and fluffier waffle. While the batter rests, preheat your waffle iron according to the manufacturer’s instructions. Also, preheat your oven to 200°F (95°C) and place a large sheet pan with a cooling rack on top inside. This setup will keep your cooked waffles warm and crisp.
- Cook in Waffle Iron: Once your waffle iron is preheated and the batter has rested, it’s time to cook! Lightly grease your waffle iron with a little melted butter (see Note 1 below for important greasing tips). Using a 1/3 cup measuring scoop, pour the batter onto the hot waffle iron. Close the lid and cook according to your manufacturer’s instructions. If your waffle maker doesn’t have a timer or indicator light, cook until steam stops escaping from the sides – this usually takes about 4.5 to 5 minutes, depending on your iron (see Note 2 below for more details).
- Keep Waffles Warm: As each waffle finishes cooking, immediately transfer it to the prepared cooling rack on the sheet pan in your preheated 200°F oven. This prevents them from getting soggy and ensures they stay warm and crispy until you’re ready to serve a full batch. Continue cooking the remaining batter, repeating the greasing process between batches as needed. Serve immediately with your favorite toppings!
Expert Tips for Waffle Perfection
Achieving waffle perfection is easy with a few insider tricks. These tips will help you make the best crispy and fluffy waffles every single time:
- Invest in a Quality Waffle Iron: This is our top recommendation for truly great waffles. While any waffle iron will work, investing in a high-quality model can significantly improve your results. Look for irons with even heat distribution, good non-stick surfaces, and clear indicator lights. A good waffle iron (check out highly-rated options here) ensures consistent browning and crispiness, making it a worthwhile investment if you frequently enjoy homemade waffles. Read reviews to find the best waffle maker for your needs.
- Do Not Overmix the Batter: This is perhaps the most crucial rule for tender waffles. Overmixing develops the gluten in the flour too much, leading to tough, chewy waffles rather than light and fluffy ones. Stir the wet and dry ingredients just until they are combined. A few lumps are completely fine and preferred over a perfectly smooth, overmixed batter.
- Create a Well in Dry Ingredients: This simple technique helps incorporate the wet ingredients into the dry ones more effectively and with less effort, reducing the risk of overmixing. It allows the liquid to be gradually absorbed, ensuring a smoother initial mix.
- Allow Your Batter to Rest: As mentioned in the instructions, letting the batter rest for 10-20 minutes at room temperature is a game-changer. This downtime allows the flour to fully absorb the liquid, softening the flour proteins and hydrating starches. It also gives the leavening agents time to activate, resulting in a significantly lighter, airier, and more tender waffle.
- Properly Grease Your Waffle Iron: For non-stick waffle irons, avoid using cooking sprays. Over time, these sprays can leave a sticky residue that damages the non-stick coating. Instead, lightly brush the waffle plates with a small amount of melted butter or neutral oil (like canola or vegetable oil) before each batch, or every other batch, to ensure easy release and a beautifully golden crust.
- Serving Suggestions: Enjoy Them Your Way!: The beauty of homemade waffles is their versatility. While classic maple syrup is always a hit, don’t limit yourself! Top your warm, crispy waffles with a generous dollop of fresh homemade whipped cream, a cascade of luscious buttermilk syrup, tangy lemon curd, a scoop of creamy custard, or an abundance of fresh seasonal berries. A sprinkle of powdered sugar or a drizzle of chocolate sauce also makes for a delightful treat. The possibilities are endless!
Storage and Reheating
Planning ahead? These waffles are fantastic for making in advance!
- Refrigerate: Leftover waffles can be stored in an airtight container in the refrigerator for up to 3 days.
- Freeze: For longer storage, first allow the cooked waffles to cool completely to room temperature. Then, arrange them in a single layer on a baking sheet and freeze for about 1-2 hours until solid. Once frozen, transfer the waffles to a freezer-safe bag or airtight container, separating layers with parchment paper to prevent sticking. They will keep well in the freezer for up to 3 months.
- Reheat: For the best texture, reheat refrigerated or frozen waffles in a toaster, toaster oven, or a regular oven (preheated to 350°F / 175°C) until warmed through and crisp. Avoid the microwave, as it will make them soft and chewy.
More Delightful Breakfast Recipes
If you loved this waffle recipe, you might also enjoy exploring these other delicious breakfast and brunch options:
- Hearty Ham and Cheese Quiche
- Comforting Bread Pudding Recipe
- Easy and Moist Banana Bread
- Refreshing Acai Bowl
- Vibrant Blueberry Smoothie

Rated 5 out of 5 stars by 8 users
The Ultimate Fluffy & Crispy Waffle Recipe
By Chelsea Lords
This is our absolute favorite homemade waffle recipe! It delivers light and fluffy waffles with a beautifully crispy exterior, perfect for any breakfast or brunch. Enjoy them plain, with syrup, or piled high with fresh fruit and whipped cream.
Prep Time: 15 minutes
Cook Time: 5 minutes
Resting Time: 10 minutes
Total Time: 20 minutes (plus rest time)
Yields: 10 waffles
Print Recipe
Equipment
- Waffle iron
- Large sheet pan (15″ x 21″)
- Cooling rack
- Large mixing bowls
- Whisk
- Measuring cups and spoons
Ingredients
- 8 tablespoons (1 stick) unsalted butter, melted and cooled to room temperature
- 1 cup whole milk, minus 1 tablespoon (to make homemade buttermilk)
- 1 tablespoon white vinegar (not white wine vinegar)
- 1-3/4 cups all-purpose flour
- 2 tablespoons cornstarch
- 1/4 teaspoon baking soda
- 1 tablespoon baking powder
- 3/4 teaspoon ground cinnamon (optional; can increase to 1 full teaspoon as desired)
- 1/2 teaspoon salt
- 3 tablespoons light brown sugar, lightly packed
- 2 large eggs
- 1 egg yolk
- 1 teaspoon vanilla extract
- 2/3 cup heavy cream
Instructions
- Prepare Butter & Buttermilk: Melt the unsalted butter in a small, microwave-safe bowl and set aside to cool to room temperature. In a liquid measuring cup, add 1 tablespoon of white vinegar, then fill the rest of the cup to the 1-cup line with whole milk. Whisk gently and let sit for 5 minutes to create homemade buttermilk.
- Combine Dry Ingredients: In a large mixing bowl, whisk together the all-purpose flour, cornstarch, baking soda, baking powder, cinnamon (if using), and salt. Stir in the light brown sugar until thoroughly combined. Create a “well” in the center of the dry ingredients.
- Mix Wet Ingredients: In a separate bowl, whisk the 2 large eggs and 1 egg yolk with a fork. Add the vanilla extract and heavy cream, then whisk to combine. Pour in the milk and vinegar mixture (homemade buttermilk) and whisk until fully combined.
- Combine Wet and Dry: Pour the wet ingredients into the well of the dry ingredients. Gently stir with a wooden spoon or spatula until mostly combined, leaving a few streaks of flour. Add the cooled melted butter, stirring just until incorporated. Be careful not to overmix the batter; lumps are fine.
- Rest Batter & Preheat: Allow the waffle batter to sit at room temperature for 10-20 minutes. Meanwhile, preheat your waffle iron according to the manufacturer’s instructions. Also, preheat your oven to 200°F (95°C). Prepare a large sheet pan with a cooling rack on top and set it aside; this will keep your cooked waffles warm and crisp.
- Cook Waffles: Lightly brush the preheated waffle iron with melted butter (see Note 1 below for greasing tips). Using a 1/3 cup measuring scoop, pour the batter onto the waffle iron and cook according to your manufacturer’s instructions. If your waffle maker doesn’t have a timer, cook until steam stops escaping from the sides (typically 4 1/2 to 5 minutes – see Note 2 below).
- Serve or Keep Warm: As each waffle finishes, transfer it to the prepared cooling rack on the sheet pan in the 200°F oven to keep it crisp and warm. Repeat the cooking process until all the batter is used, re-greasing the iron as needed between batches. Serve immediately with your desired toppings.
Recipe Notes
Note 1: Waffle Iron Greasing Tip: Avoid using cooking spray on nonstick surfaces, as it can build up over time and ruin the non-stick coating. Instead, lightly brush melted butter or a neutral cooking oil directly onto the waffle plates for best results and longevity of your iron.
Note 2: Knowing When Your Waffle is Ready: Many modern waffle irons have indicator lights or will beep when a waffle is perfectly cooked. If yours doesn’t, a great visual cue is to wait until steam stops actively seeping from the sides of the waffle iron. This indicates that most of the moisture has cooked out, resulting in a crispy waffle. Avoid opening the iron too early, or your waffle might tear!
Nutritional Note: The nutrition information provided is an approximation for one waffle serving without any additional toppings. Toppings will add to the total calorie and nutrient count.
Storage: Store leftover waffles in an airtight container in the fridge for up to 3 days. To freeze, ensure waffles are completely cool, then place them in a single layer on a baking sheet to freeze solid before transferring to a freezer-safe bag. They will keep for up to 3 months. Reheat frozen waffles in a toaster or oven for the best crispy texture.
Nutrition Facts (per serving)
Calories: 272 kcal |
Carbohydrates: 24g |
Protein: 5g |
Fat: 17g |
Saturated Fat: 10g |
Cholesterol: 105mg |
Sodium: 305mg |
Potassium: 86mg |
Fiber: 1g |
Sugar: 5g |
Vitamin A: 633IU |
Vitamin C: 1mg |
Calcium: 127mg |
Iron: 1mg
Nutrition information is automatically calculated and should only be used as an approximation.
Like this recipe? Leave a comment below and share your thoughts!