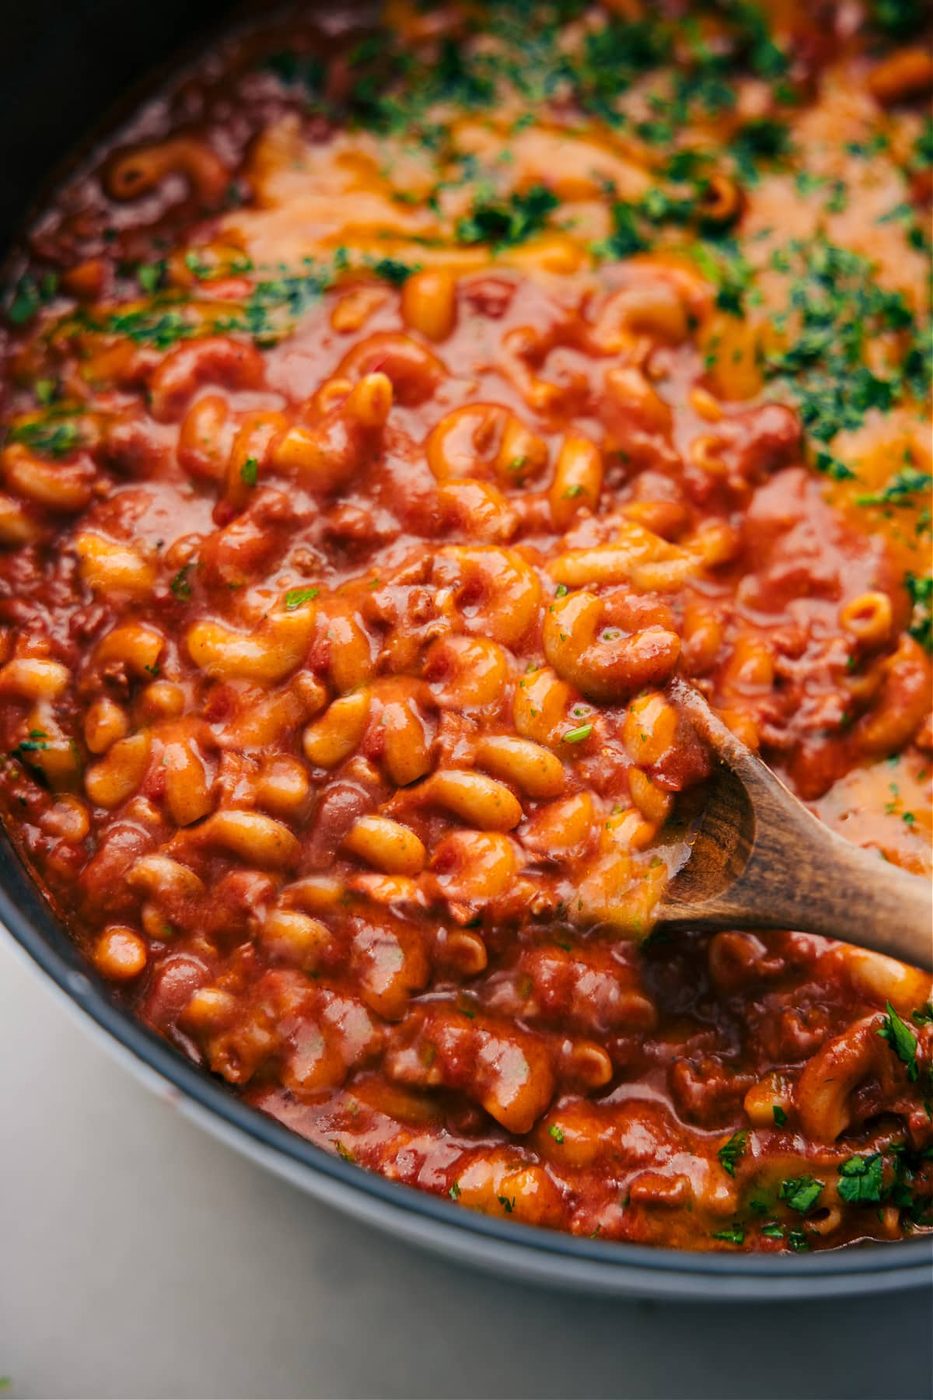
Mac and Cheese doesn’t get better than this. Extra creamy, ultra cheesy, and all made in one straightforward pot.
If you’d rather use a pressure cooker, try a reliable Instant Pot Mac and Cheese!
author’s note
Cheesy, Creamy, Gone in Seconds!
Like many of you, I’ve got kids who are obsessed with mac and cheese. Pretty normal, right? But my daughter takes it to the next level. She’d pick mac and cheese over brownies, cookies, or even cake. She’s even asked for it at breakfast.
So yes, I make mac and cheese a lot. And after plenty of trial and error, I’ve finally perfected the easiest, most satisfying stovetop version. I’m hooked, my kids are hooked, and It is satisfying to how simple it is with hardly any cleanup.
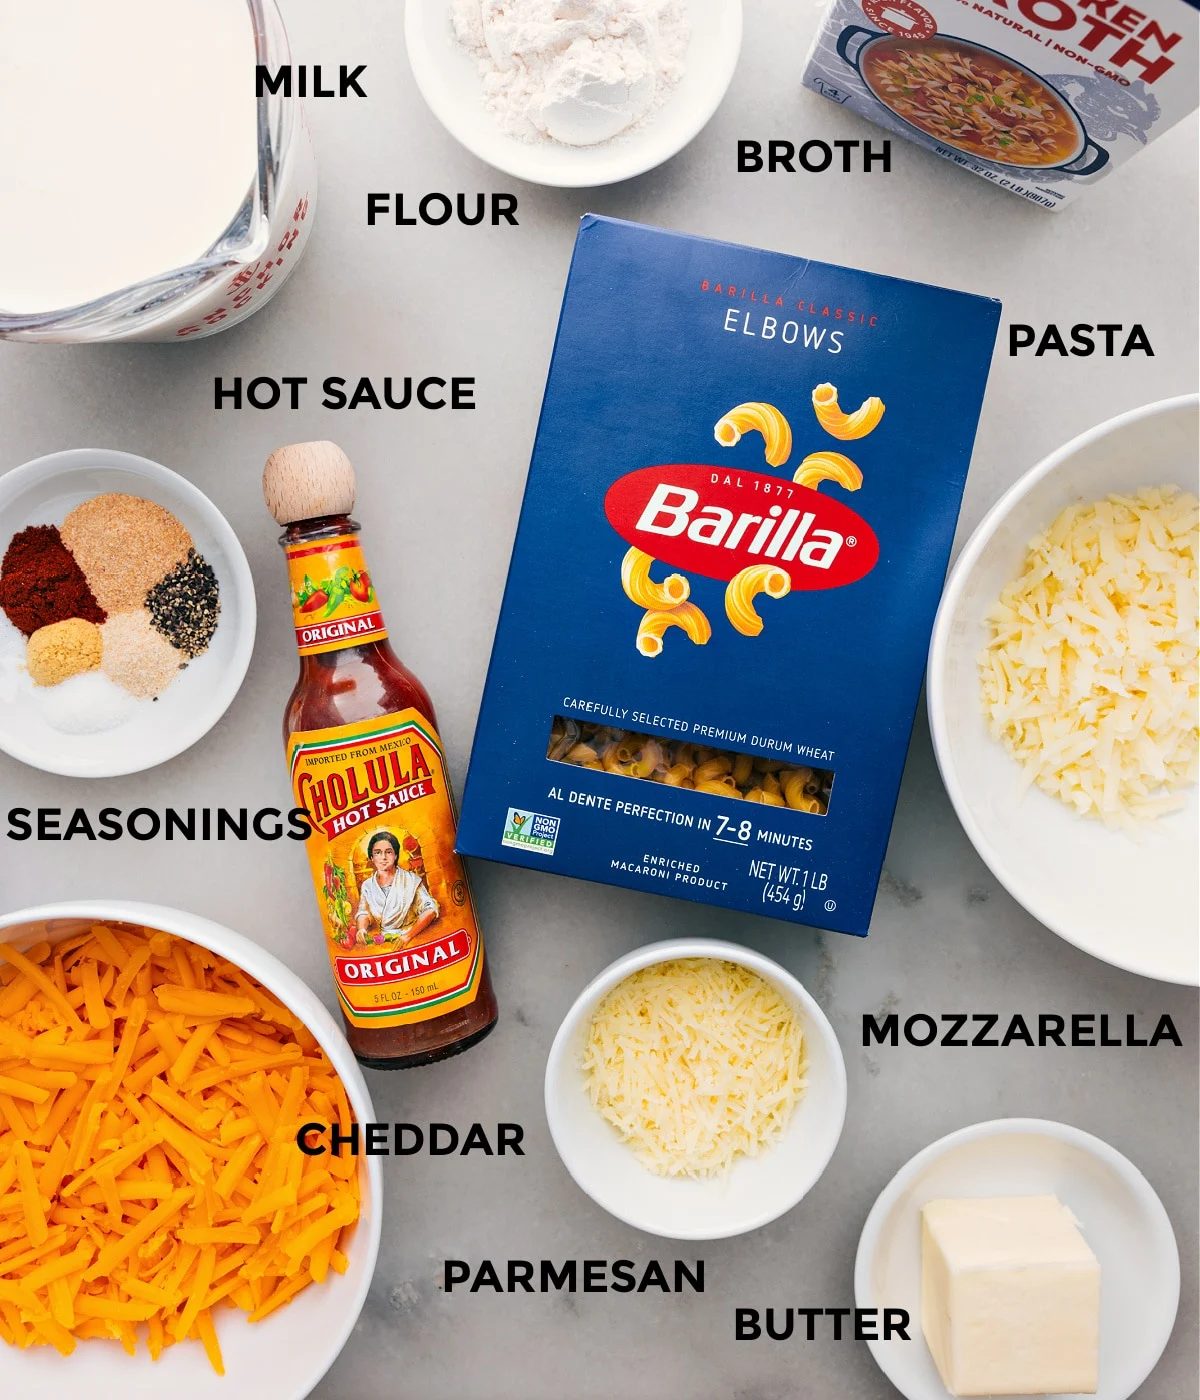
Ingredients
| Category | What to Use | Tip or Swap Idea |
|---|---|---|
| Thickening | Unsalted butter & all-purpose flour | Swap with gluten-free flour blend if needed |
| Liquid | Whole milk + chicken broth | Use all milk for extra richness or all broth for a lighter version |
| Pasta | Elbow macaroni (use leftovers in cheeseburger macaroni soup) | Swap with shells, cavatappi, or small penne for a fun twist |
| Cheeses | Freshly grated mozzarella, sharp cheddar, and Parmesan | Try Colby Jack, Gruyère, or white cheddar for a different flavor combo |
| Seasonings | Salt, pepper, garlic powder, onion powder, mustard powder, paprika | Add a pinch of cayenne or chipotle powder for subtle heat |
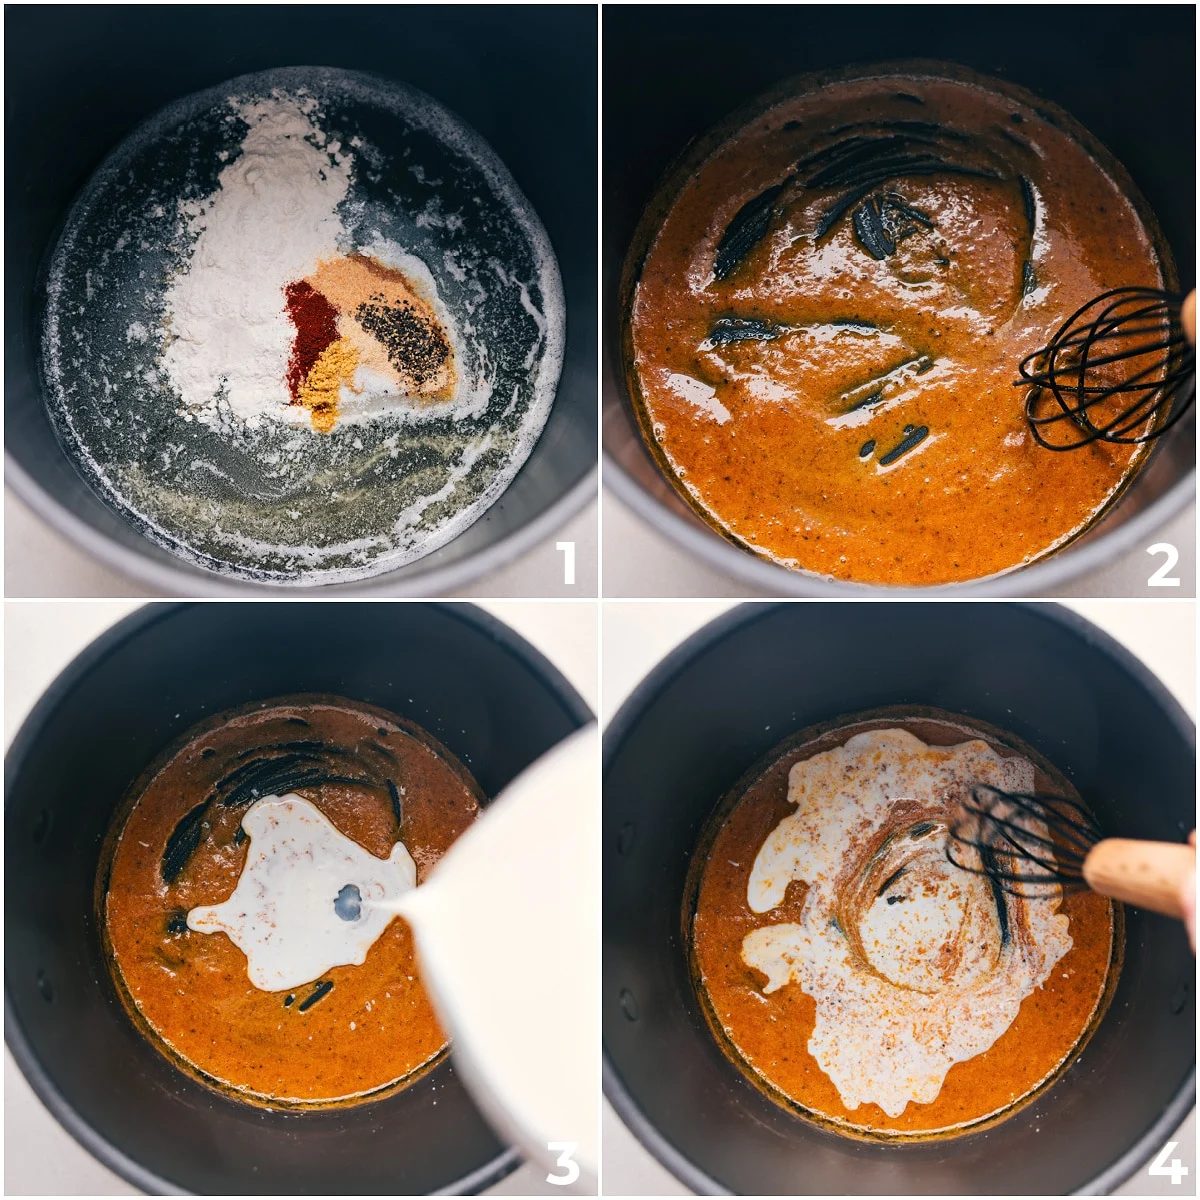
How To Make Mac And Cheese
The full recipe is below, but here’s a quick overview:
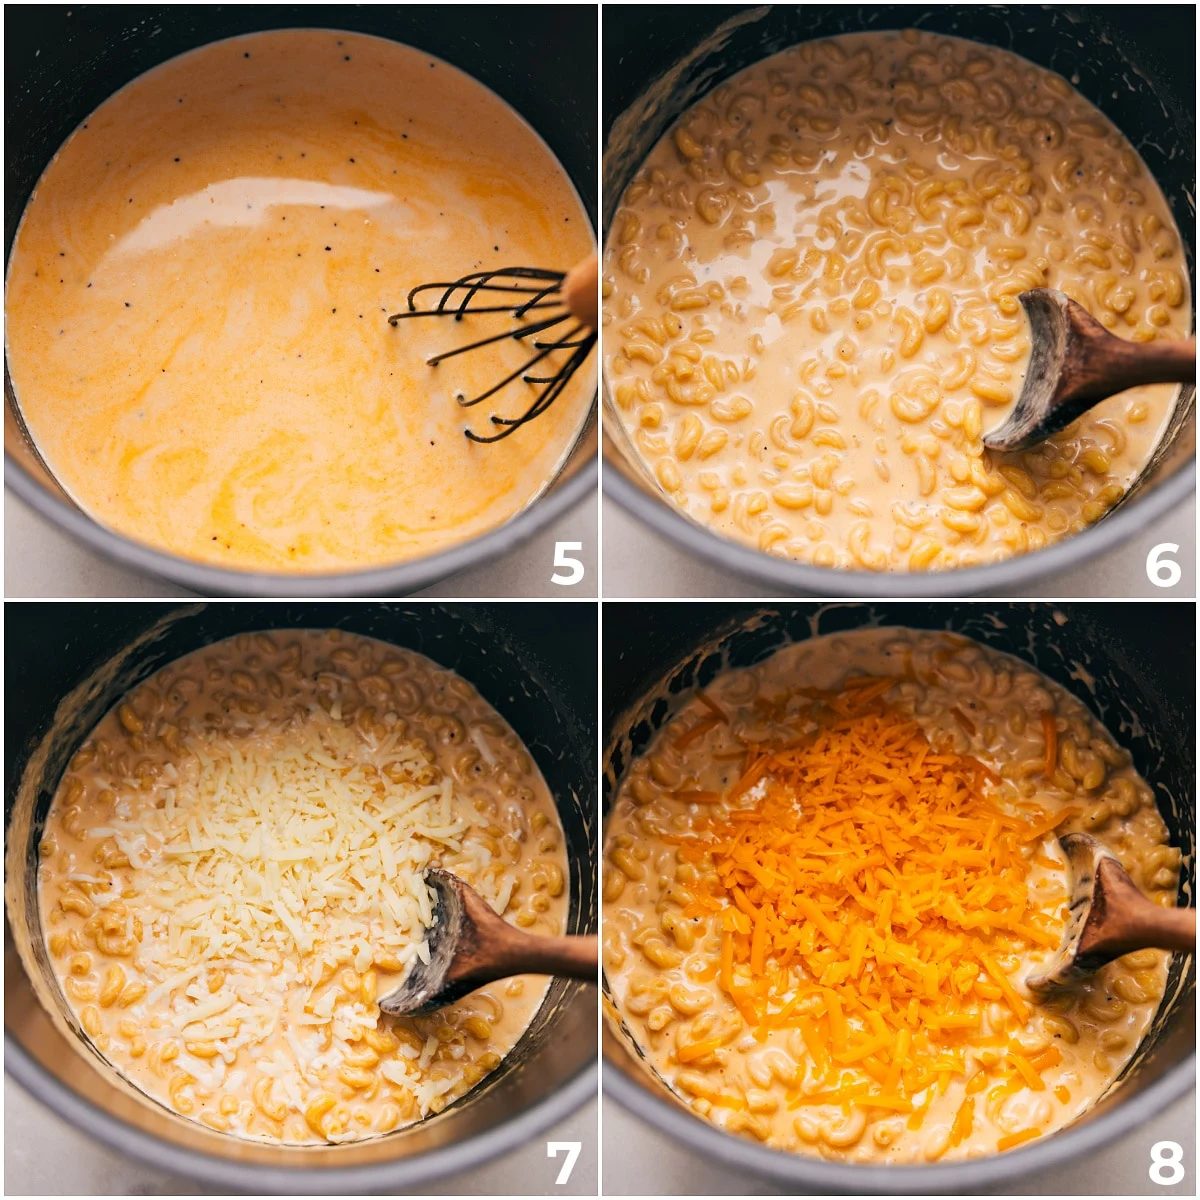
- Start with the Base: Melt butter in a pot on a medium burner. Mix in flour until it’s smooth. Keep stirring so it doesn’t get lumpy.
- Add Liquids: Slowly pour in milk and broth, stirring until it gets thick and creamy.
- Cook Pasta: Put the pasta in and cook on a low burner. Stir often to stop it from sticking.
- Mix in Cheeses: Take the pot off the heat and add the cheeses one by one, stirring until they melt and the sauce is smooth.
- Season and Serve: Taste it and add more salt or spices if you need to. Serve it warm and enjoy!
How To Grate Cheese Quickly
- Food Processor: For large amounts, use a food processor with a grating attachment. Cut the cheese into chunks that fit the feed tube.
- Stand Mixer: If you have a KitchenAid mixer, use its cheese grating attachment. Right after shopping, grate the cheese and store in zippered bags for straightforward use come meal time.
- For Soft Cheeses: Freeze for 15-20 minutes before grating to avoid messiness. This is especially useful for mozzarella.
Storage
Make Ahead And Storage Tips
- This mac and cheese is best fresh, but can be stored in the fridge for 2–4 days.
- To reheat, add a splash of milk or broth and microwave partially covered, stirring often.
- To make ahead, cook the pasta slightly less and don’t add the cheese. Cool, store, then reheat on the stovetop and mix in cheese just before serving.
What To Serve With Mac and Cheese:
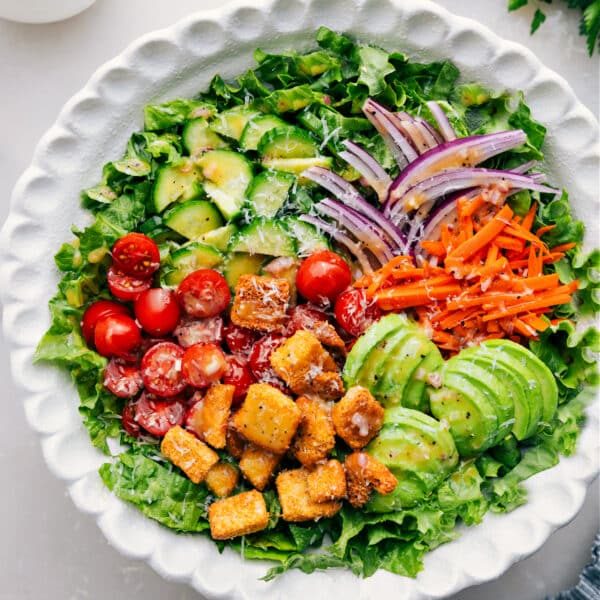
Green Salads
Garden Salad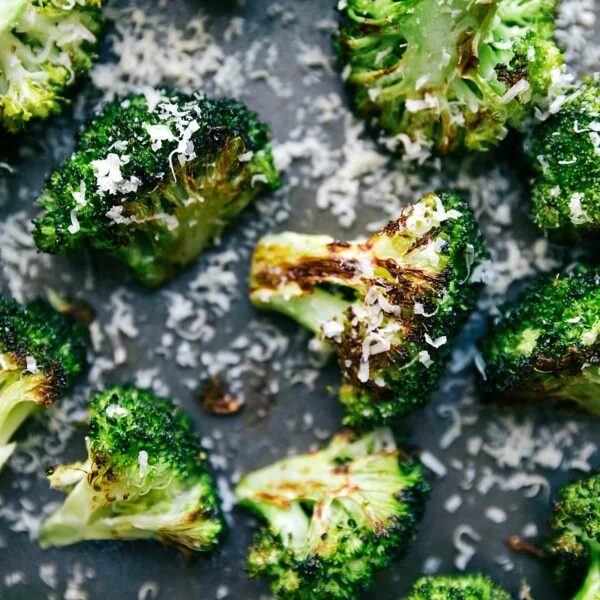
Side Dishes
Roasted Broccoli Recipe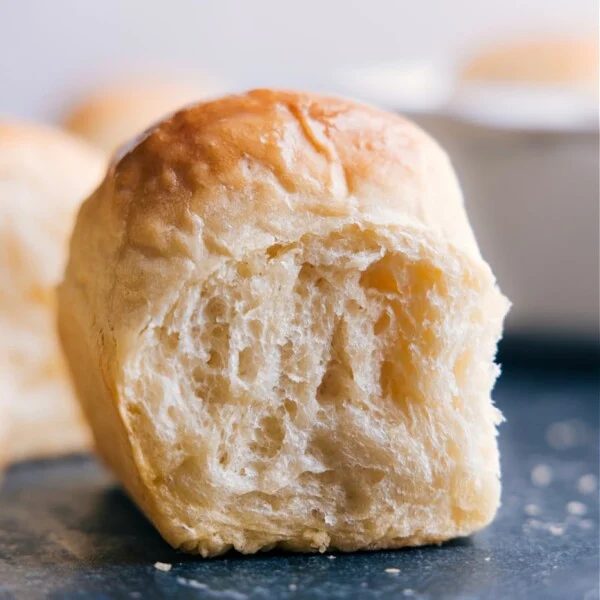
Appetizers
Life-Changing No-Knead Dinner Rolls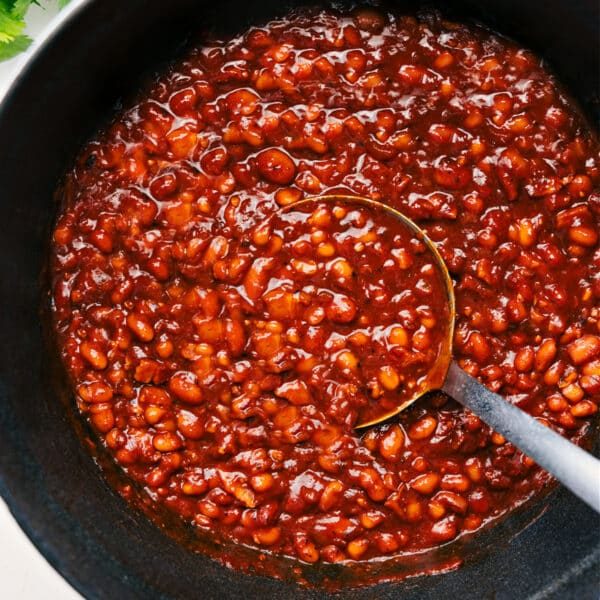
Side Dishes
Baked Beans RecipeVariations
One Pot Mac and Cheese Variations
- Bacon Mac and Cheese: Add crispy, chopped bacon for smoky, savory flavor.
- BBQ Pork Mac and Cheese: mix in BBQ pulled pork for sweet and tangy.
- Taco Mac and Cheese: Mix in a batch of taco meat and swap mozzarella and Parmesan for more cheddar.
- French Onion Mac And Cheese: With caramelized onions on top.
- Cajun Mac and Cheese: Add Cajun seasoning and sausage, similar to this Cajun Sausage Pasta.
- Add A Crispy Topping: Use the buttered Panko topping from this Baked Mac and Cheese recipe.